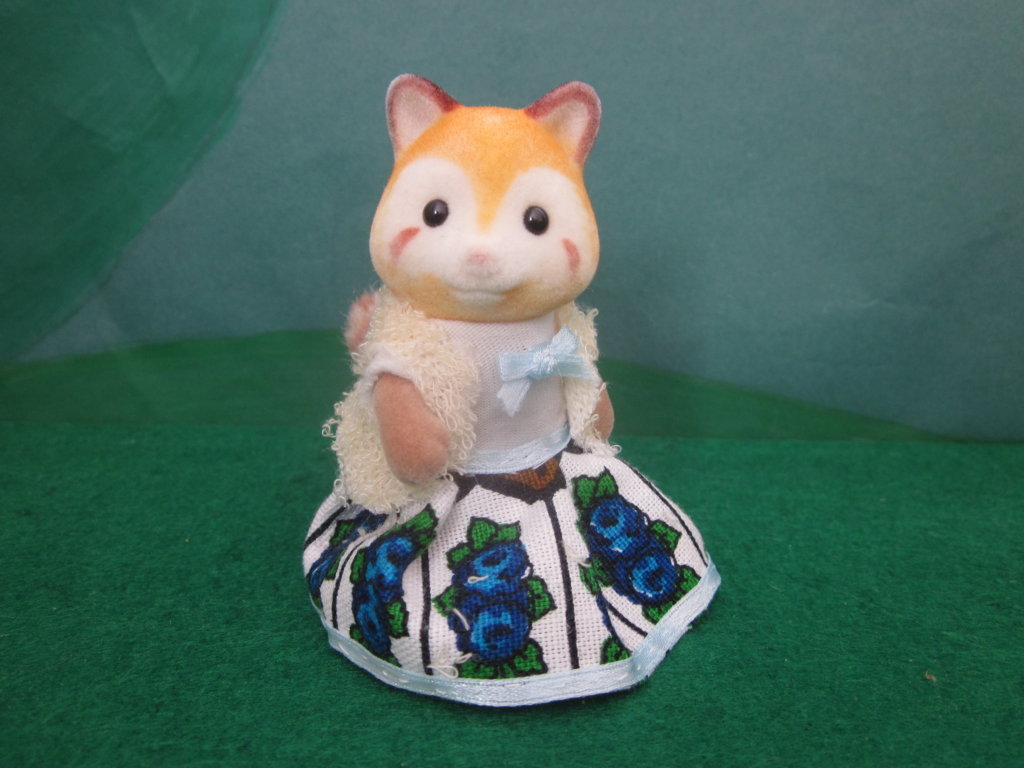
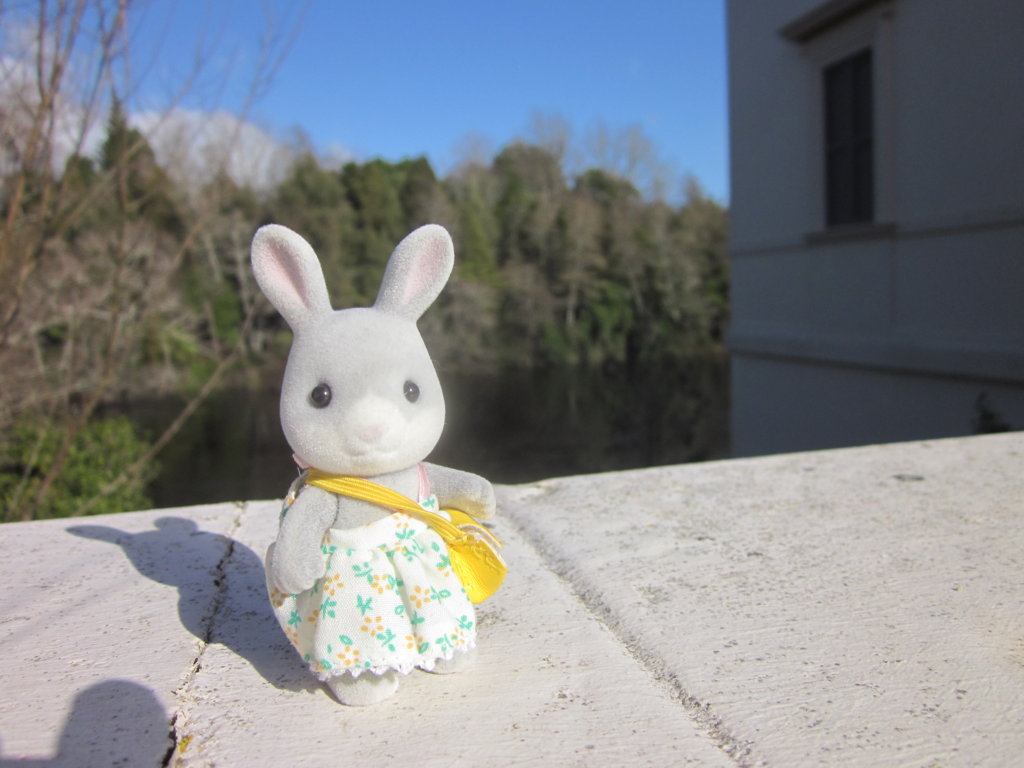
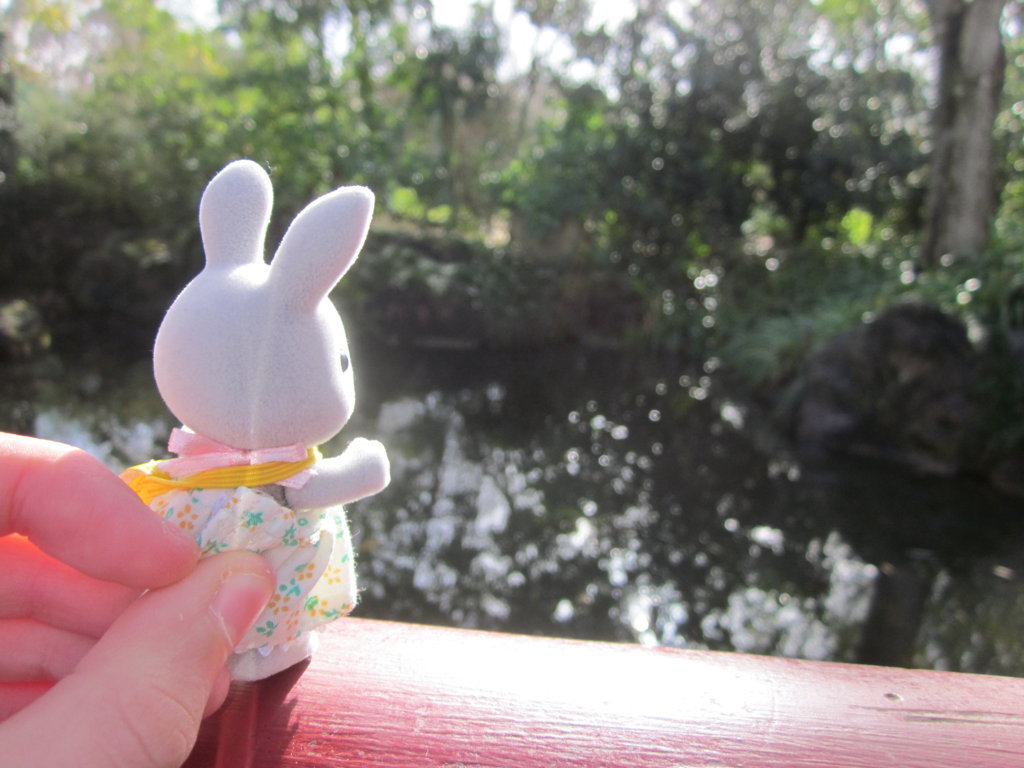
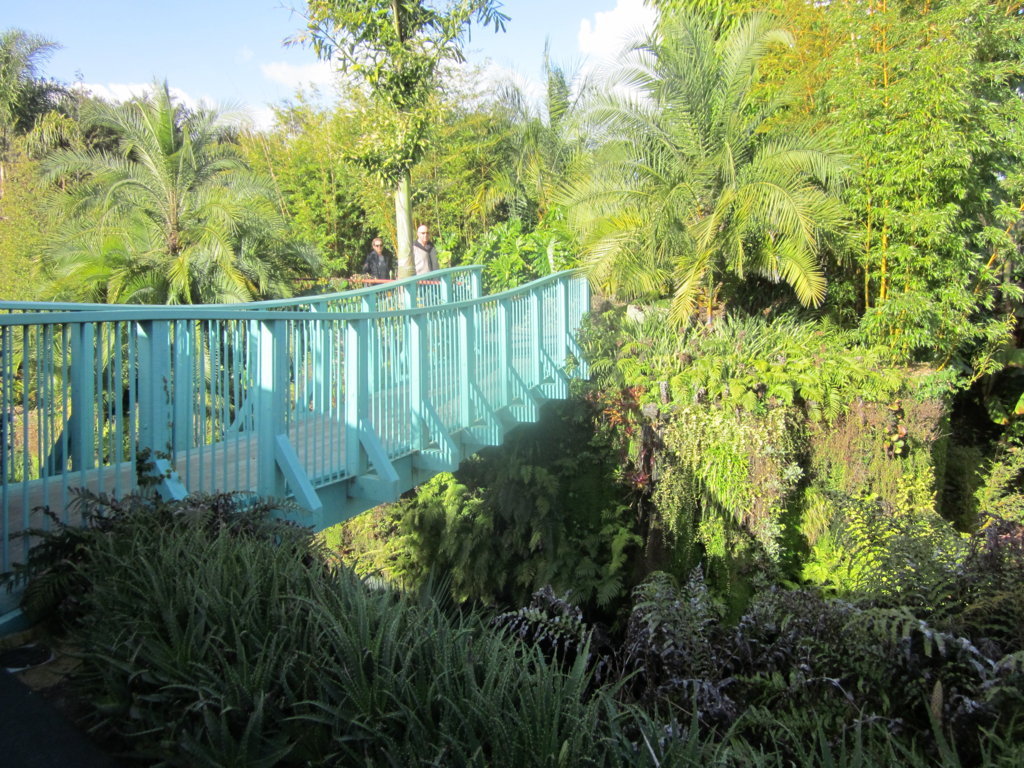
Well, Willow Cottontail and I went to Hamilton Gardens in the winter time and this was like way back in mid July so I thought that I should better post this. Since it was winter I was not expecting any flowers which there were none unfortunatly. In the picture above, Willow is on the bridge at the entrance of the garden.
Willow felt very important as she stood in front of empty benches doing a little dance.
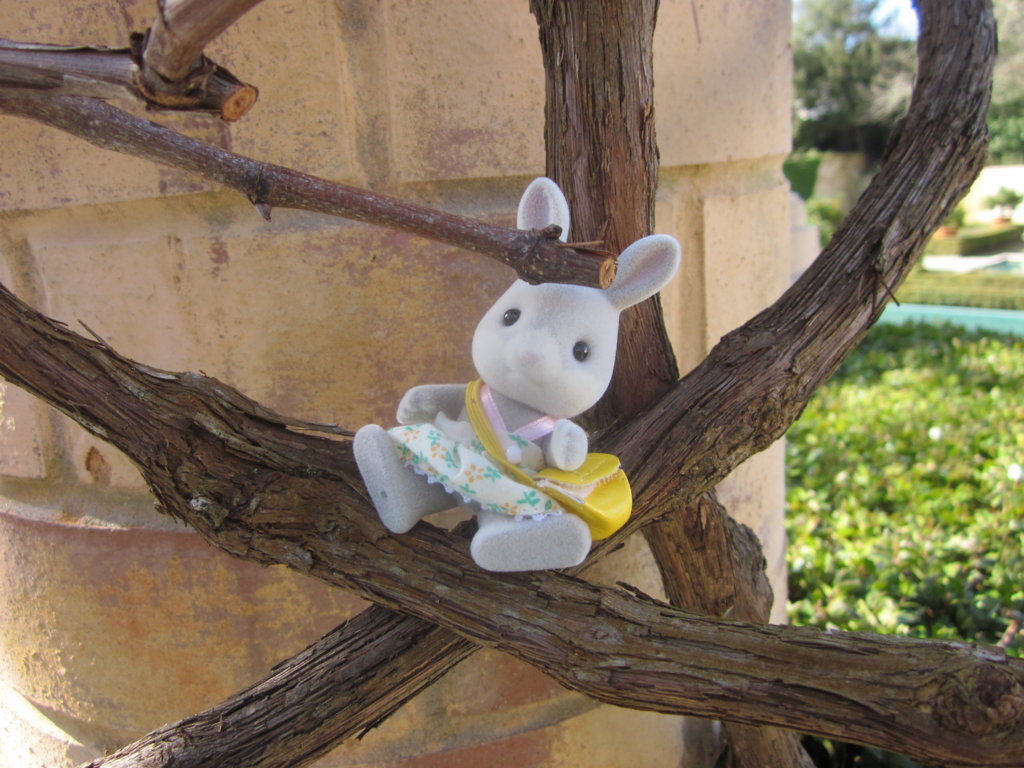
To get to the amazing birds eye view, Willow had to climb up a tangle of branches, she had to be very careful as there was quite some wind as she climbed higher (I was anxiously expecting her to fall but luckily she didn’t).
From her high view in the branches, Willow spotted a door and sat on the handle, wanting to go inside. Unfortunatly, the door was locked and was for staff only. Willow then climbed through the bars in the fence and fell straight into a spider web, she did not try to go behind any more locked doors after this frightning experience!

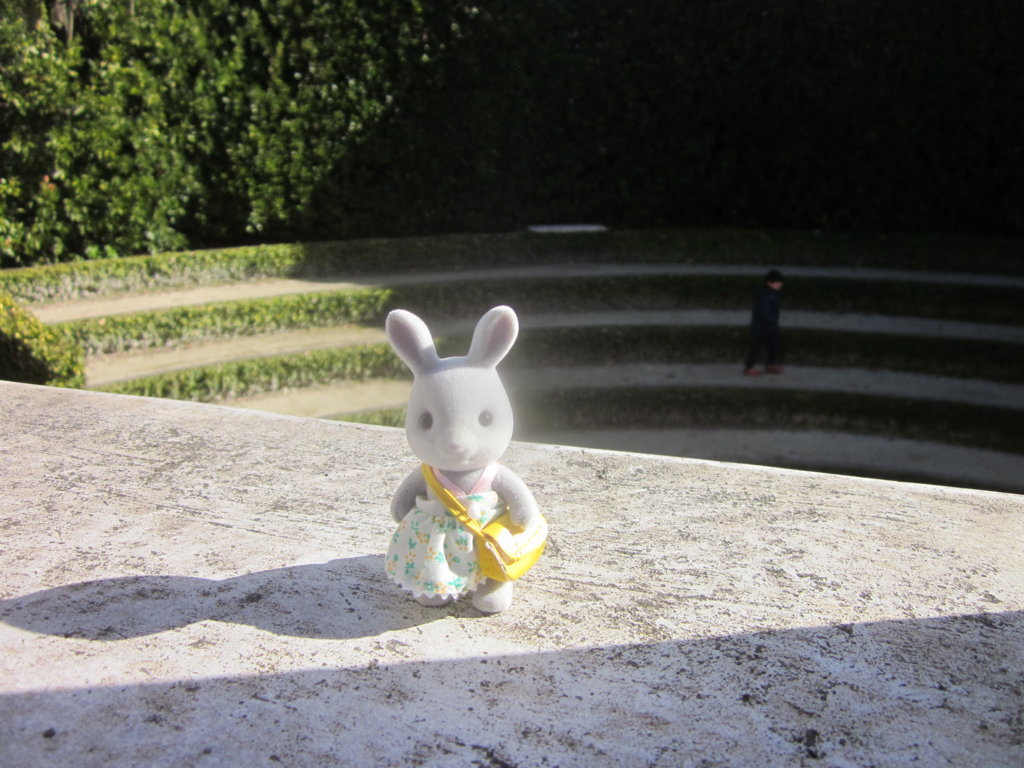
We climbed down some stone steps and into a very pretty italian style garden. Willow did really want to jump into the turqouise water but decided not to when she felt the icy cold water on her paw. Willow said that in the summertime she wanted to climb up the water fountain and jump off it.
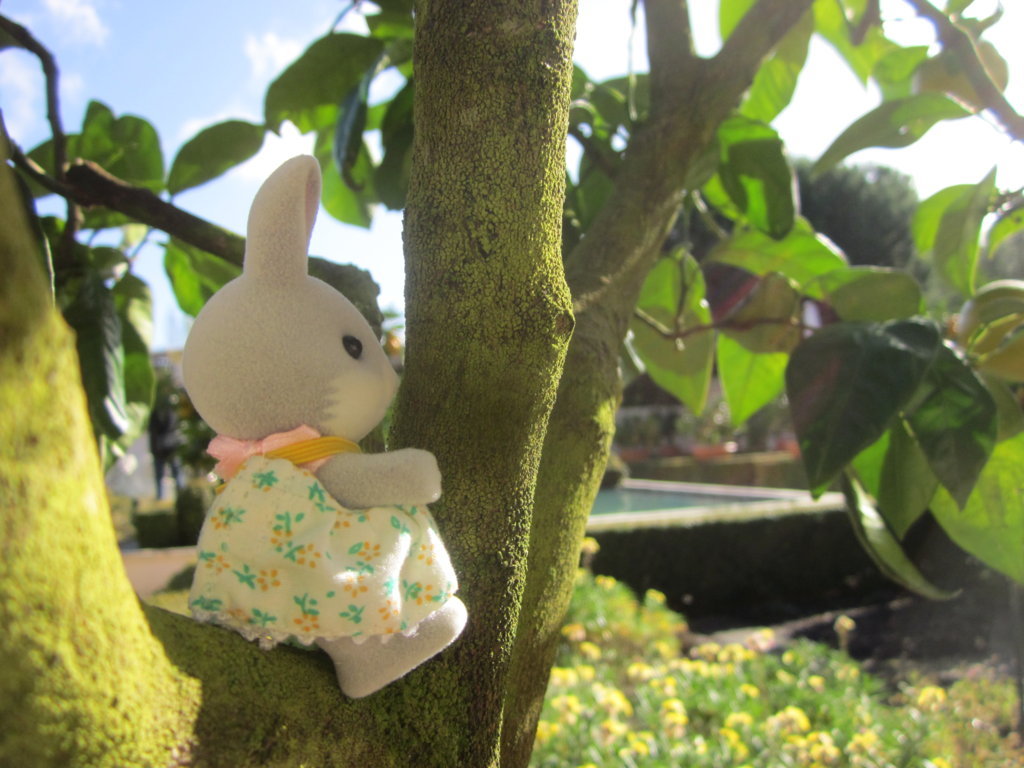
The garden was divided into many squares and in the squares were small gardens with a pavement design. At the edge of each garden square was a small mandarin tree. Willow practised her newly discovered climbing skills and started to climb up the mossy trunk of one of the mandarin trees to pick herself a mandarin. She soon discovered that she had been too buisy daydreaming in one of Aristotle Treefellows nature classes or she would have known that mandarins do not grow on trees in the winter time!
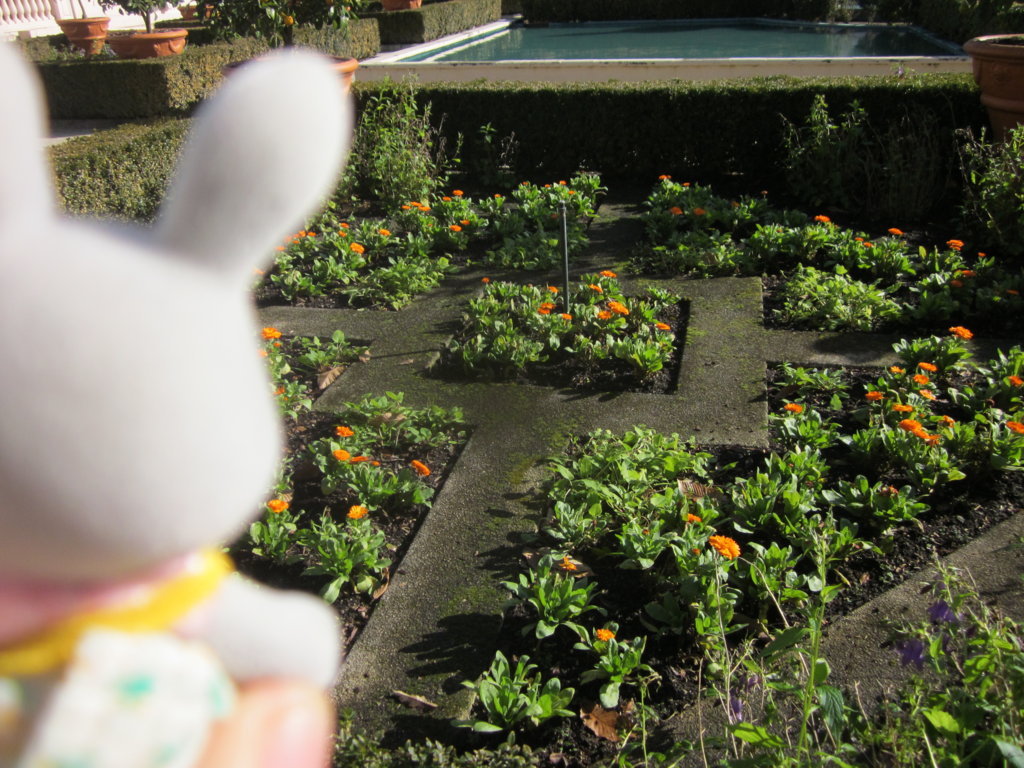
In this garden square was a pavement design of squares and triangles, orange marigolds and another type of pretty purple flower.
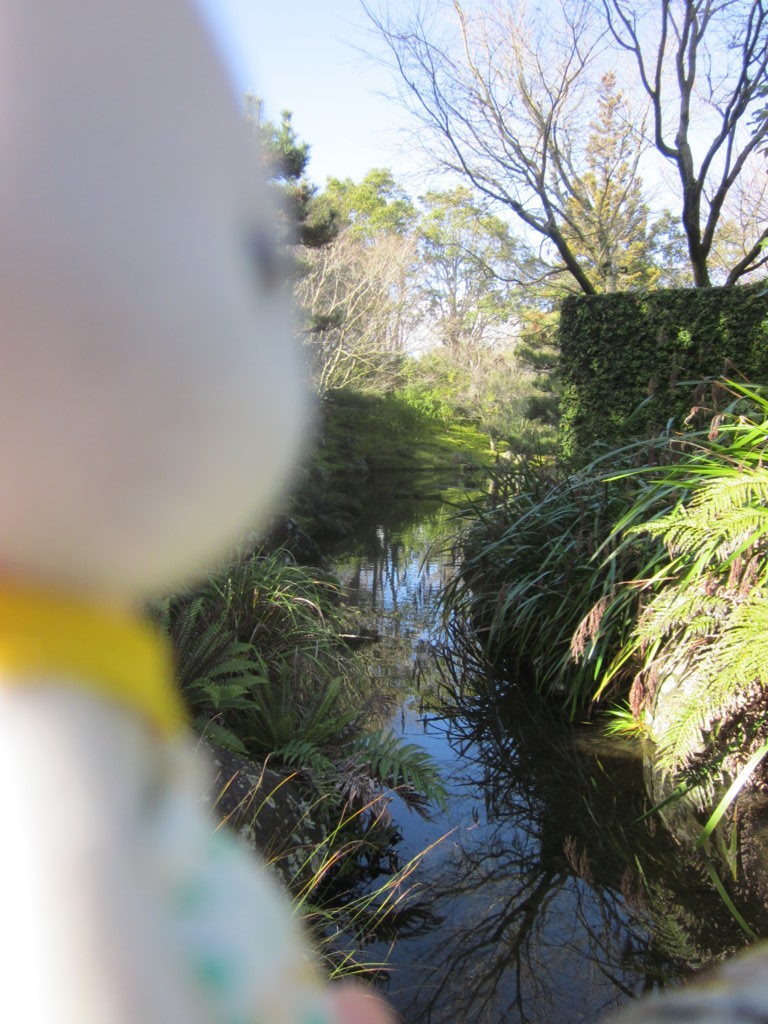
At the far side of the garden was a small gateway to a balcony and stone walls either side. On the other side of the stone wall was a steep drop leading to a large river, Willow was very scared that she would fall down and drown!
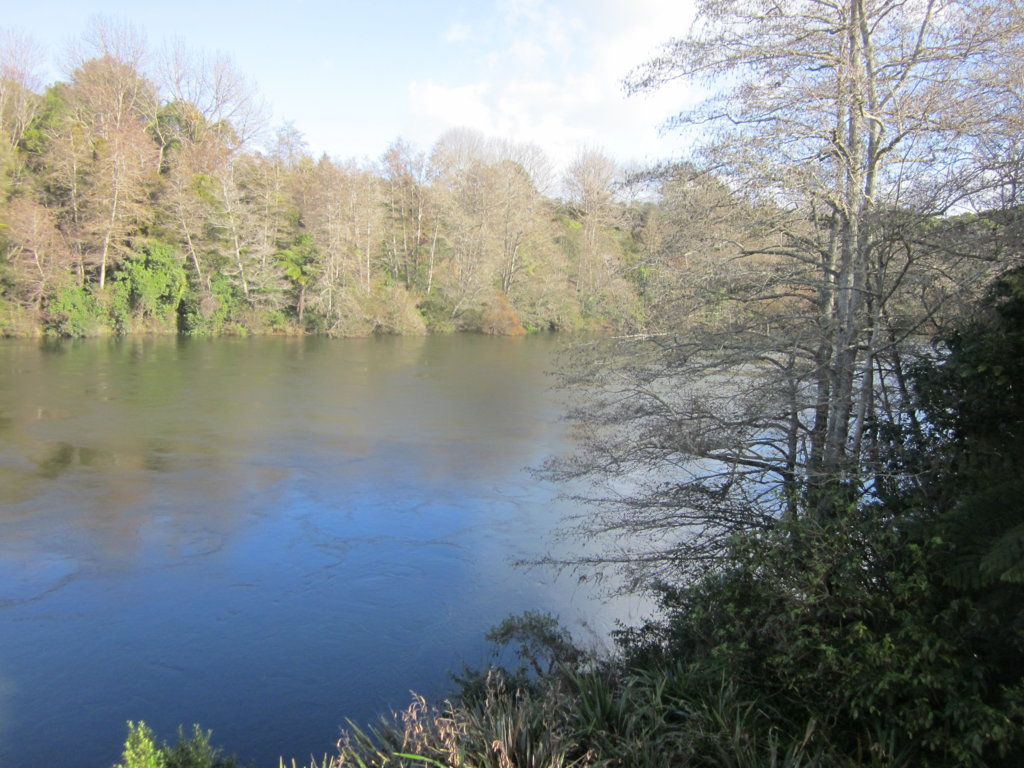
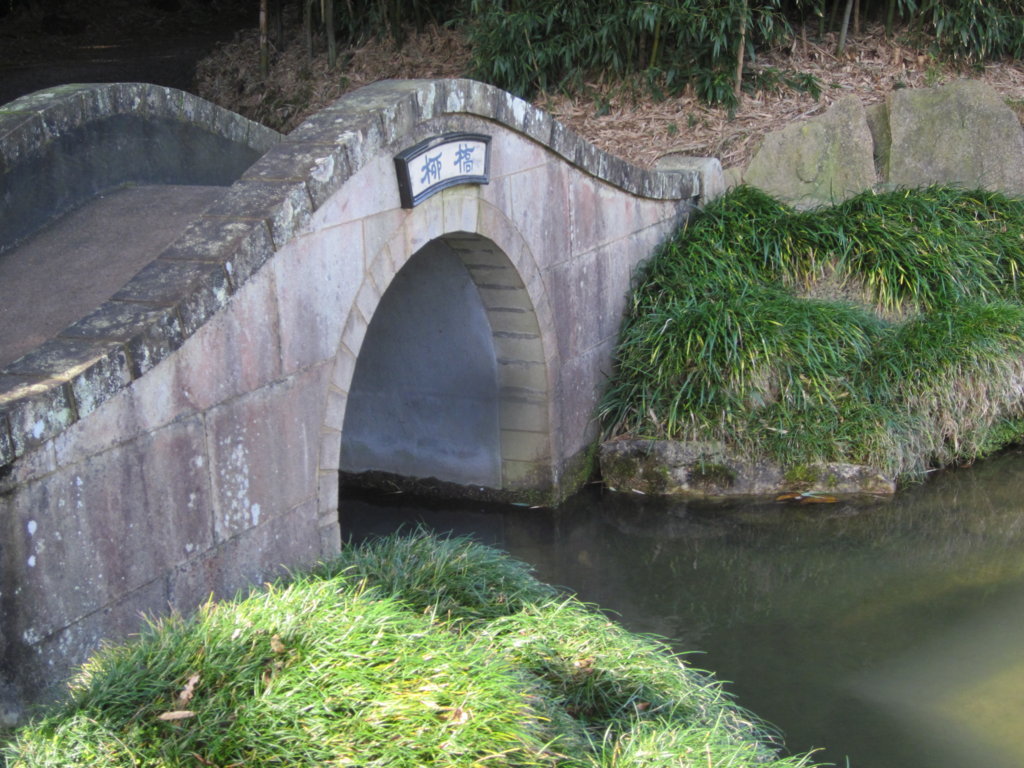
Willow also took some pictures, this one is of the river.
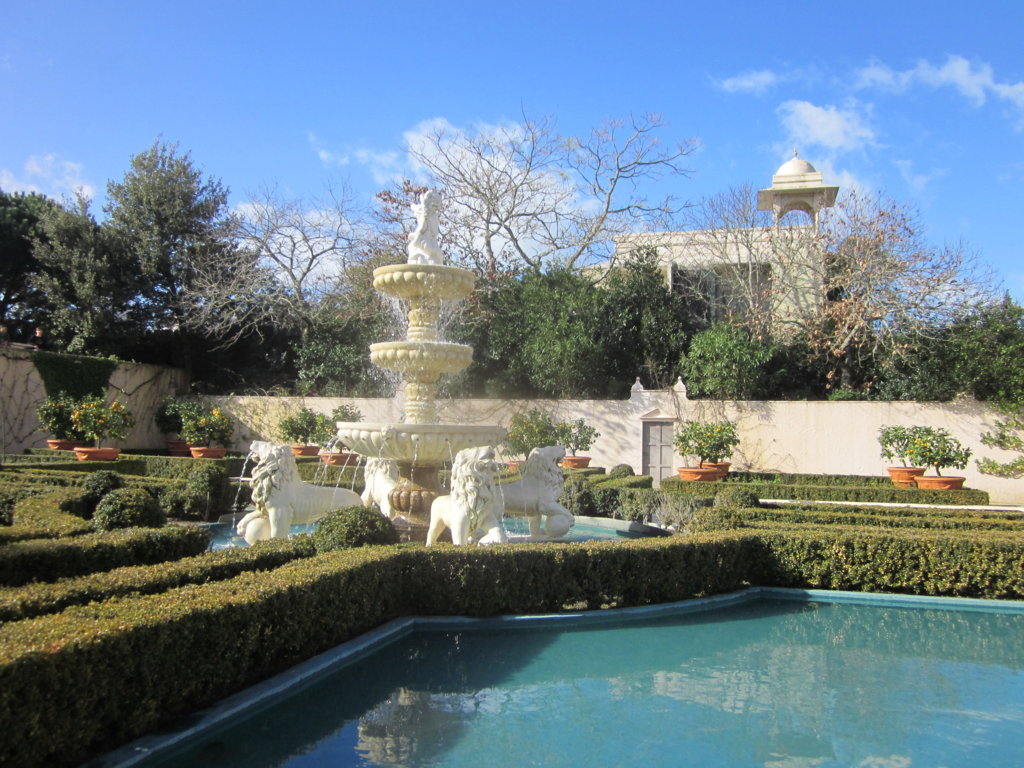
Willow also took this photo of the water fountain.
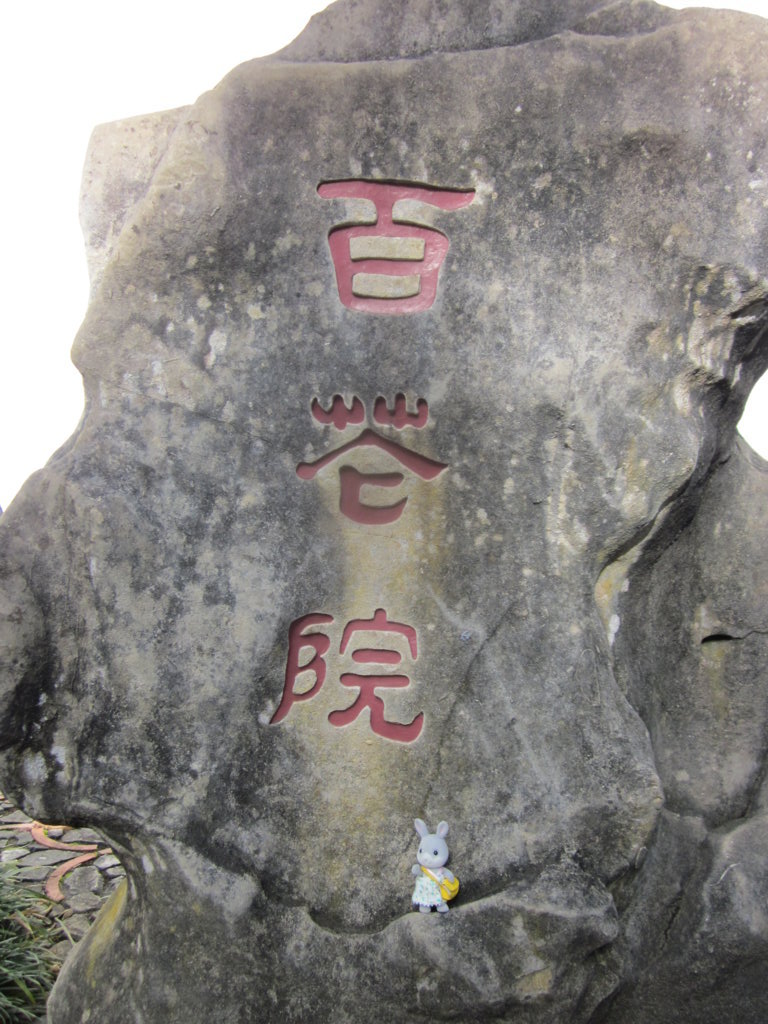
Next up was the chinese garden and here is Willow all ready to go on a rocky ledge of a rock with some mysterious symbols engraved into it.
This was one of our favourite gardens, Willow and I had a fun time counting the redy orangey fish in the large pond, altogether we concluded that there were seven fish.
Here we are on the red bridge, this is where we counted the fish.
Another photo of Willows, a lovely bridge. Willow showed this picture to Eric Bramble, Aaron Cottontail and Rolf Billabong for inspiration.
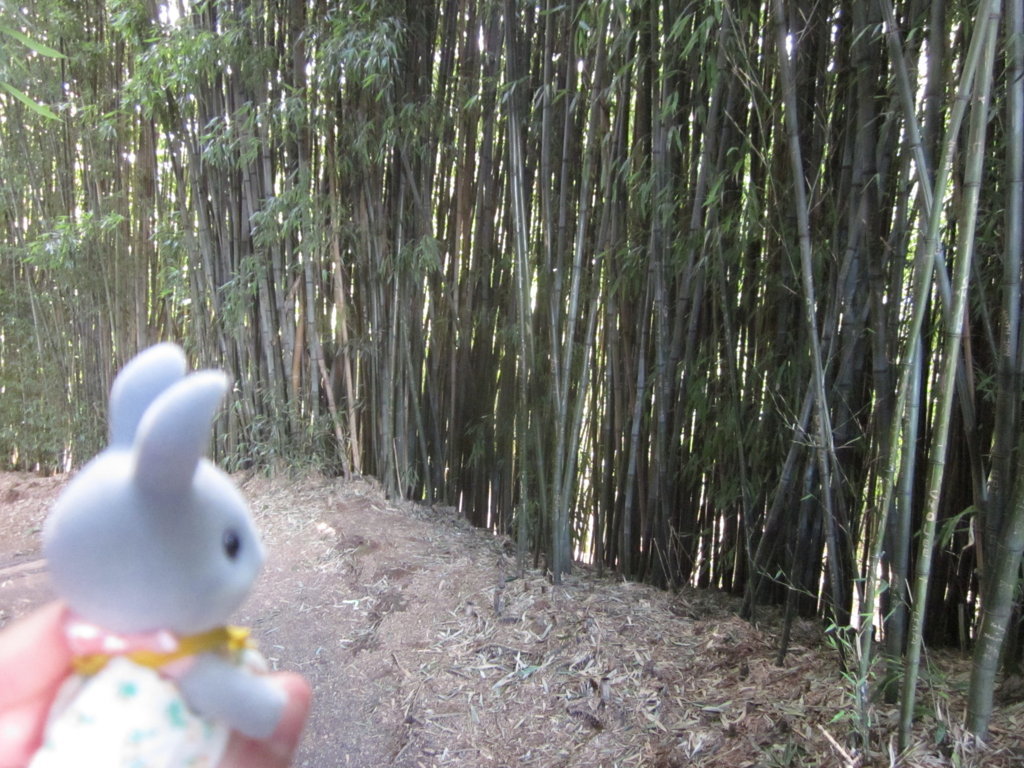
Over the bridge we went and the path led us into a bamboo trail. The height of the bamboo made Willow and I feel really small.
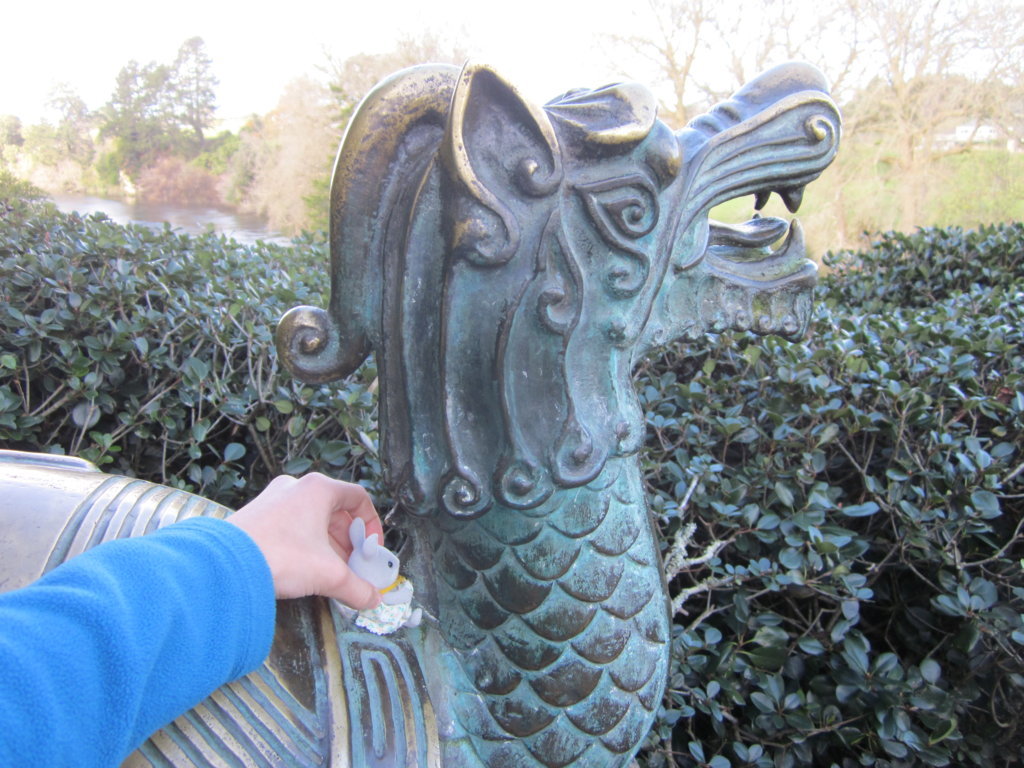
At the top of the bamboo track was a fierce dragon figure and since Willow was a little scared of the big mouth and sharp teeth, I feld her as she slowly climbed onto the creatures back.

Also there was a little house and Willow and I had a lovely view over the garden, unfortunatly, the dragon figure was right next to the little red railing which Willow stood upon so she jumped at every single little noise.
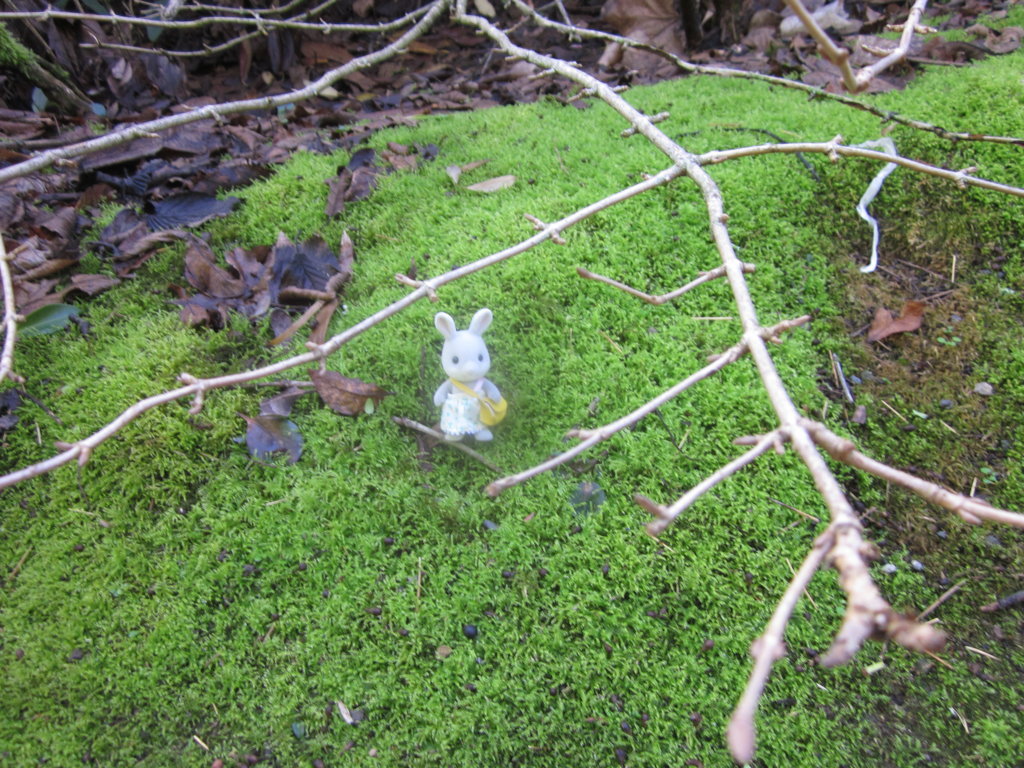
Willow was so eager to get away from that dragon turtle that she fell down the hill and landed softly on a patch of moss.

This was a sign bellow a tree on the way out of the garden, Willow insisted on a picture to be taken.
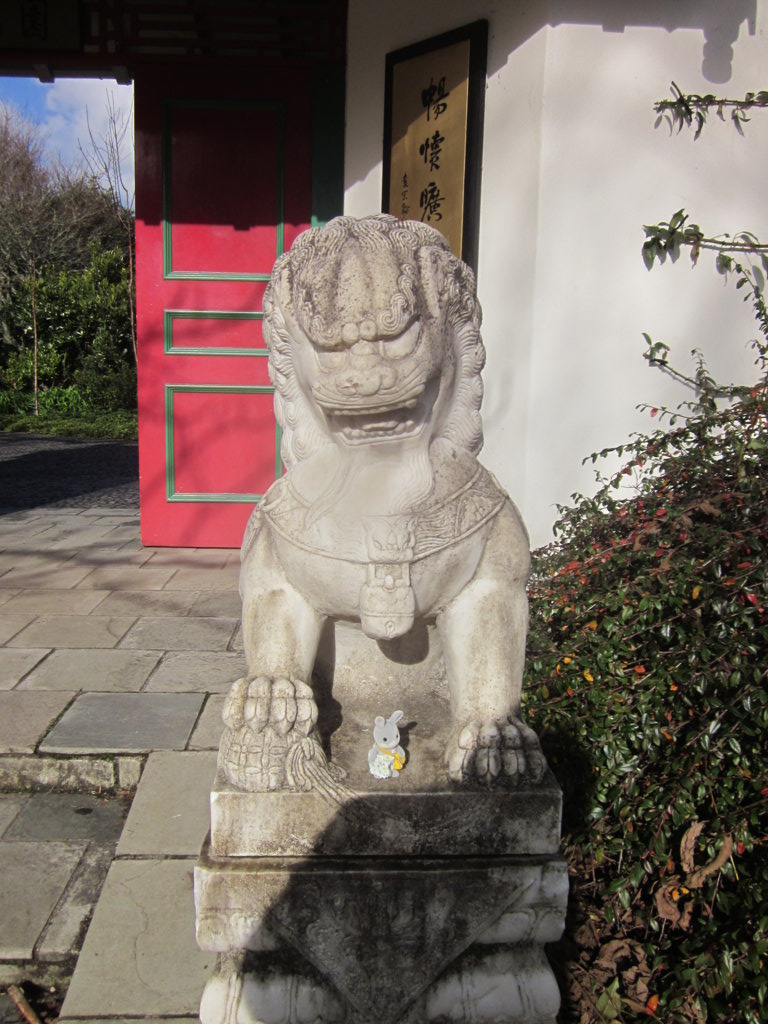
I went ahead of Willow and she was a little lost and clambered about and ended up between the paws of a very scary lion creature. Luckily I found her before the creature could do her any harm.
The english garden was a dissapointment since all of the flower plants were not in flower and looking sad.
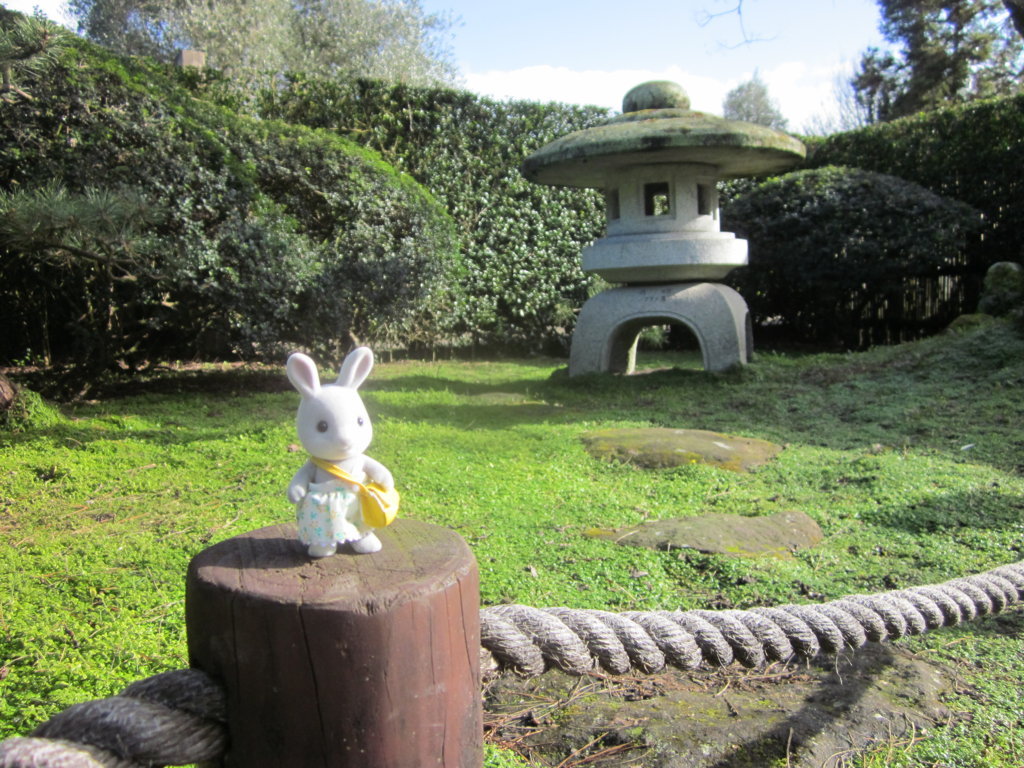
The Japanese garden was also very nice, Willow said that I should have one at home but I said that I had no where to put a big pond like this one.
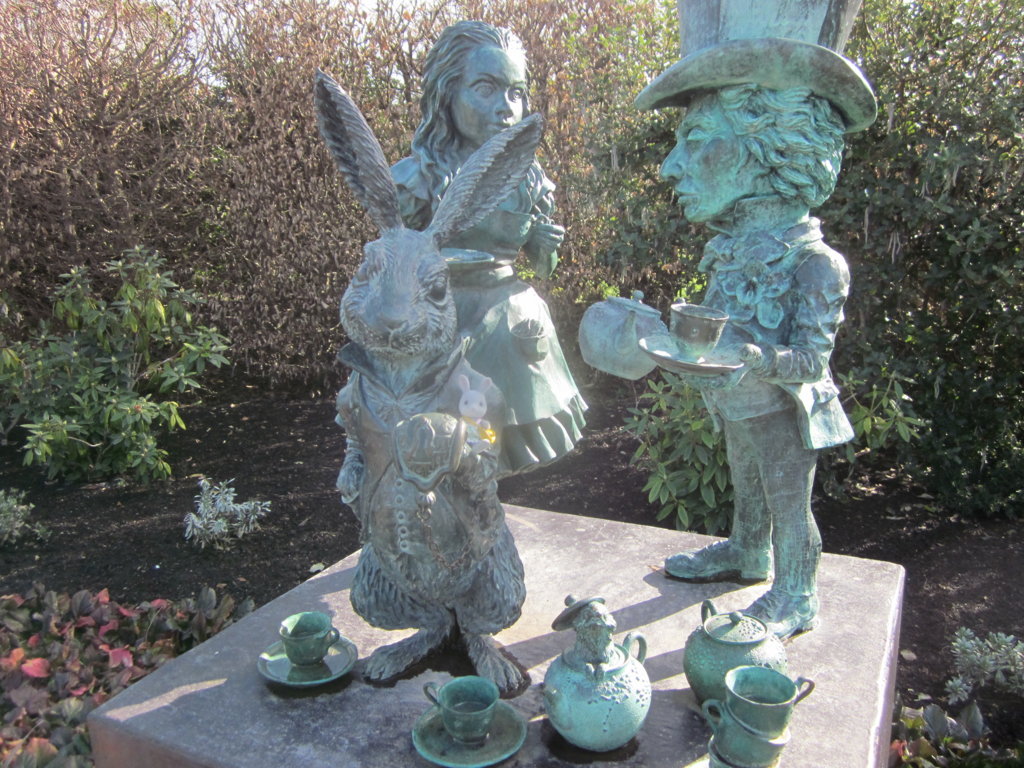
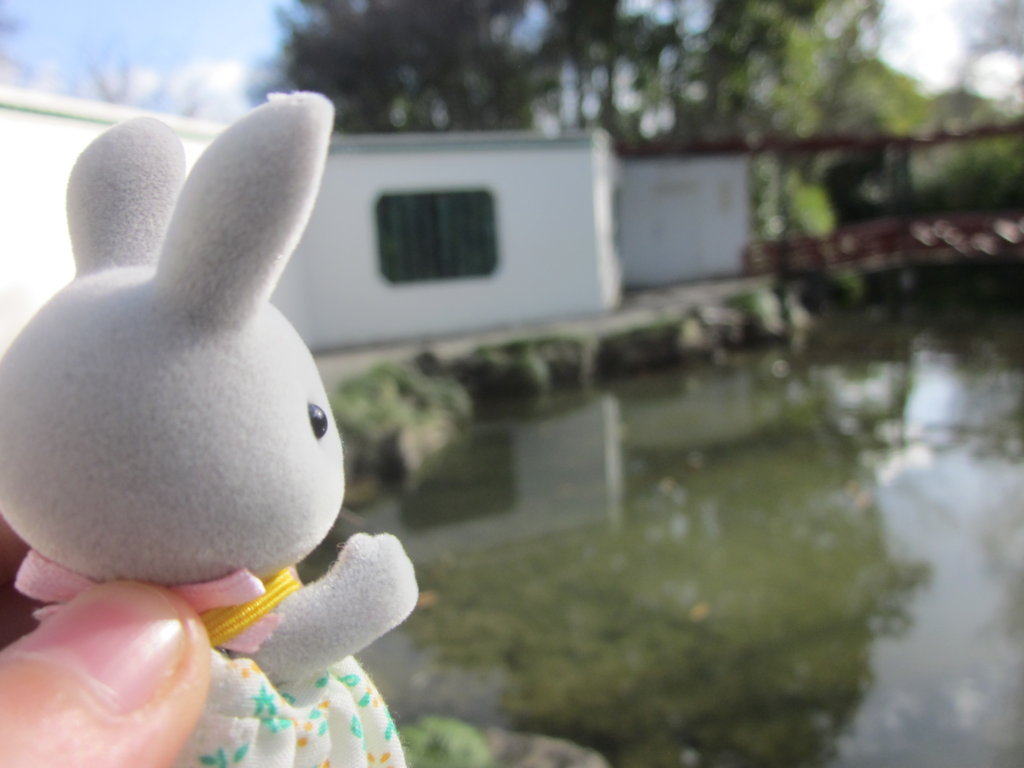
Along the way, Willow discovered one of her favourite fairytale characters, here she is with the rabbit,
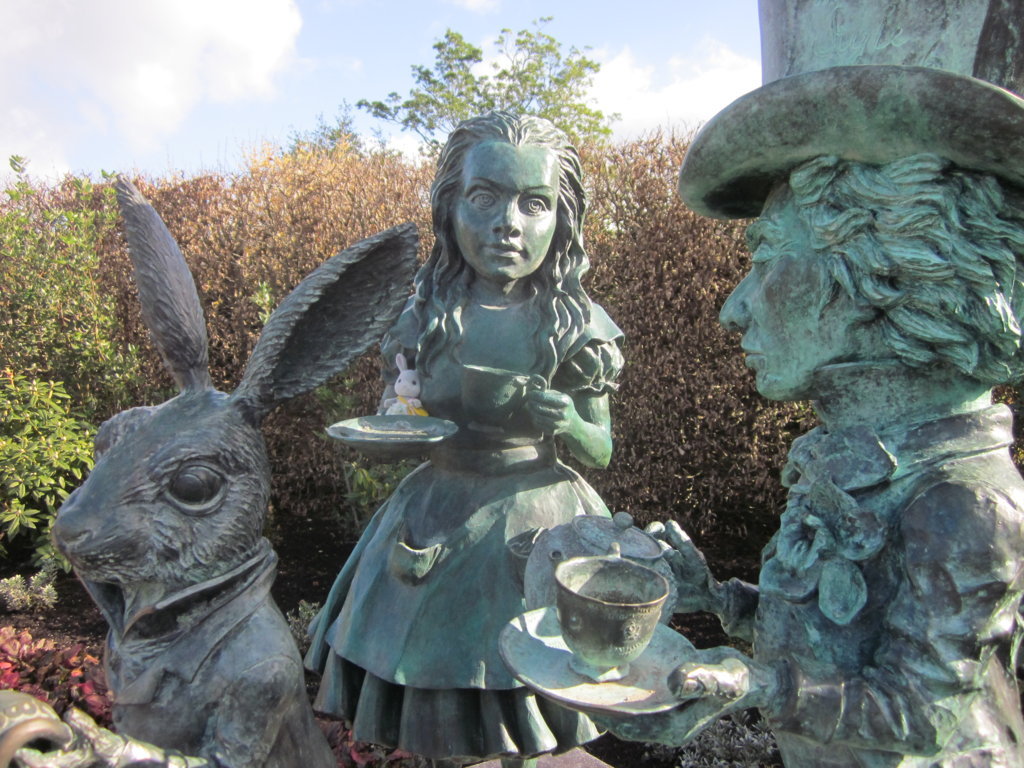
Alice
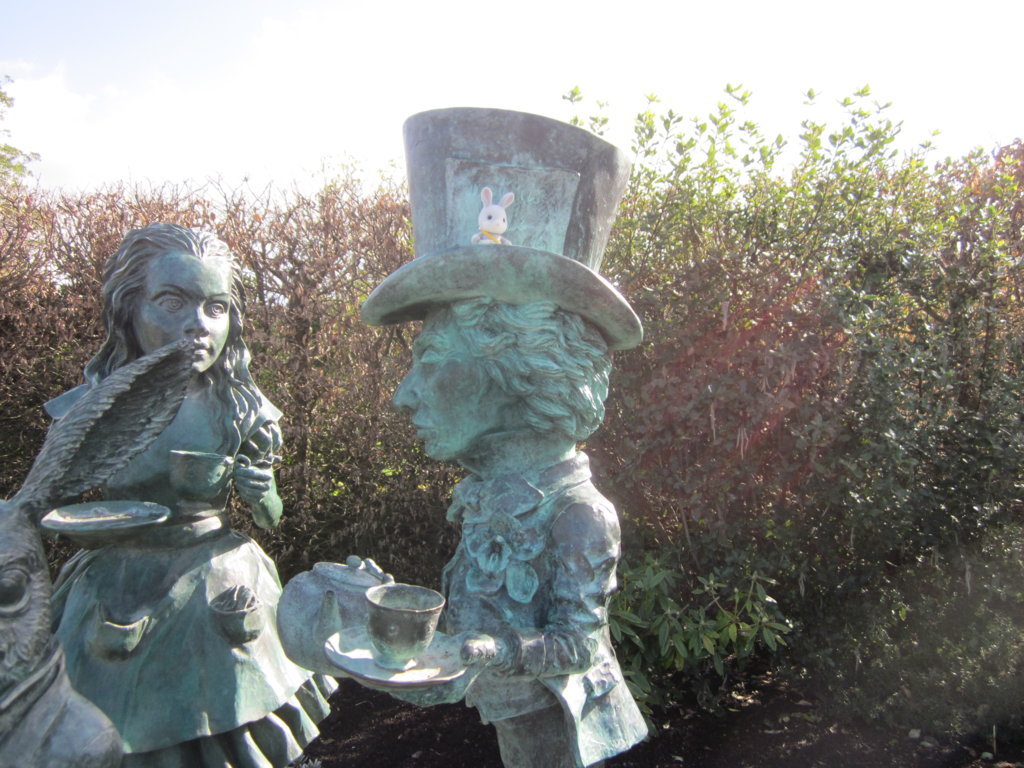
and now the Mad Hatter.
So this is the tudor garden, nice, simple, tidy lines of shrubs with funny little half one animal and other half another animal on green and white poles.
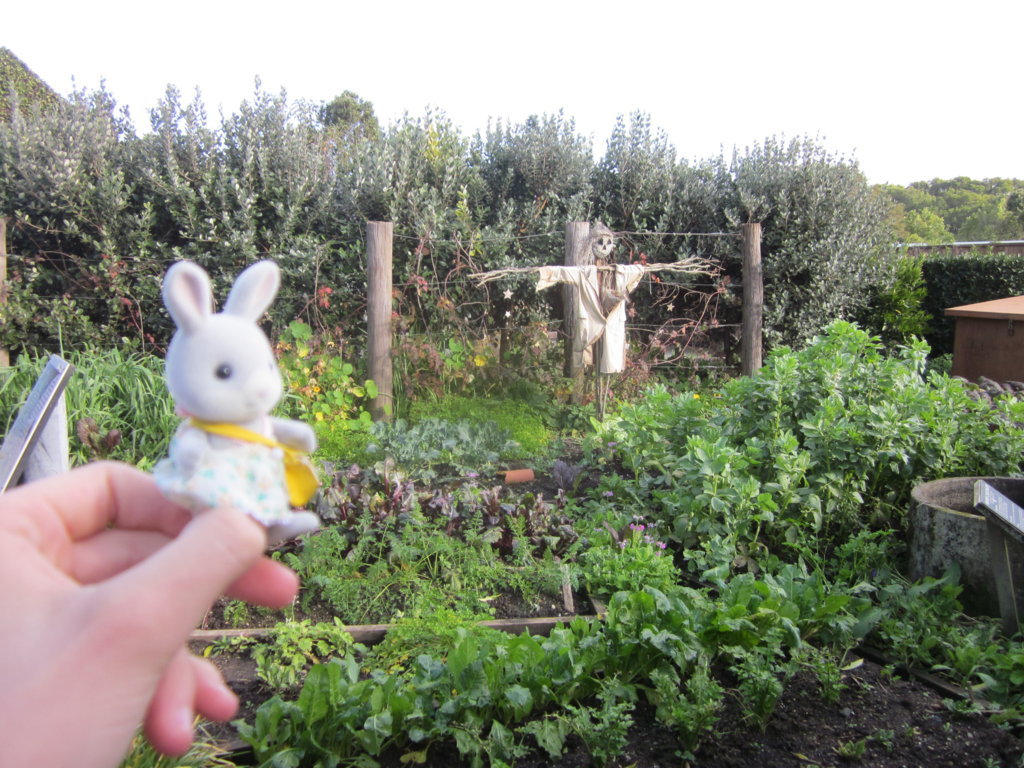
Lots of veggies were in the next garden, this is one of the many pictures of Willow that she made me take for inspiration for the village veggie patch.
This is the tropical garden, Willow and I really liked the colour of the bridge since it stands out and it is clean and fresh looking.

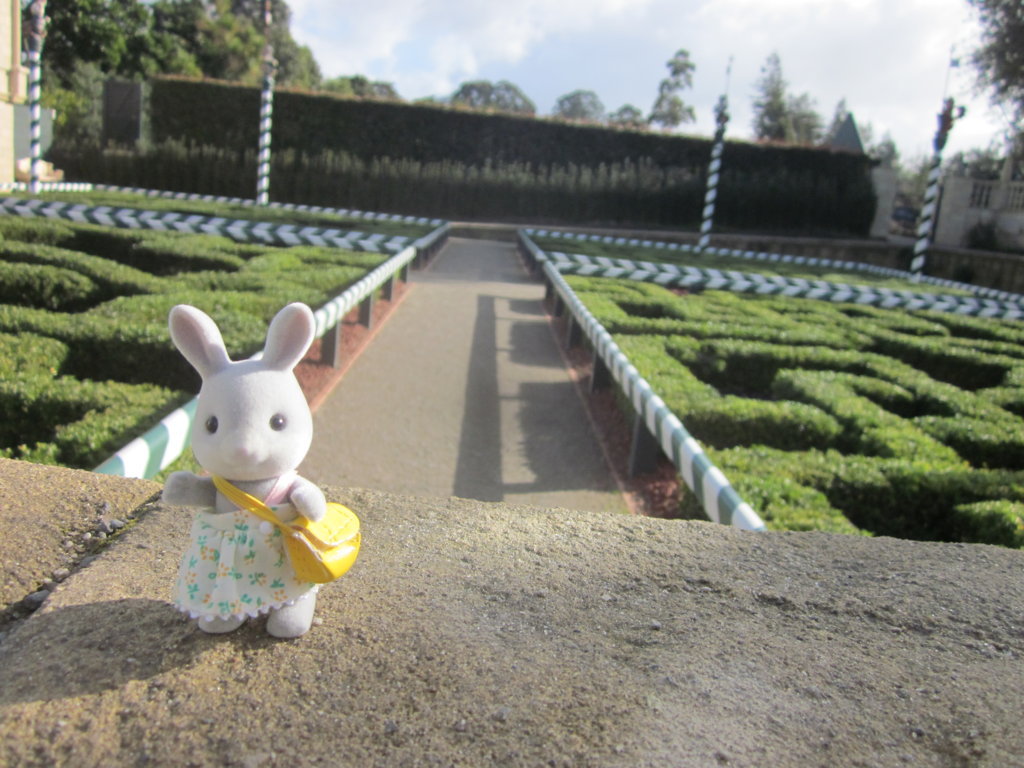
There were many more gardens which we visited and here we are outside of the actuall garden and it was one of the prettiest places in the whole garden.
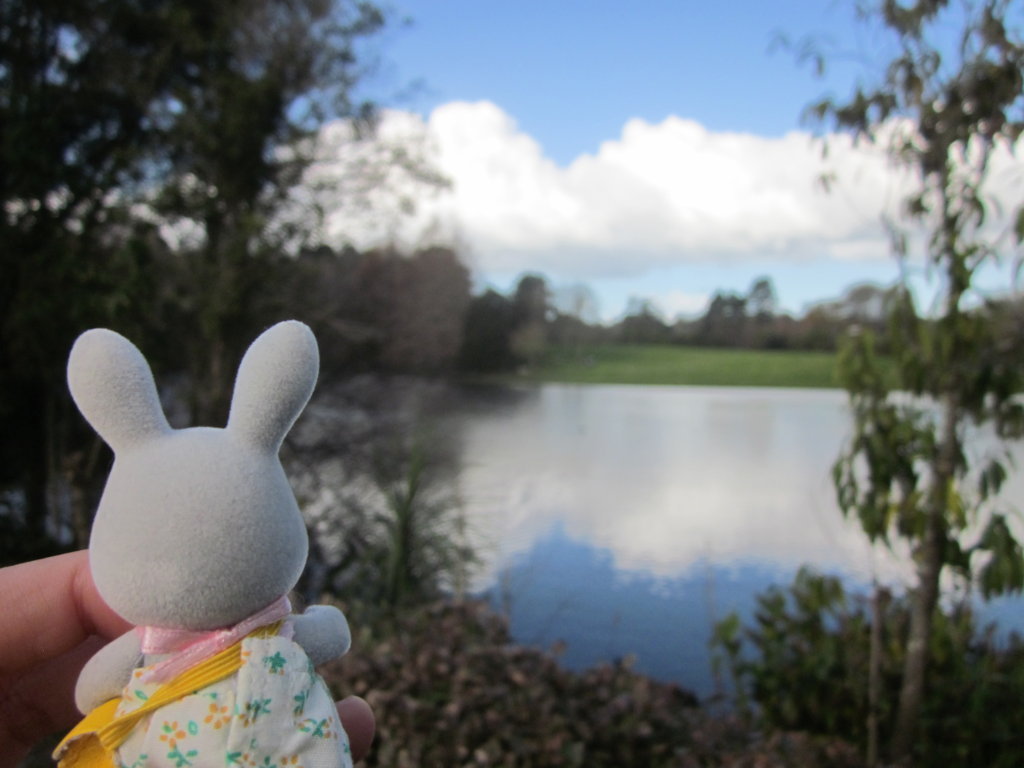
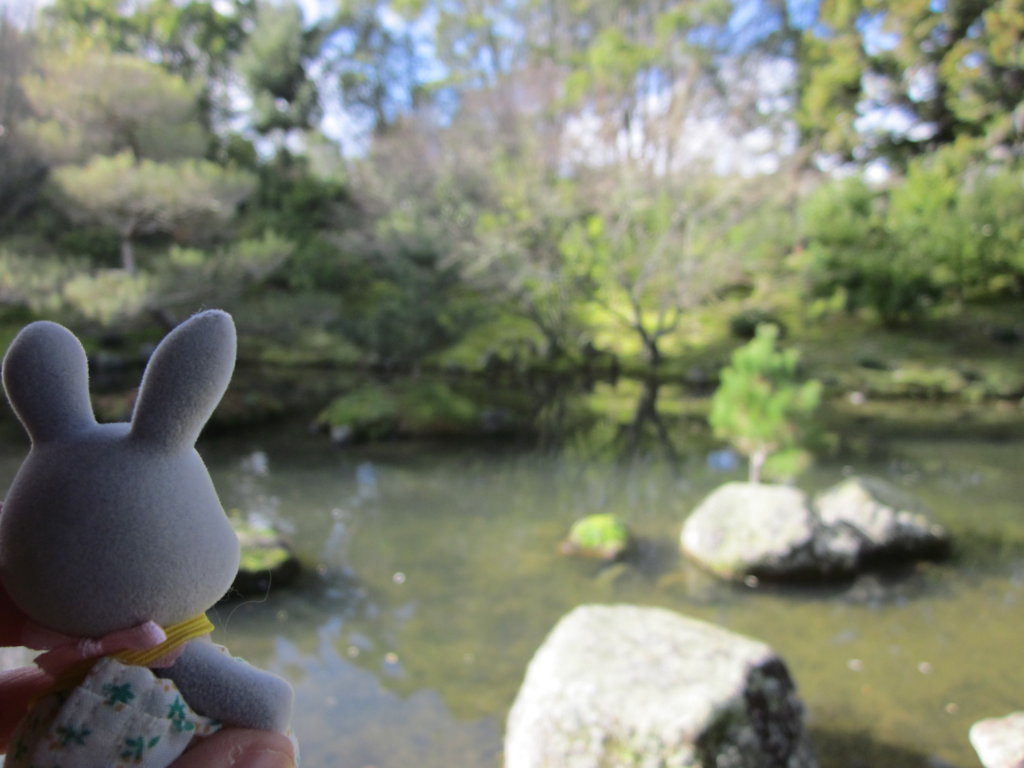
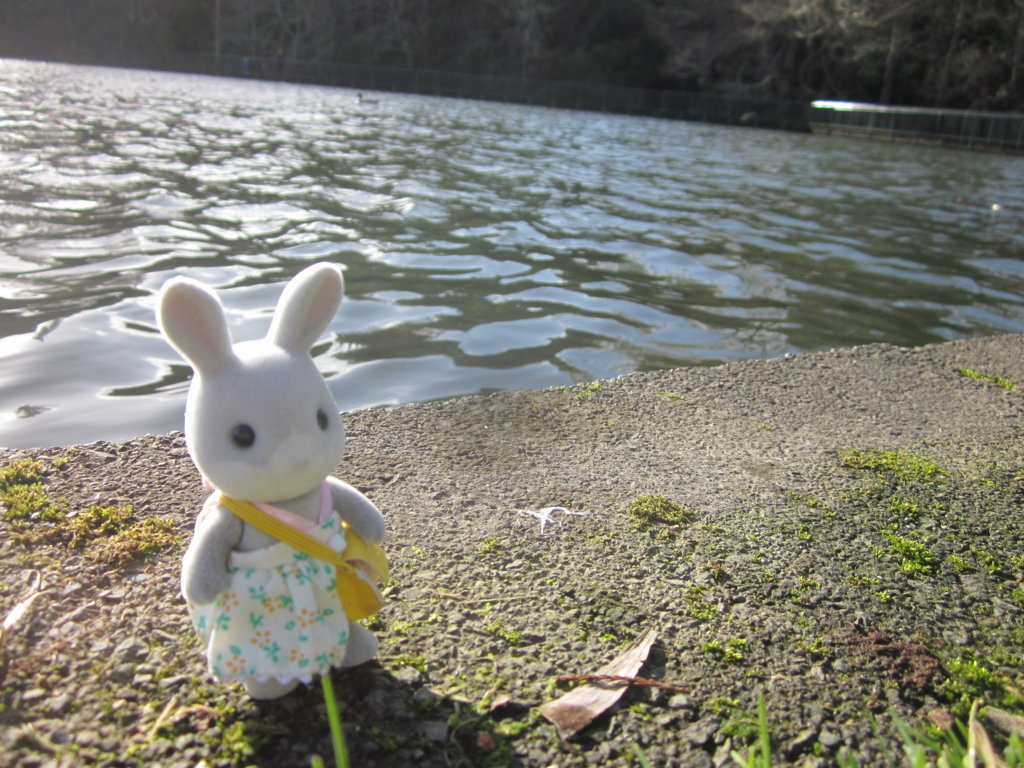
We took a nice walk around the small lake, I especially like this picture here.
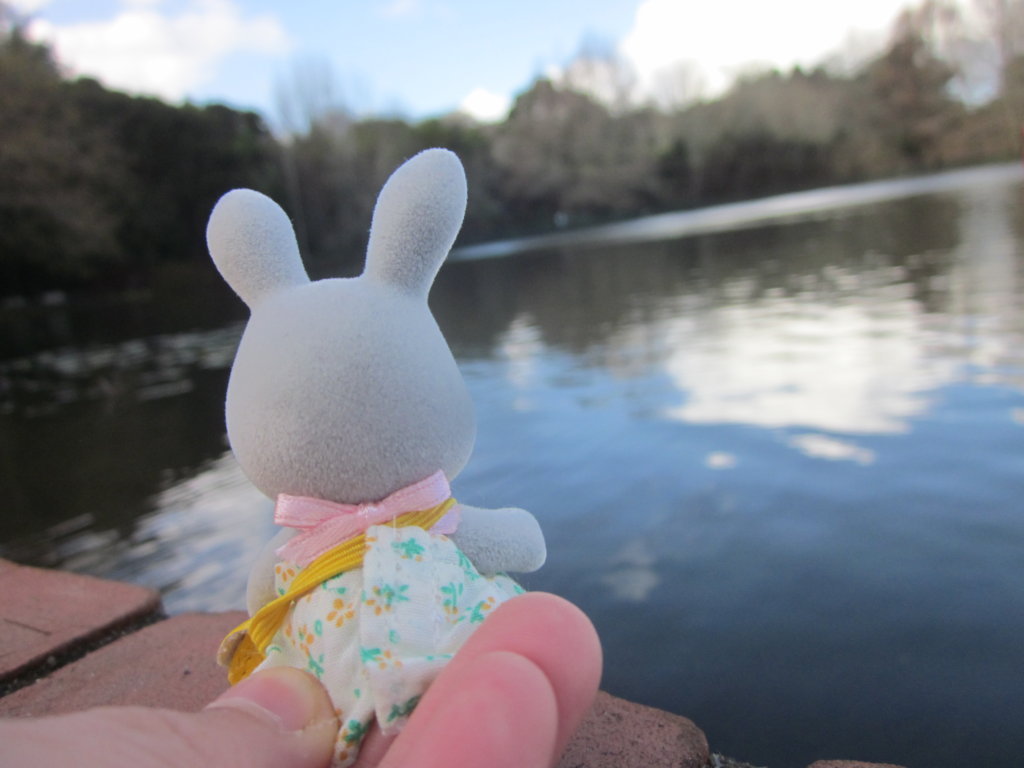
You could go down onto a little patio and I had to hold Willow very tight since the wind could maybe push her into the lake.
This is the last photo I took of Willow, she is now very tiered of all of the walking and is looking forward to the doughnut that I promised her.
Hello everyone! Willow and I really enjoyed ourselves. I want to visith the gardens every season with a different figure each time but we’ll see. Spring is almost over now so if I still want to do this I will have to hurry up…
Emily