For this Tutorial you will need:
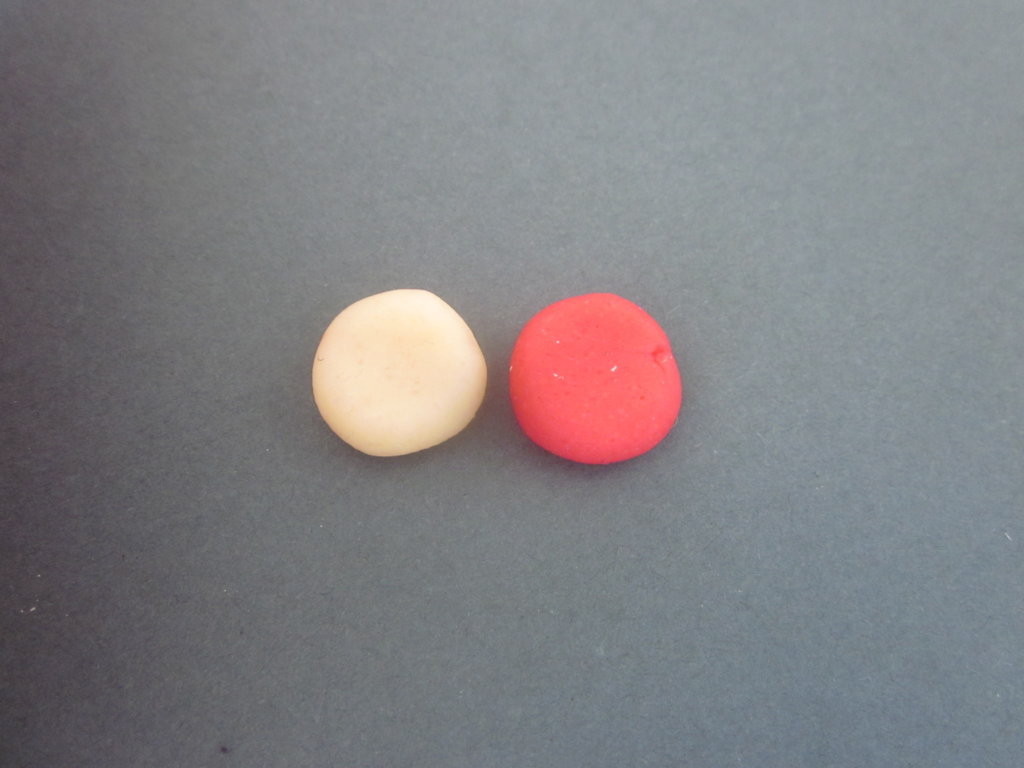
-two balls of red and white FIMO or something like it, these the same size.
-a sharp knife (A hairclip will also work)
-some clear nail polish (Watered down PVA will also work I think)
Flatten your two balls, they need to be the same size and thickness.
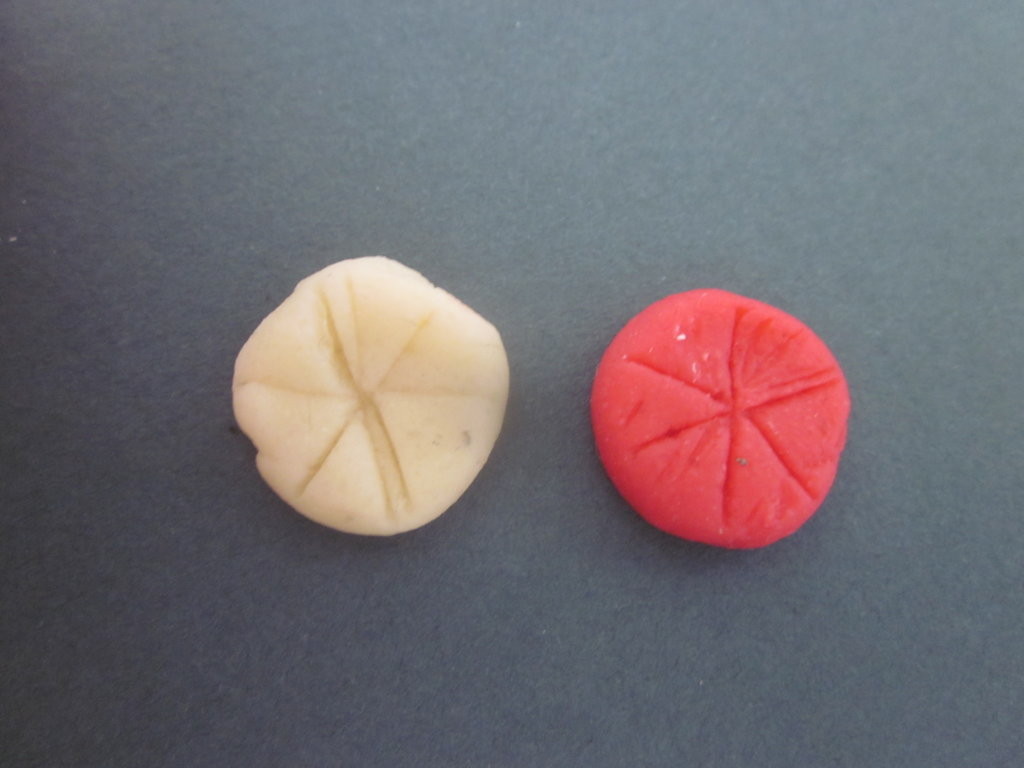
Draw on lines and divide your flattened ball into six pieces each, cut all the way through.
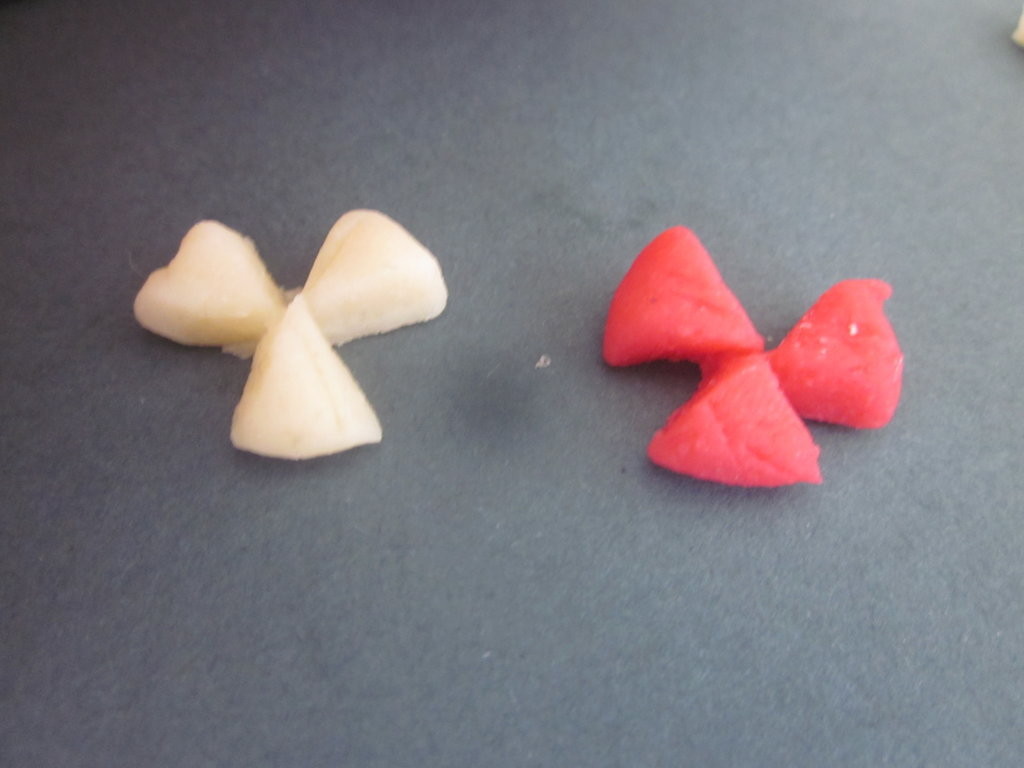
Now put three of the pieces in this shape.
Now put the rest of the pieces of the other colour into the gaps.
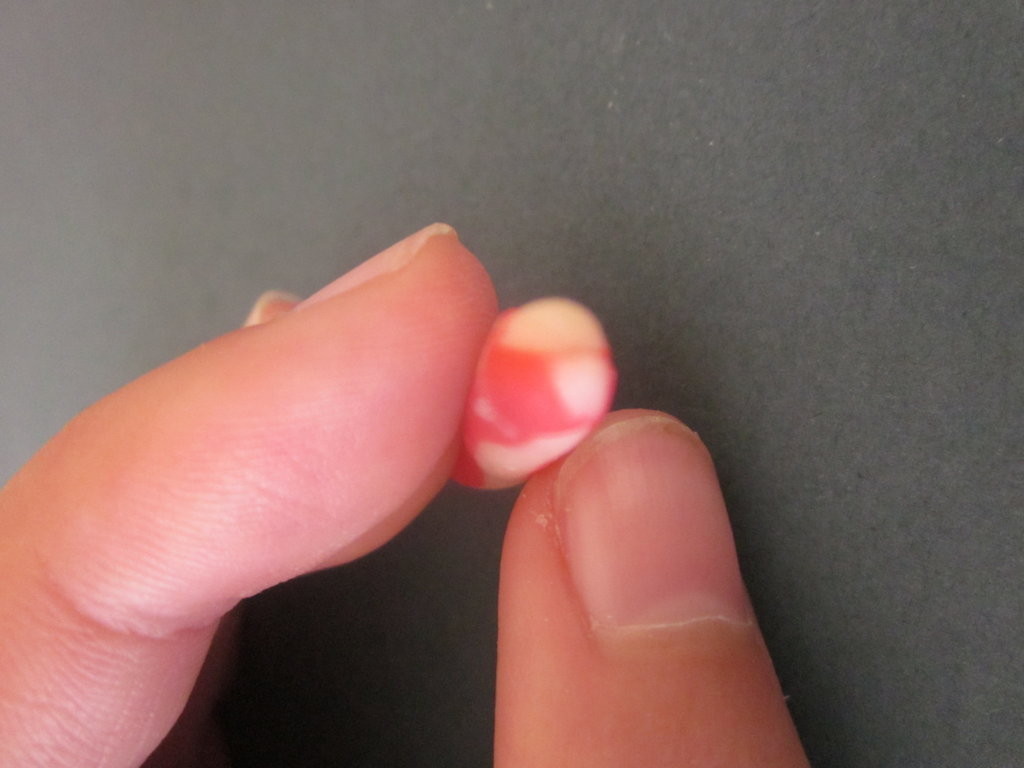
See how they are so big?
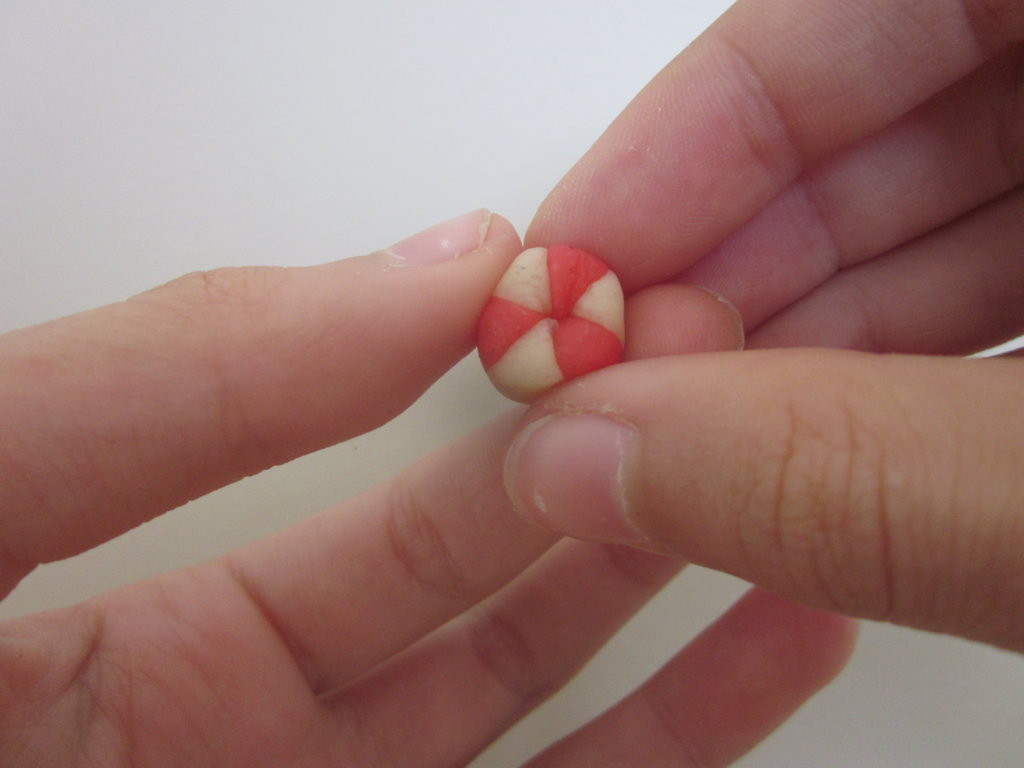
You now need to carefully push the edges for a while to form a cylinder shape.
Do this till they are about this long.
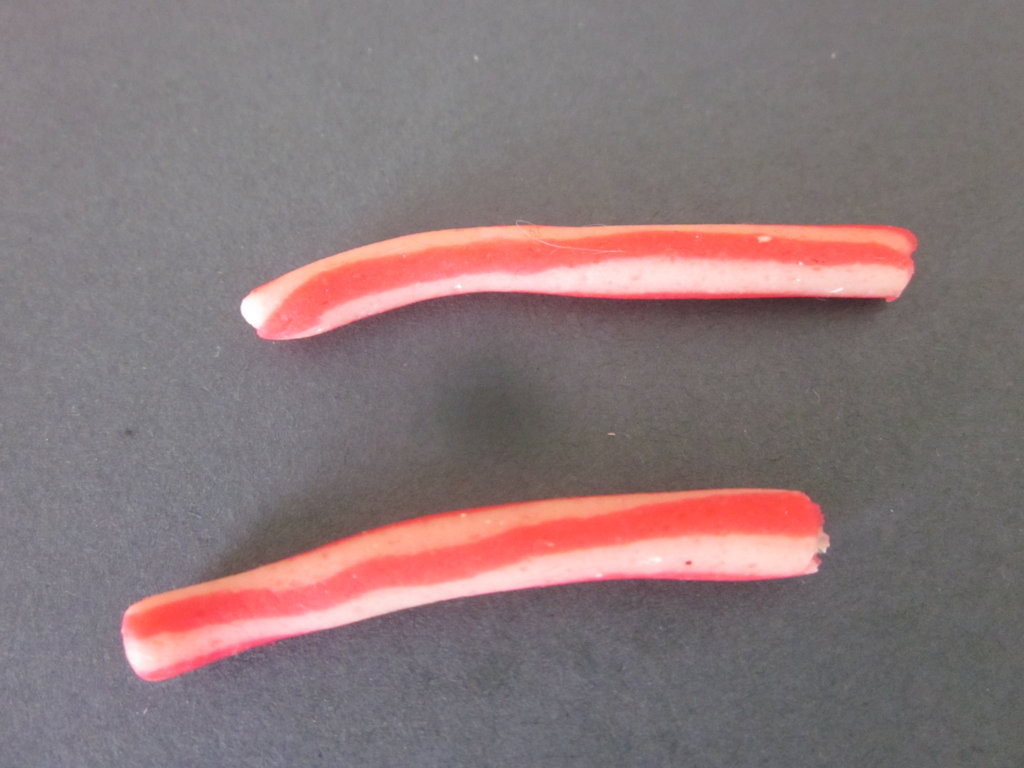
Now roll it carefully out and take a few brakes bettween rolling to prevent the colour from mixing.
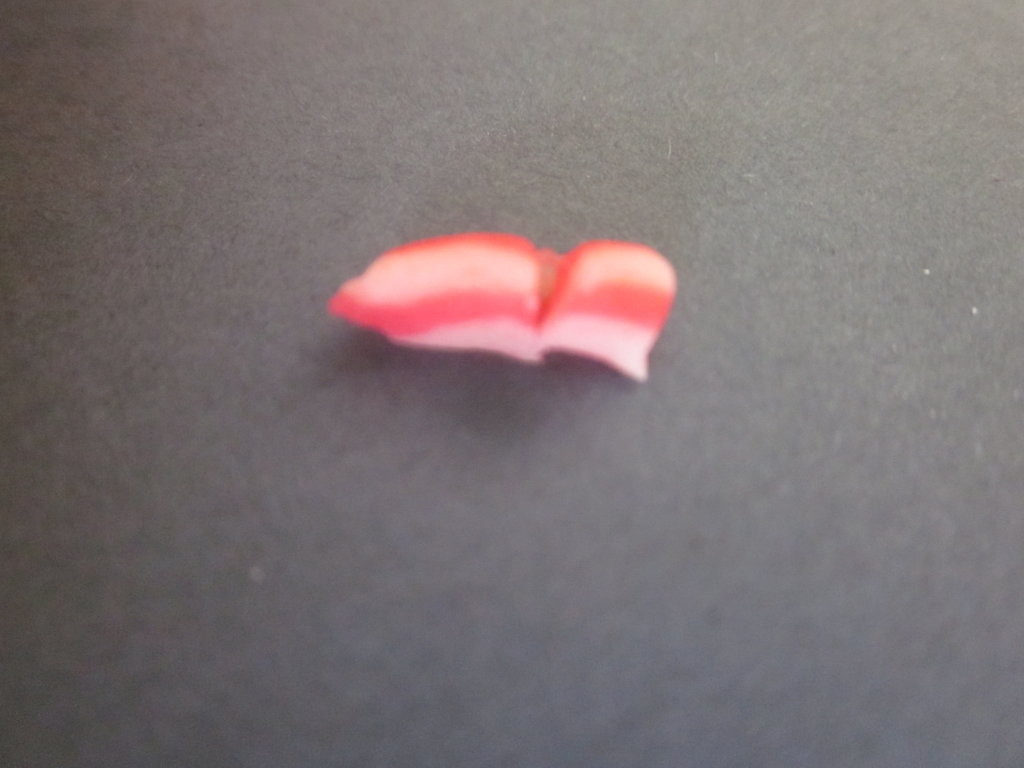
Roll it a bit thinner than you actually want it to be, if the edges turn like this, cut of the bit where one of the colours has ended. See? this was why it was so important to cut carefully before.
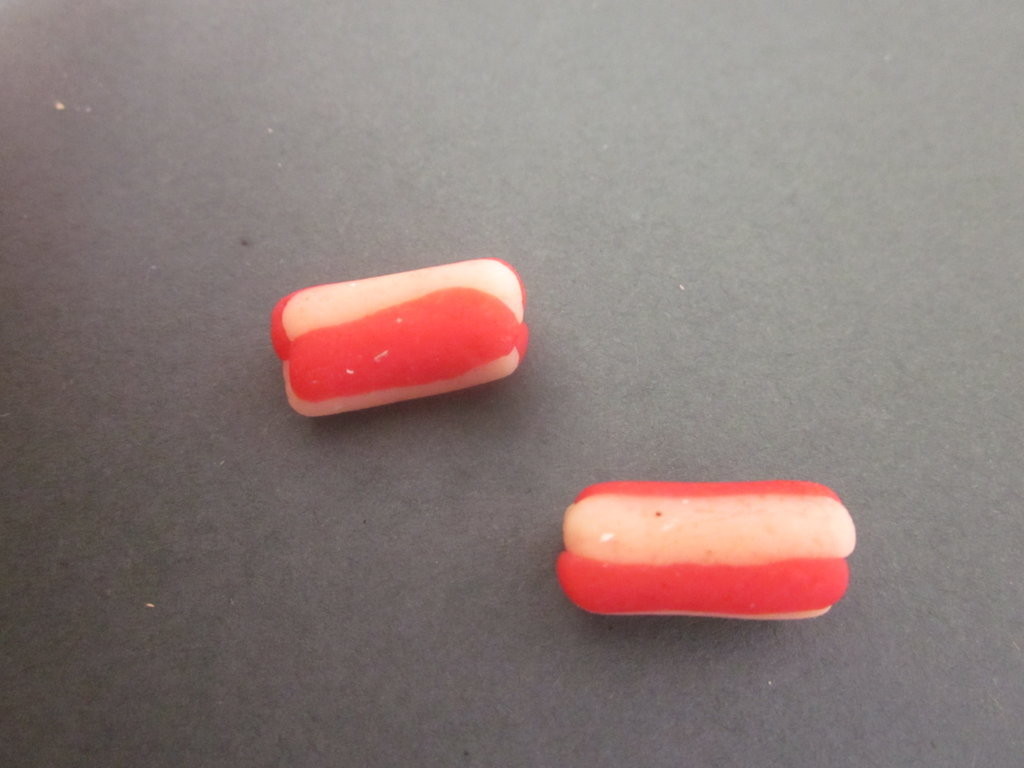
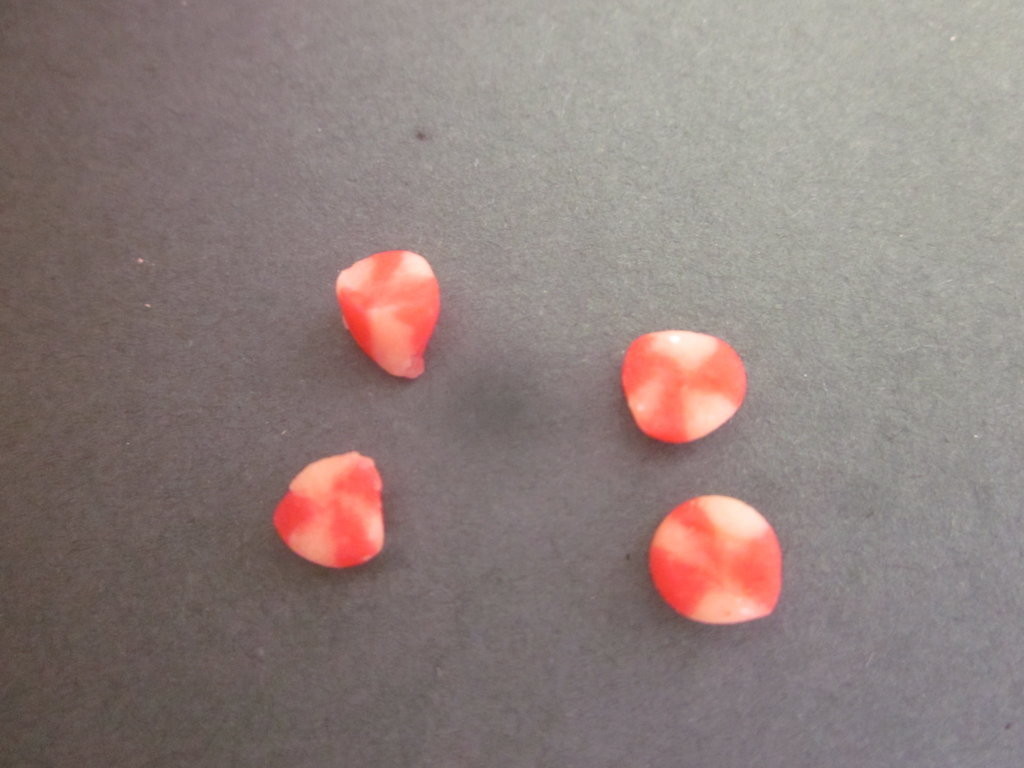
Now carefully cut your logs a bit thicker than you want them to be.
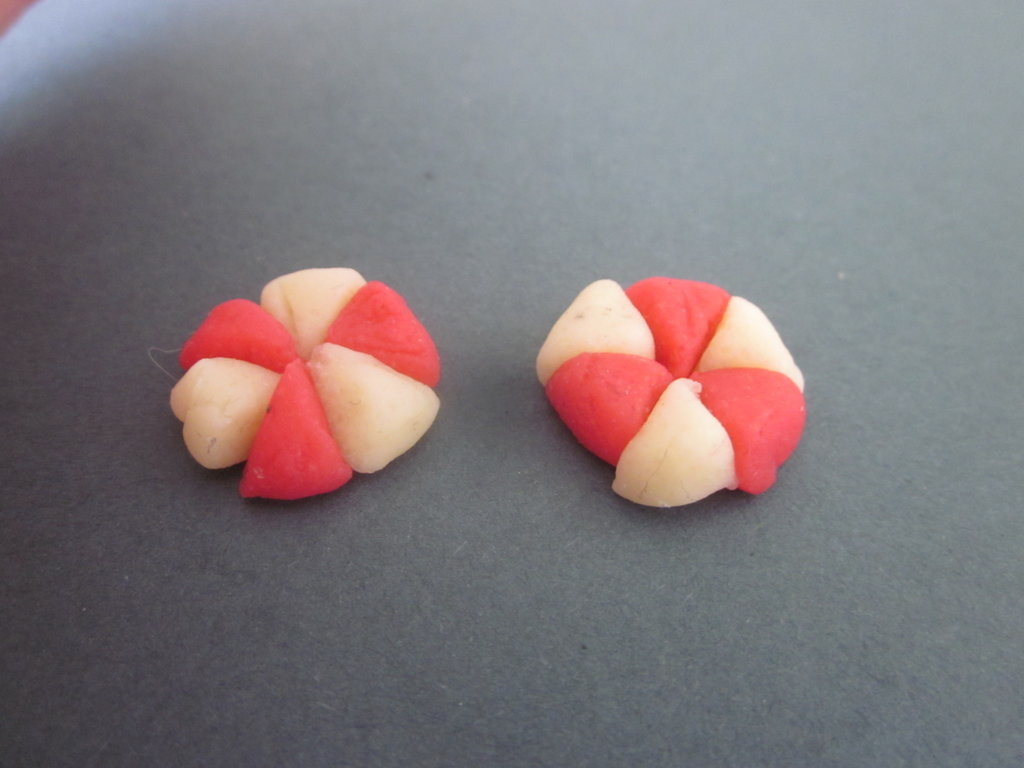
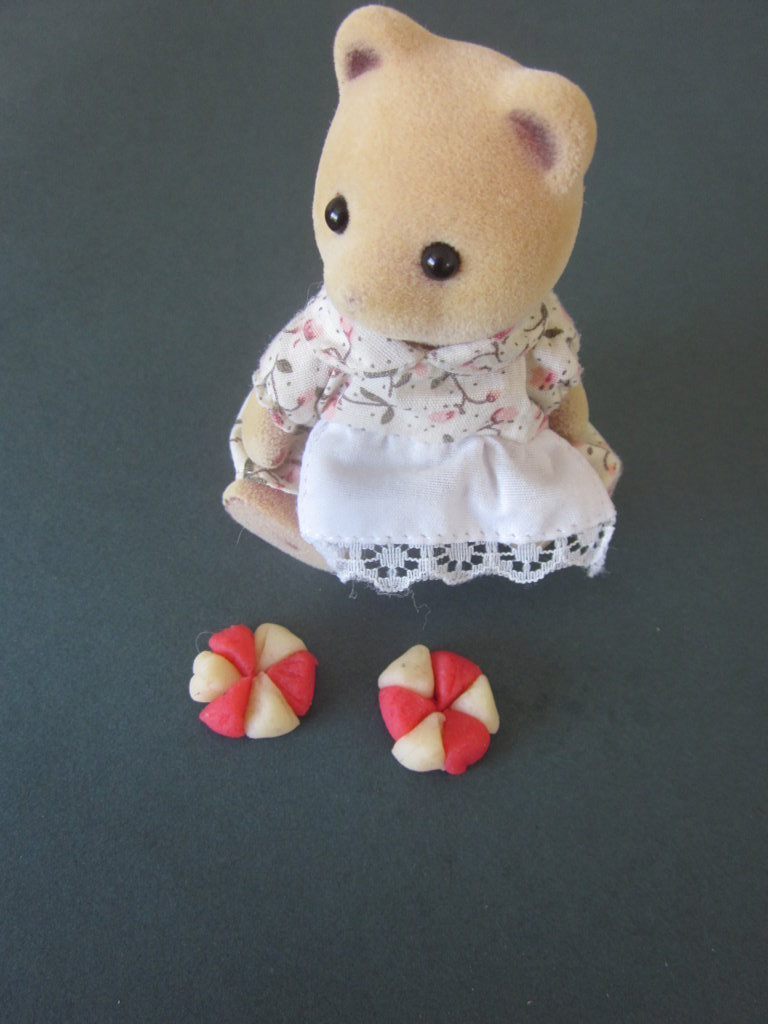
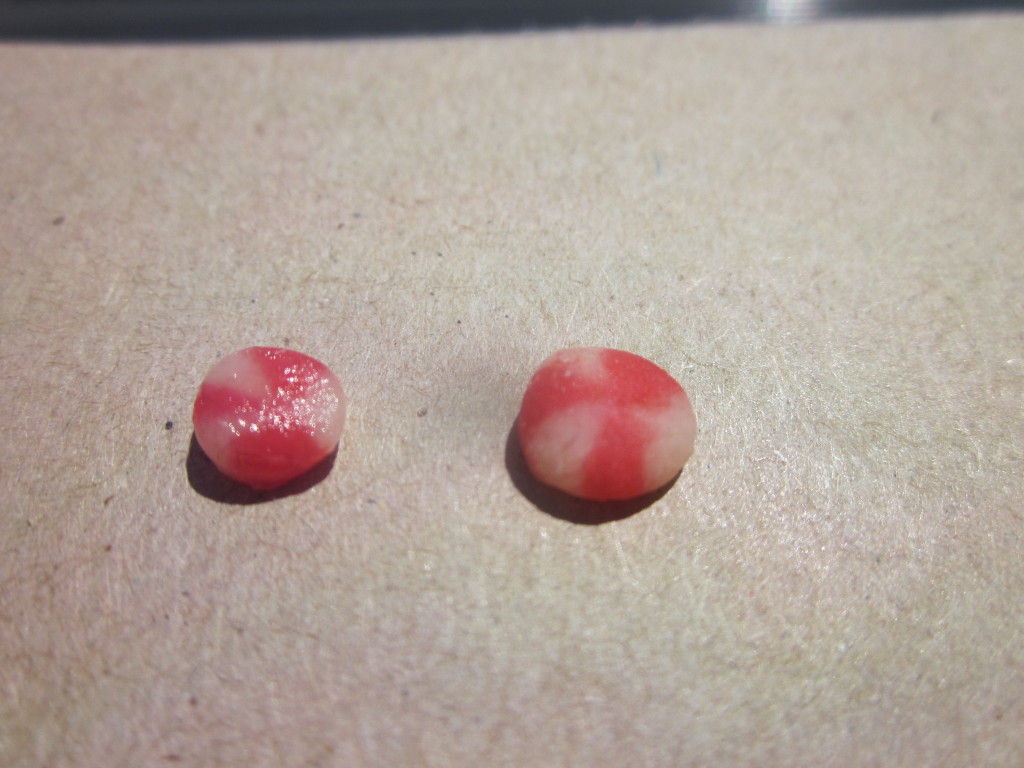
Here you can see that the candy on the right is prettier than the candy on the left, well, all you have to do is flatten them a bit which will make them bigger, thinner and look alot more like real candy.
I coated them with a bit of clear nailpolish which made them look quite sugary, see the one on the left? I used a very cheap nail polish that only cost me two dollars.
Now the Sylvanian parents are ready for the little trick or treaters on Halloween.
————————————————————
With Halloween coming up, I thought this candy would be a great tutorial.
Emily
That’s a really nice idea! I like the sugary look 🙂
thank you kyraja =)
Emily
You are welcome to link to my page, thank you for letting me know you are doing so, that is greatly appreciated. Have a wonderful day (the gingerbread shop looks really nice!).