Yes, thats right, Basswood Creek is getting a community veggie patch. All of the children in the village are tired of going down a half an hour track to the orchard, get the veggies and then come back to find that they have forgoton something. Holly Acorn has been very keen on the project along with Chelsea Blackberry who ownes the orchard. I know I posted on veggies on my last blog but these veggies are much better. So when I think of veggies, I think of carrots so carrots it is!
For this tutorial you will need:
-Orange FIMO or something like it
-Green FIMO or something like it
-a sharp knife
-a bluntish sharpish pencil
-a wooden skewer
-pva glue
-some clay or FIMO or playdoh (any colour) I made my own playdoh from this tutorial
-tea bag
-brown paint (optional)
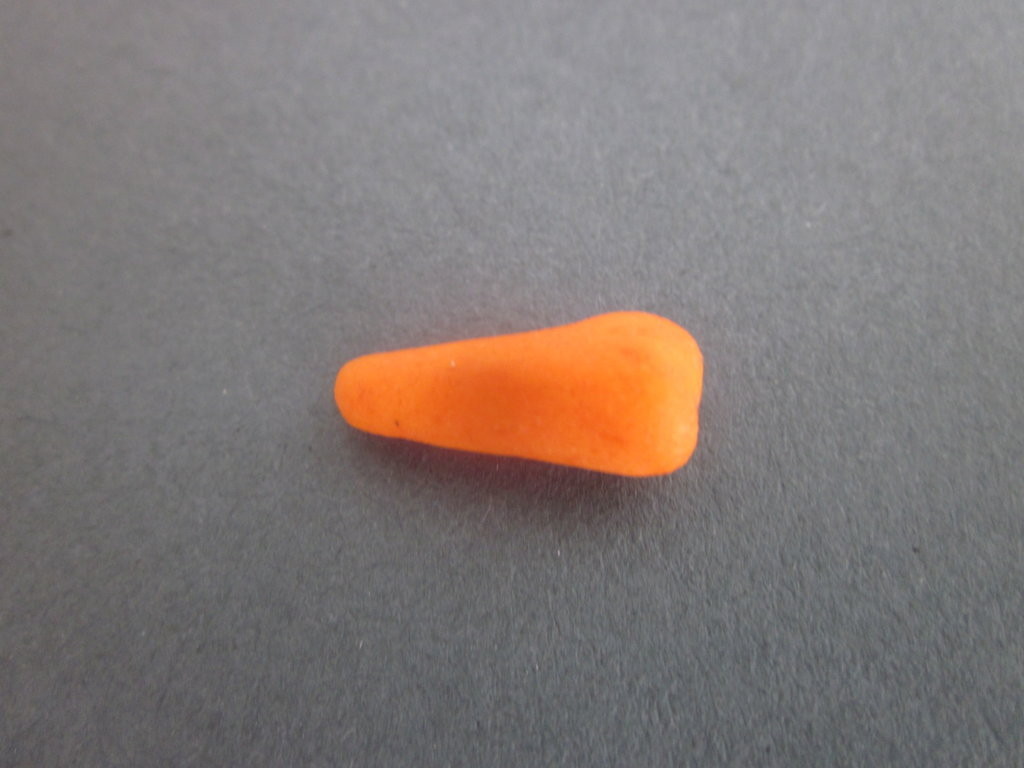
First roll your orange mixture into a carrot shape,
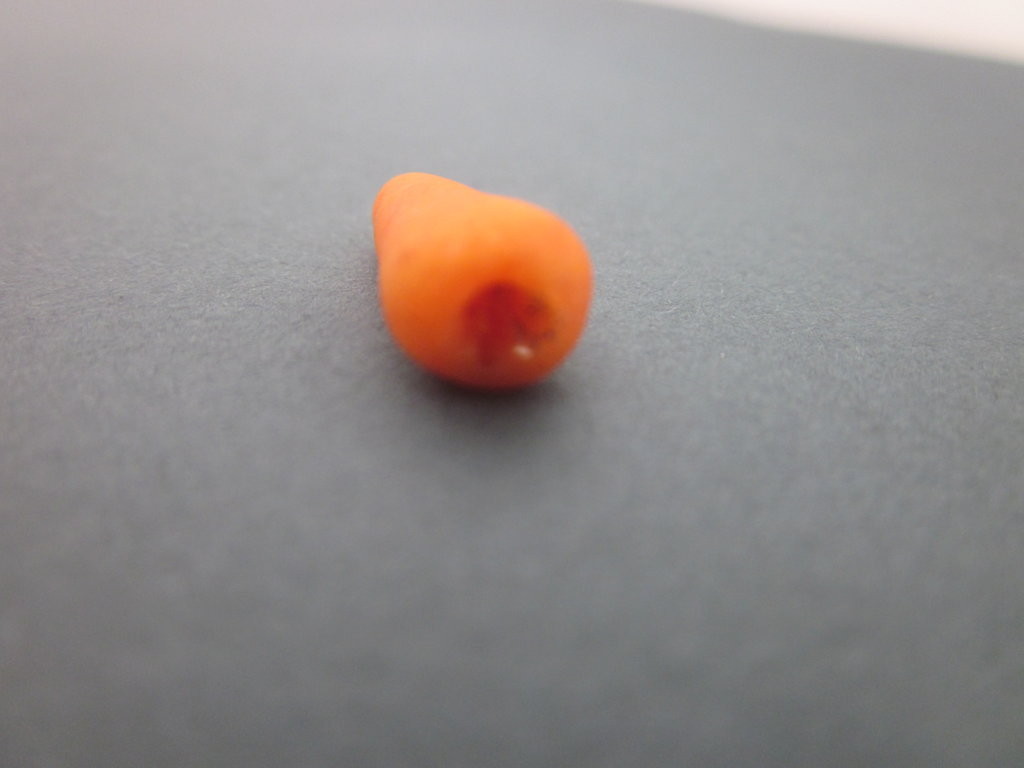
Then, using your pencil, poke a hole at the top,
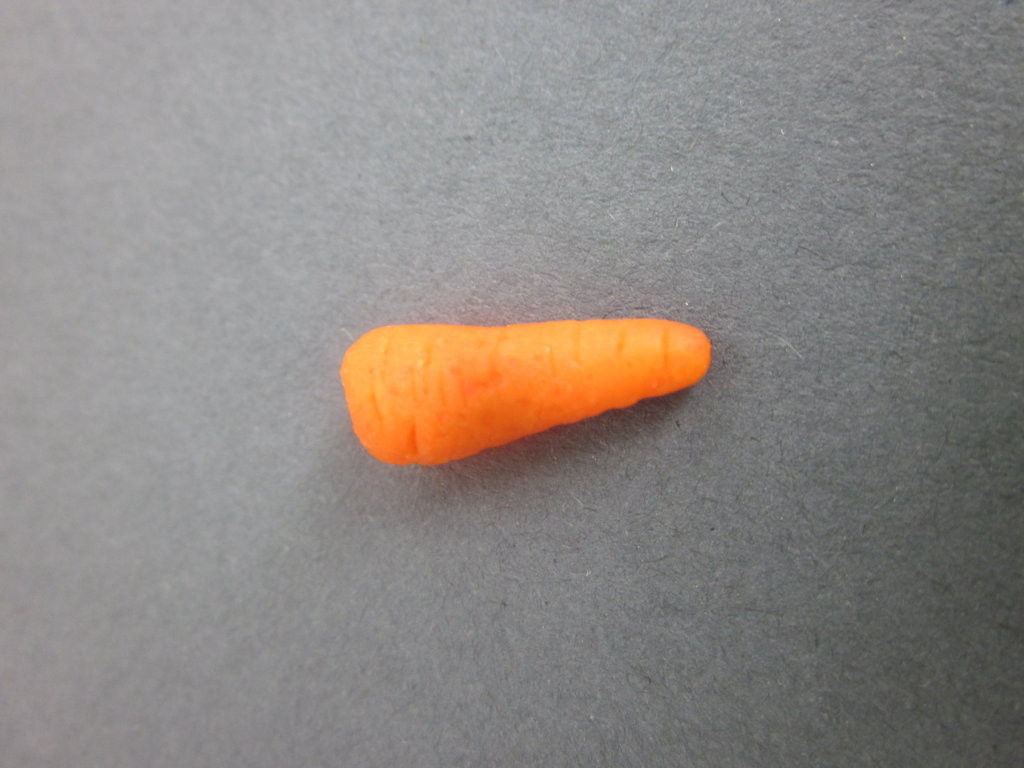
Now use your knife to gently draw on little lines,
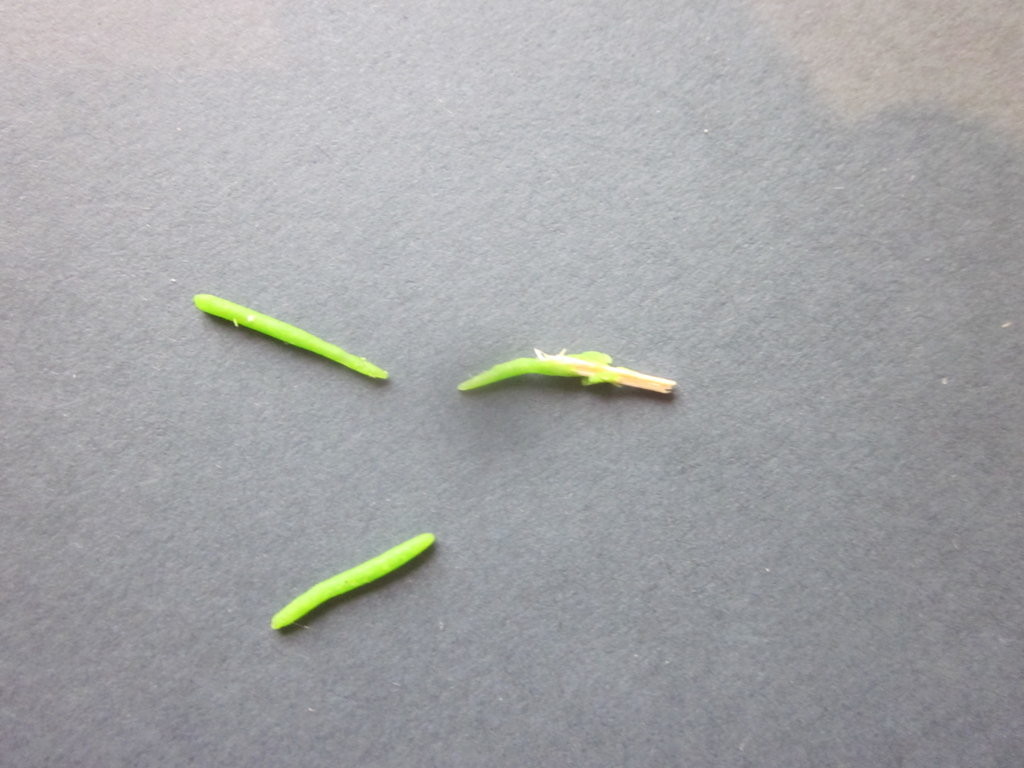
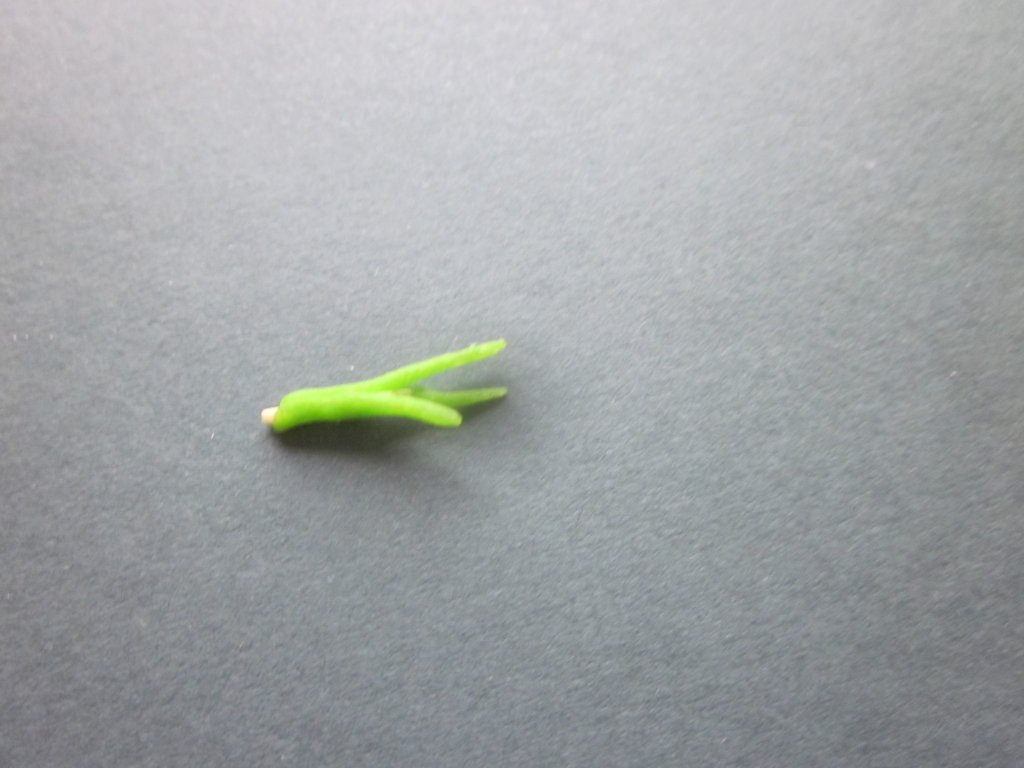
Put your “carrot” to the side and cut a very small bit of skewer off and then put three small sausages of green FIMO on it.
Like this,
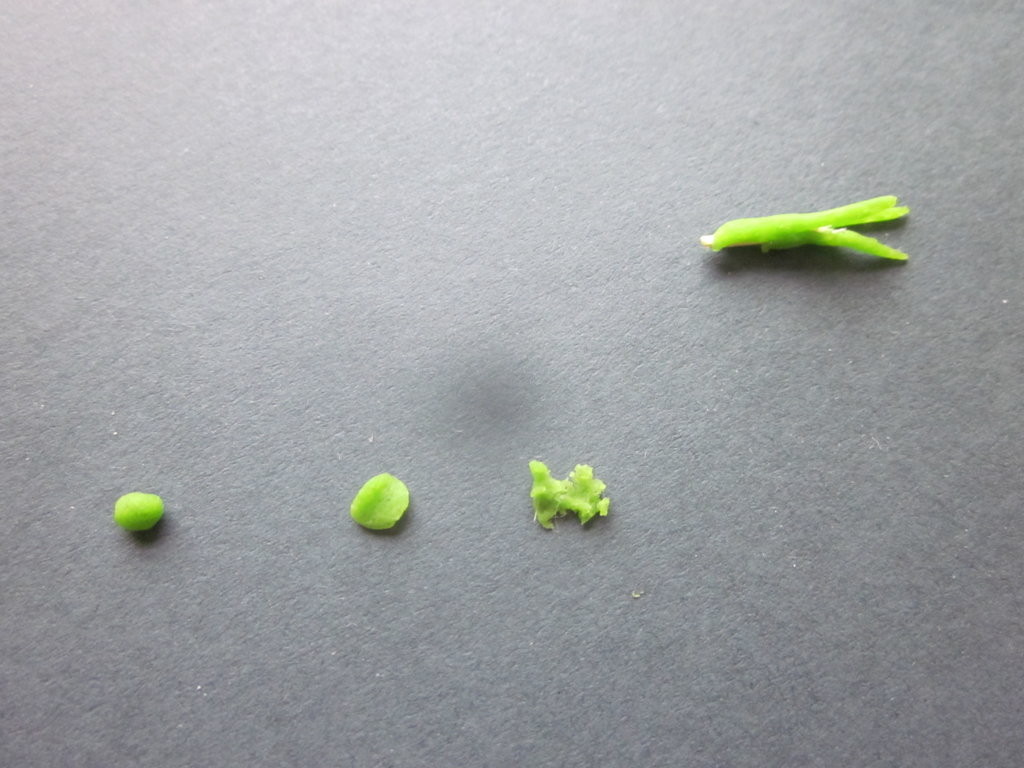
Now make three plat ovals and using your pencil again, roughen it up,
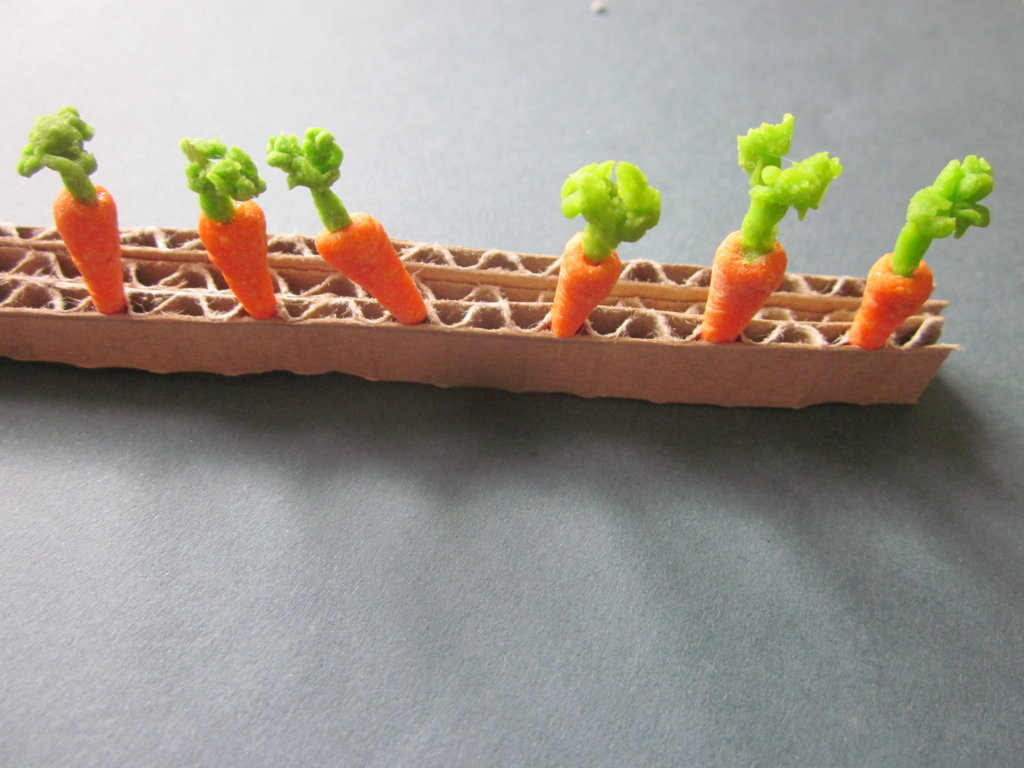
After that you put the “leaves” on the “stalk” and the “leaf and stalk” into the hole in your “carrot”. But first, put a bit of PVA at the bottom of the hole. Now let your carrot dry…
Now here is part two.
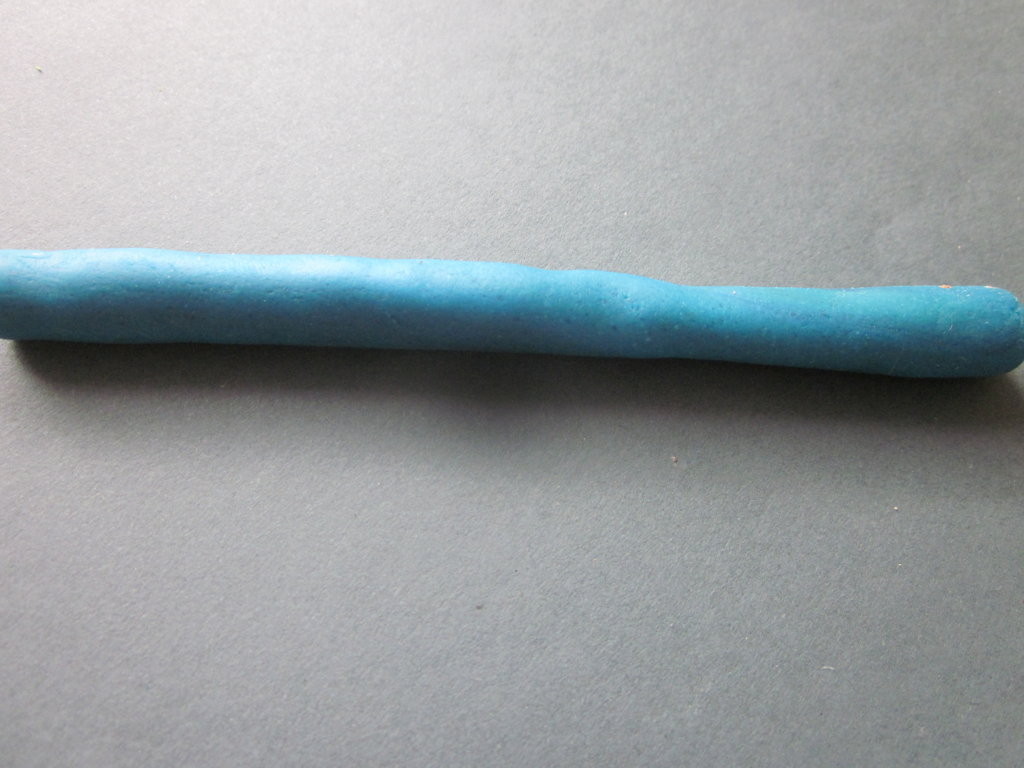
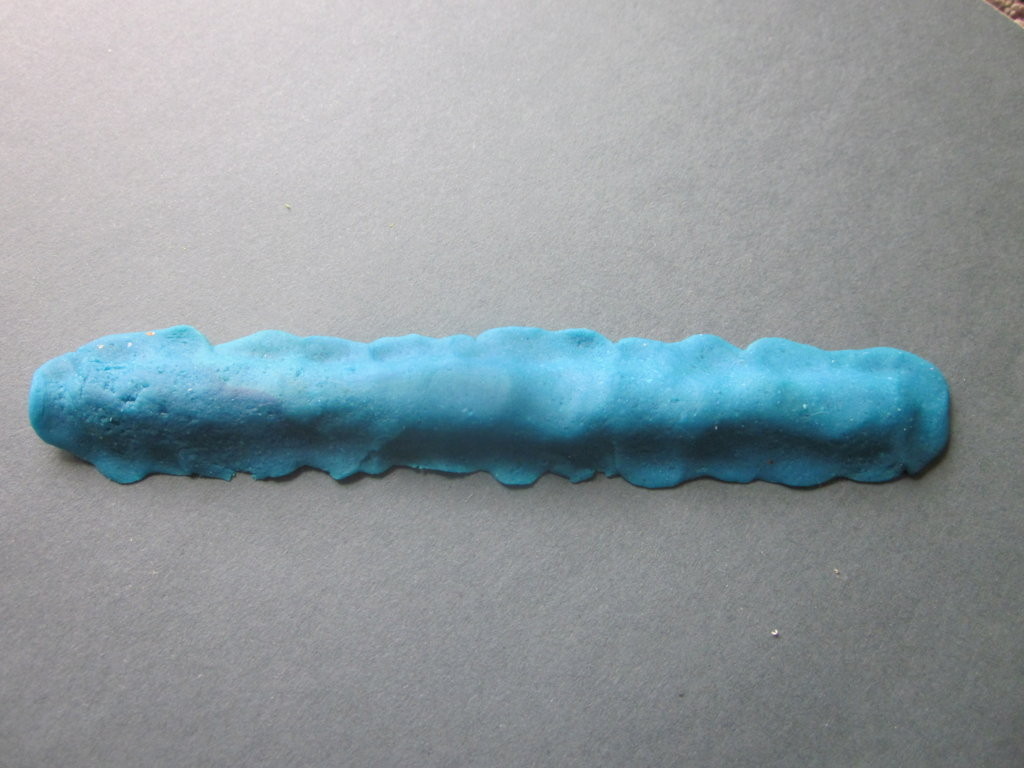
Roll a piece of playdoh or FIMO the length of your carrot bed and a bit bigger than you want the height.
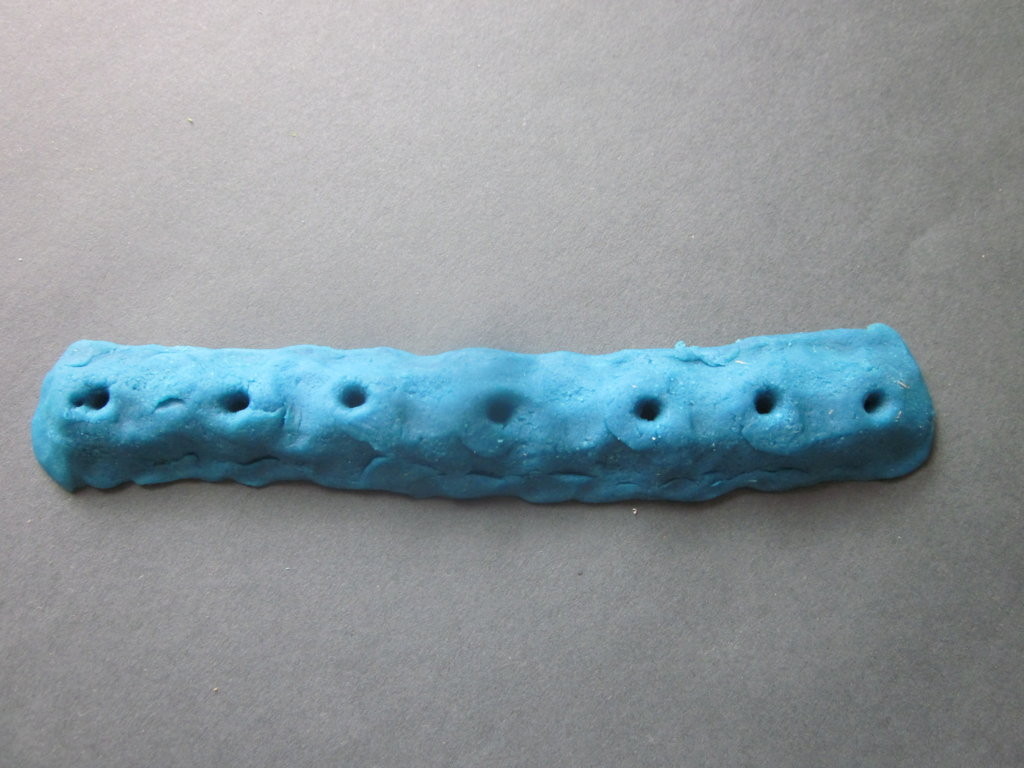
Flatten the edges and the top, with your finger, press gently onto the top in some places to make it go like, mound, drop, mound, drop etc.
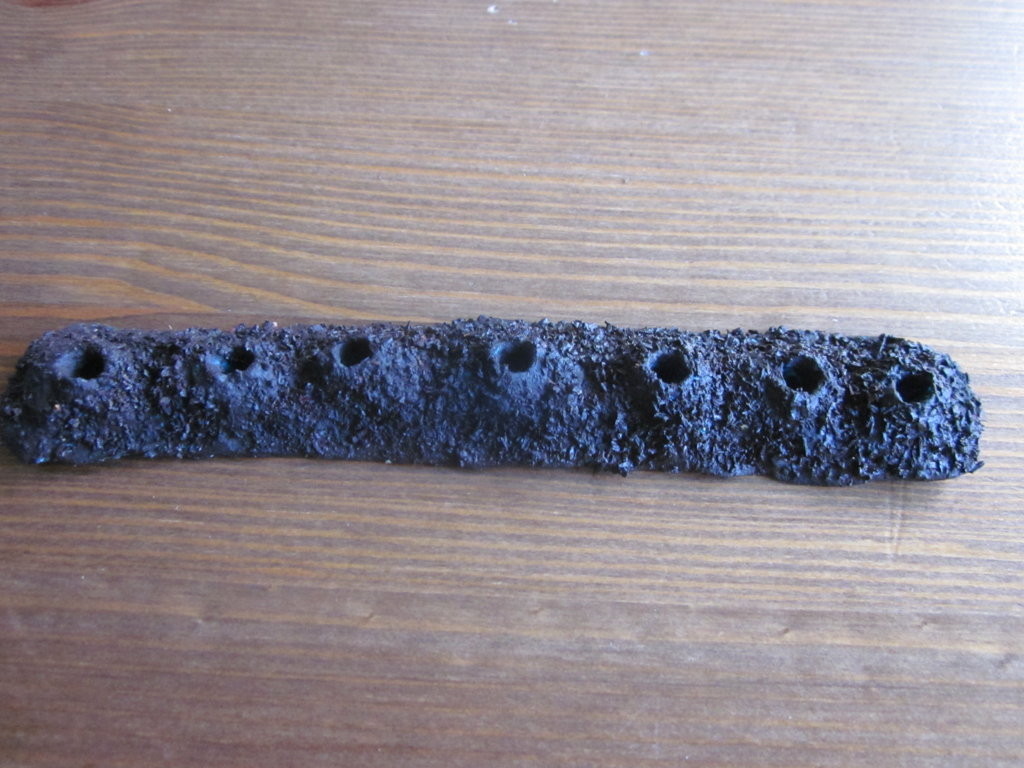
Now put you carrots in your bed to make the holes, you do not have to do this but my holes started to shrink a bit so I left in the carrots while it dried. Now the sylvanians will be able to “harvest” carrots.
Heres part two:
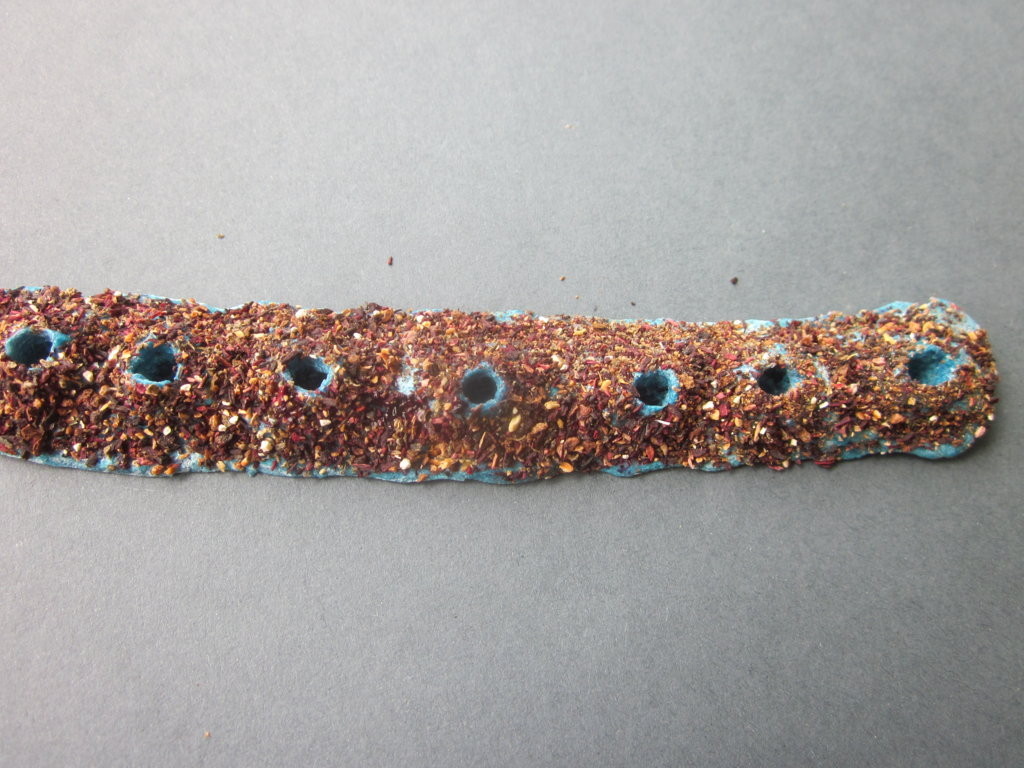
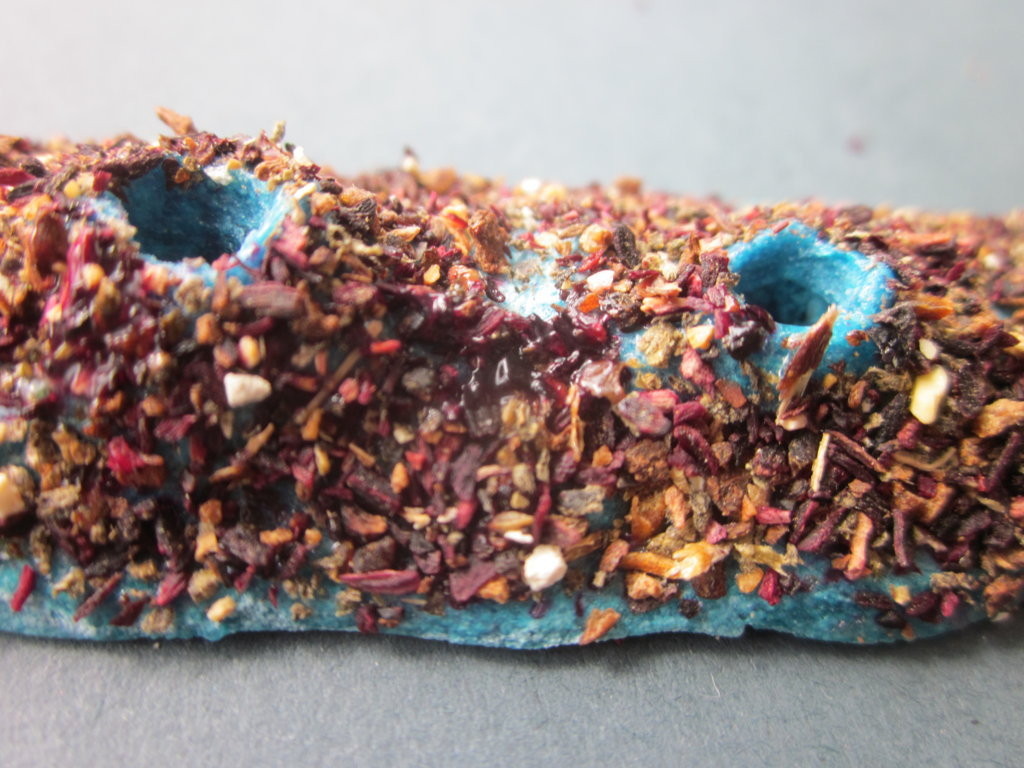
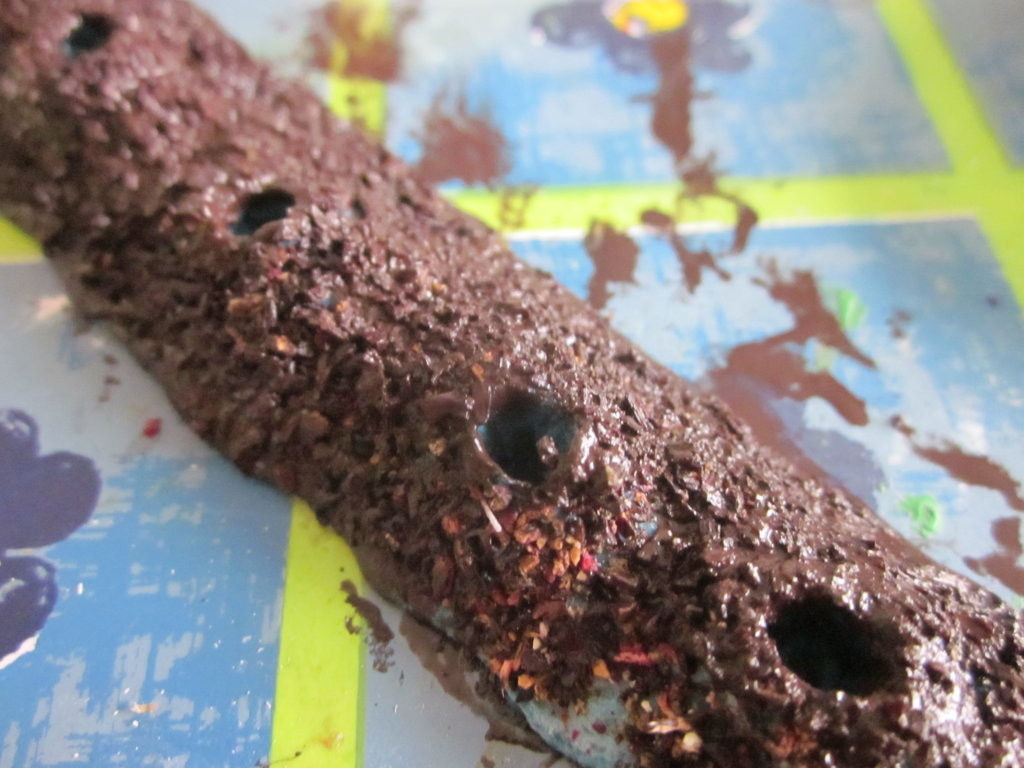
Spread PVA over your “Garden bed” and then sprinkle tea over it, it does not all have to be covered.
Let it dry. Here you see the shiny bit, that is what it would look like with just PVA on top. The colour of your tea does not matter since…
Paint! I mixed black and different shades of brown together to get this colour, also mix in a bit of PVA and water into the mixture. PVA will help stick everything together and the water will make the paint quite runny which helps to get in all the knooks and cranies.
Now let it dry! (Sorry about the bad lighting, it does not actually look blueish.)
————————————————————————–
There we are! Other veg coming soon!
Emily
The veggie path looks great!
And the carrots look very realistic 🙂
Thank you =) They are better than my previous ones, aren’t they?
Emily
I love the new blog- it has a very pretty layout.
i love diy’s like this- sylvanians are very greedy and VERY HUNGRY! but they do like growing their own so with the help of your patch- now they can! Thankyou 🙂
Hahaha! Thank you =)
Emily