For this tutorial you will need;
-Cardboard
-Pencil
-PVA glue
-Ruler
-Scissors
-Fabric
-Something heavy
-Cellotape
-Wire

First of all you draw up a plan how you want your dentist chair to look like and the measurements.
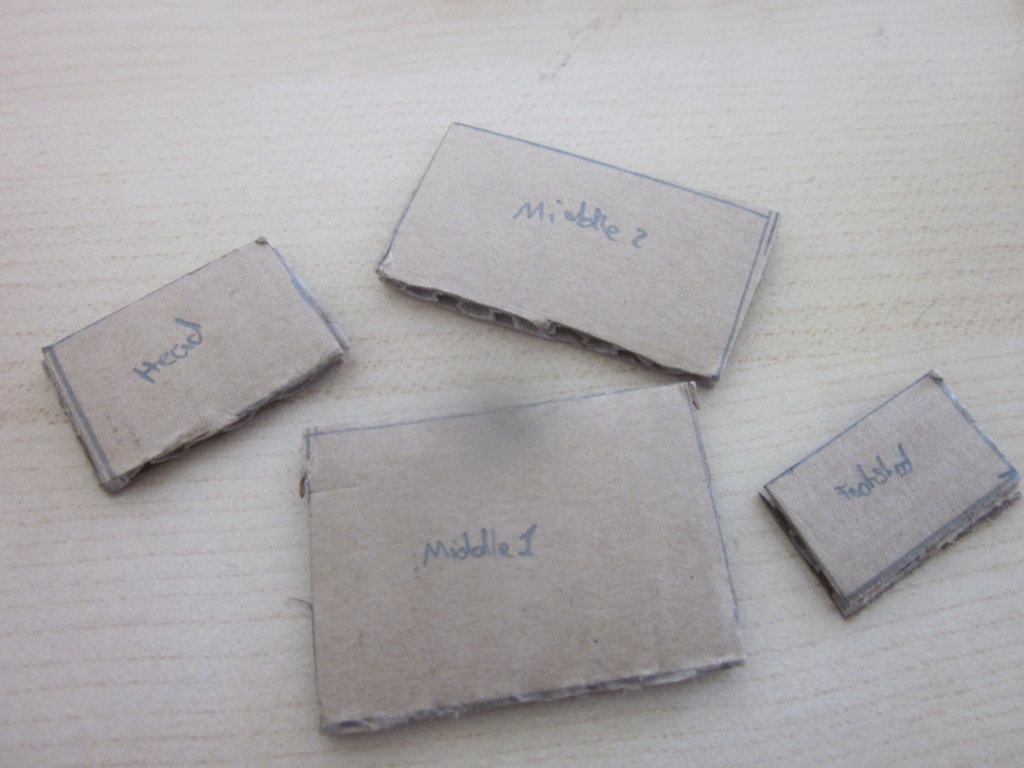
1.Rule up all of your pieces and cut out, make sure to label them.
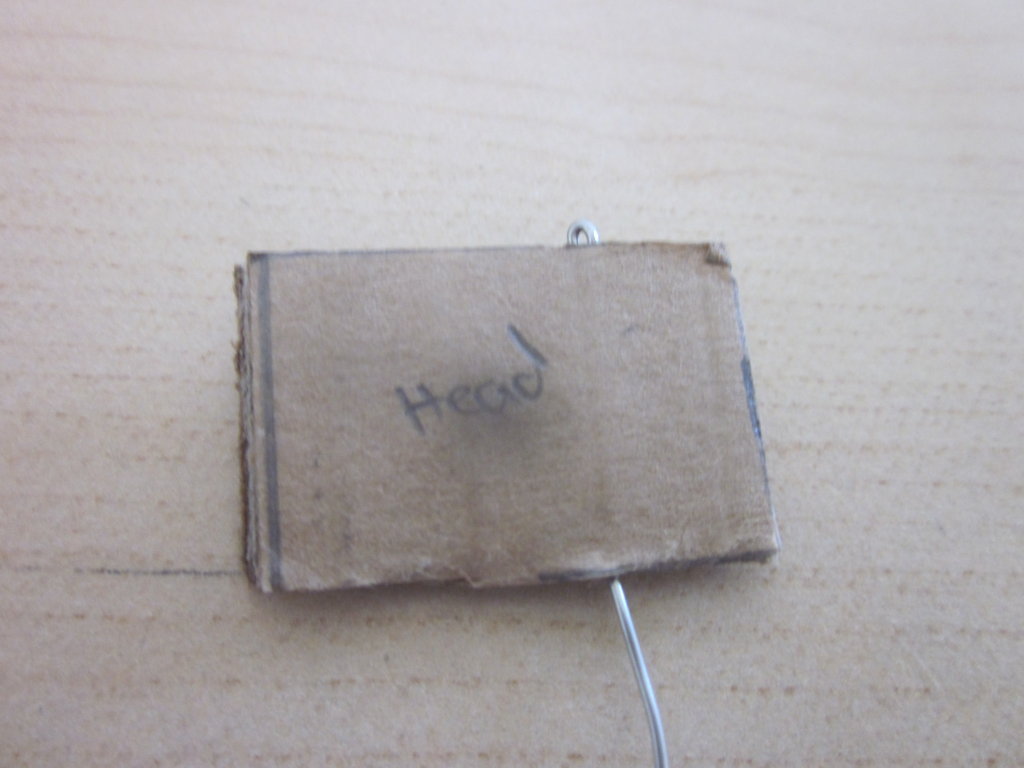
2. Next you want to thread some wire trough the holes of your cardboard.

3. You bend the wire like the one above.

4. As you can see in the gap goes the side of the cardboard hole, do this on the other side as well

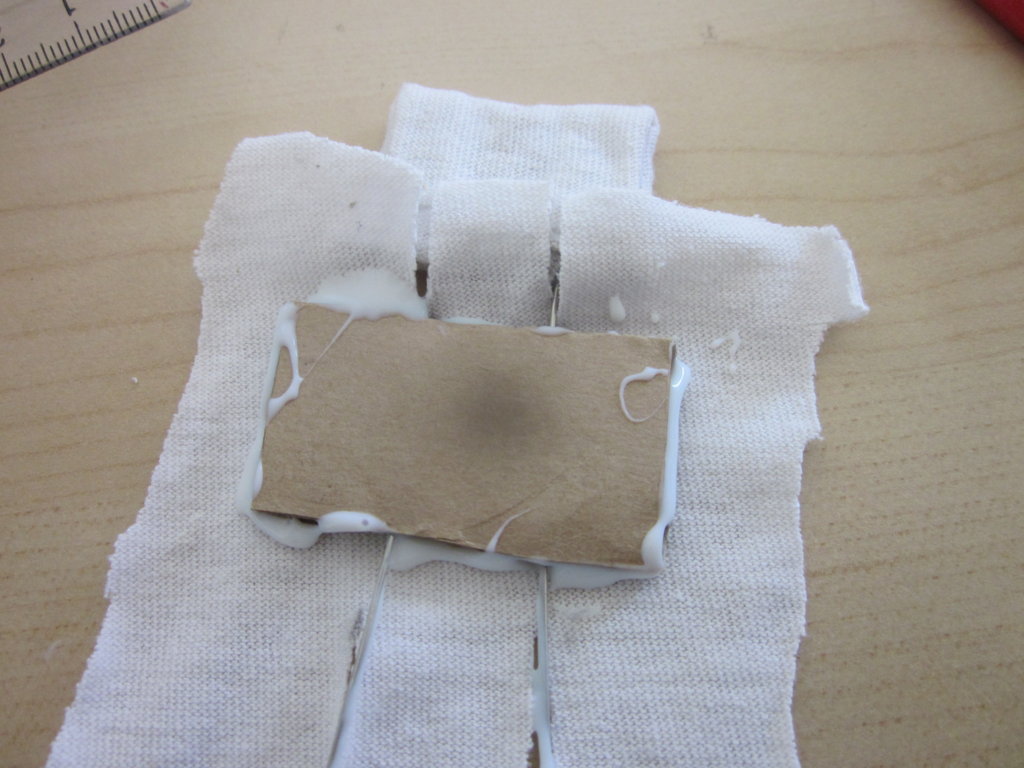
5. Now you want to cover your head by glueing it down with a bit of PVA glue and cellotape.

6. Now you want to thread in the next piece but leave a bit of a gap, glue to prevent the other piece of newspaper from slipping down.

7. You cover it like this, mark where you can feel the wire,

Cut that out,
Apply a little bit of glue and just fold it up


7. Continue to do this till you have finished your chair, make a little base and lamp and you can now chech your sylvanians teeth.

Oh my gosh, it is Thursday already! I hope that you like the dentist chair. The school friends set has not arrived yet though if it does arrive soon I will do a review on the weekend aswell as share my winning story with you. If it does not arrive before then I will create a dentist story (Probably).
Emily
Veeery cute idea!
Thank you Kyraja =)
Emily
The final result is fantastic! very creative! You´re very good at handmade stuff!
Thank you! Sylvanians are so expensive now a days and sometimes it makes more sense to make things that spend money on them.
Emily