Quick Tutorial Thursday; Lace Window Curtain Tutorial

Hello! Today I am doing a quick and easy lace curtain tutorial. I do not know if you could describe this as a curtain but that is the closest match that I could think of. With your lace and ribbon, I bought them from a variety store and for 6m I paid $4.60 for the lace and 80c for 5m of the thin ribbon.


You will need:

-Thin ribbon

-Lace

-Scissors

-Clear drying glue (PVA is good)

-Needle

-Thread (white)

-A ruler

-Something heavy


IMG_1098 (FILEminimizer)

So first of all you cut some of the ribbon the length of your window or window frame, it depends really how long you want the curtain to be.

IMG_1099 (FILEminimizer)

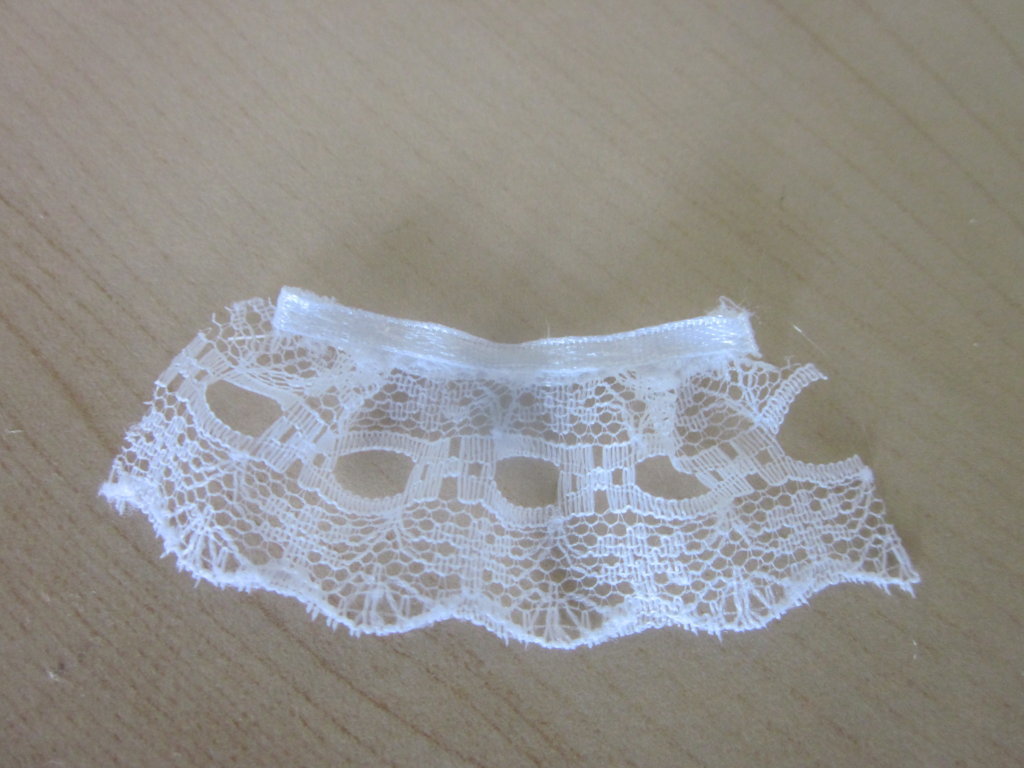
Next cut a bit of lace a bit bigger than your ribbon.

IMG_1100 (FILEminimizer)

Since I do not like the end loop bits, I cut them off.

IMG_1101 (FILEminimizer)

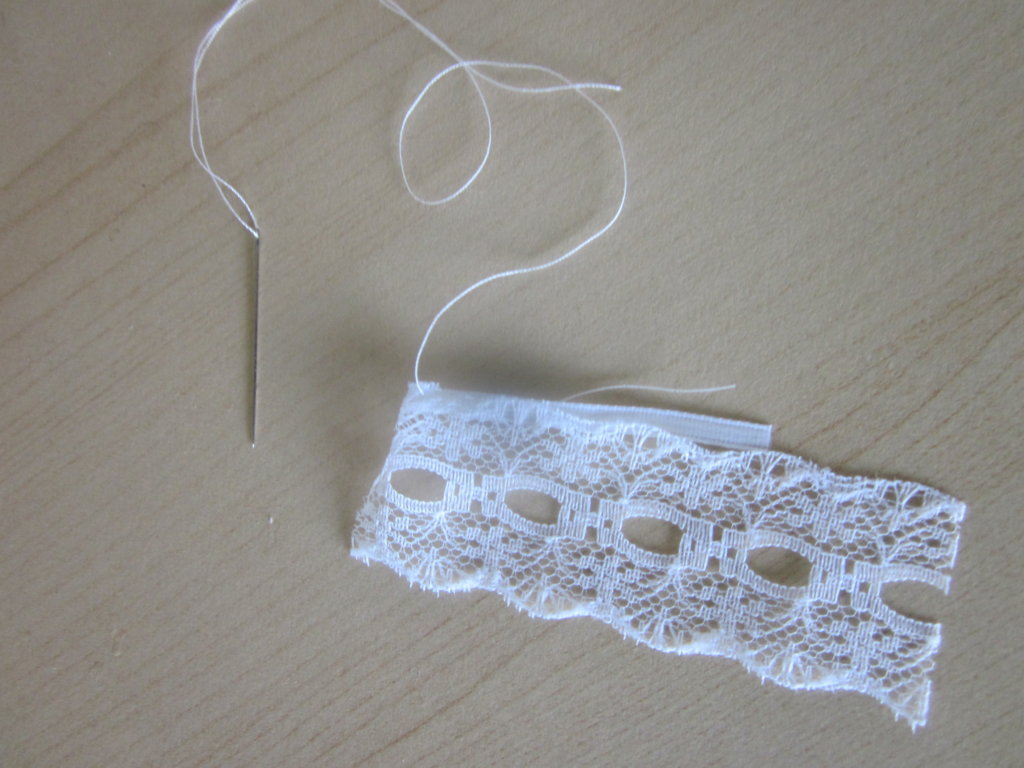
Fold the edge over and sew it firmly on the ribbon, this is for me the hardest bit.

IMG_1102 (FILEminimizer)

Now, I do not know how to describe this part but you like pinch the lace

IMG_1103 (FILEminimizer)

fold it over and sew it on like this.

IMG_1104 (FILEminimizer)

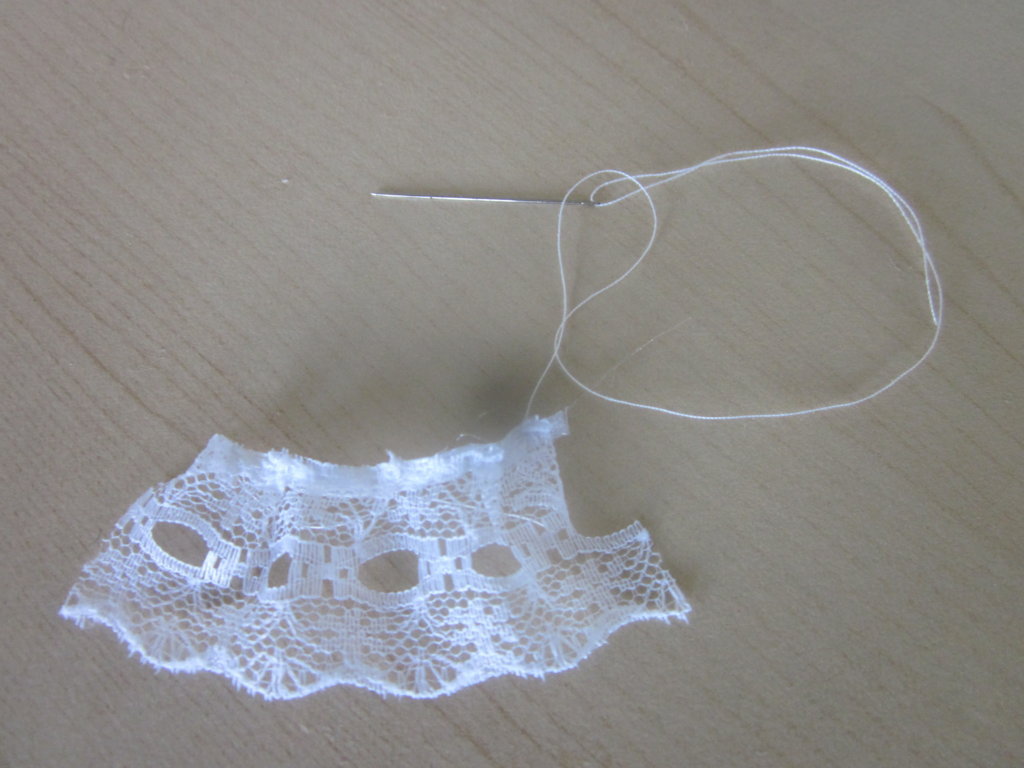
Fold over the edge and sew together when you have reached the end.

IMG_1105 (FILEminimizer)

Cut a bit of ribbon about two centimeters longer than your curtain

IMG_1106 (FILEminimizer)

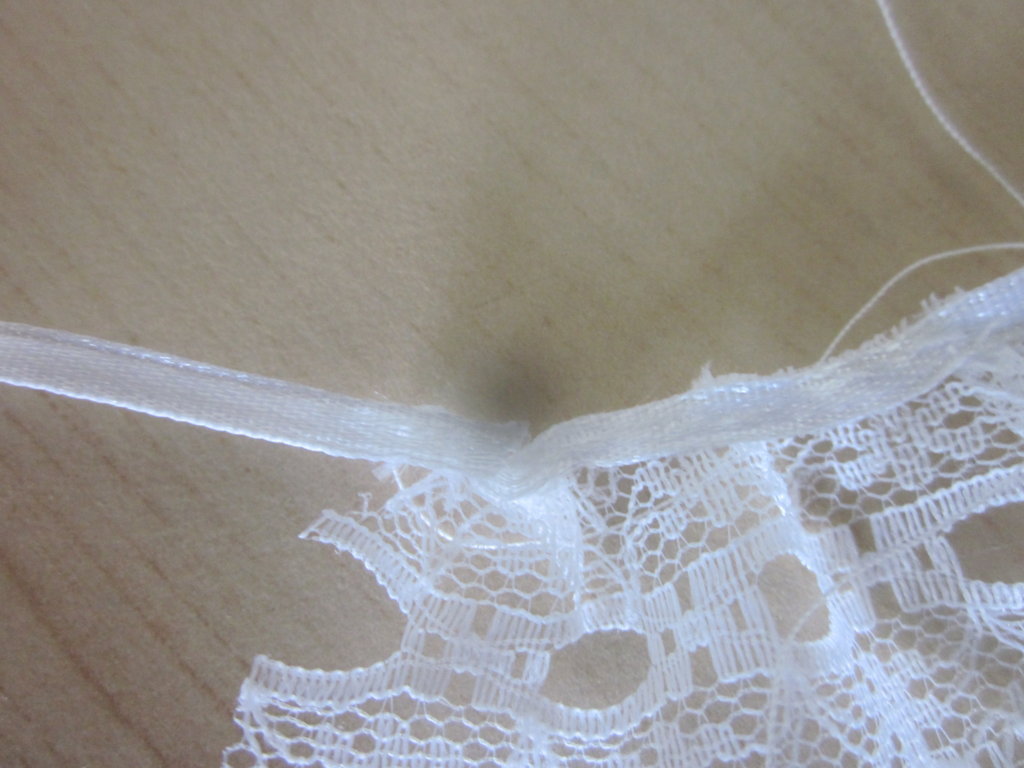
Sew about one centimeter of it onto the ribbon side

IMG_1107 (FILEminimizer)

So when you fold it over, it covers the lace side and ribbon is now on both sides.

IMG_1108 (FILEminimizer)

Sew it together and knot the end of the thread off.

IMG_1109 (FILEminimizer)

Since the ends were a bit wonkey, give them a trim so that they are straight.

IMG_1110 (FILEminimizer)

On the place were you want your curtain, spread a bit of clear drying glue,

IMG_1111 (FILEminimizer)

Place the curtain on,

IMG_1113 (FILEminimizer)

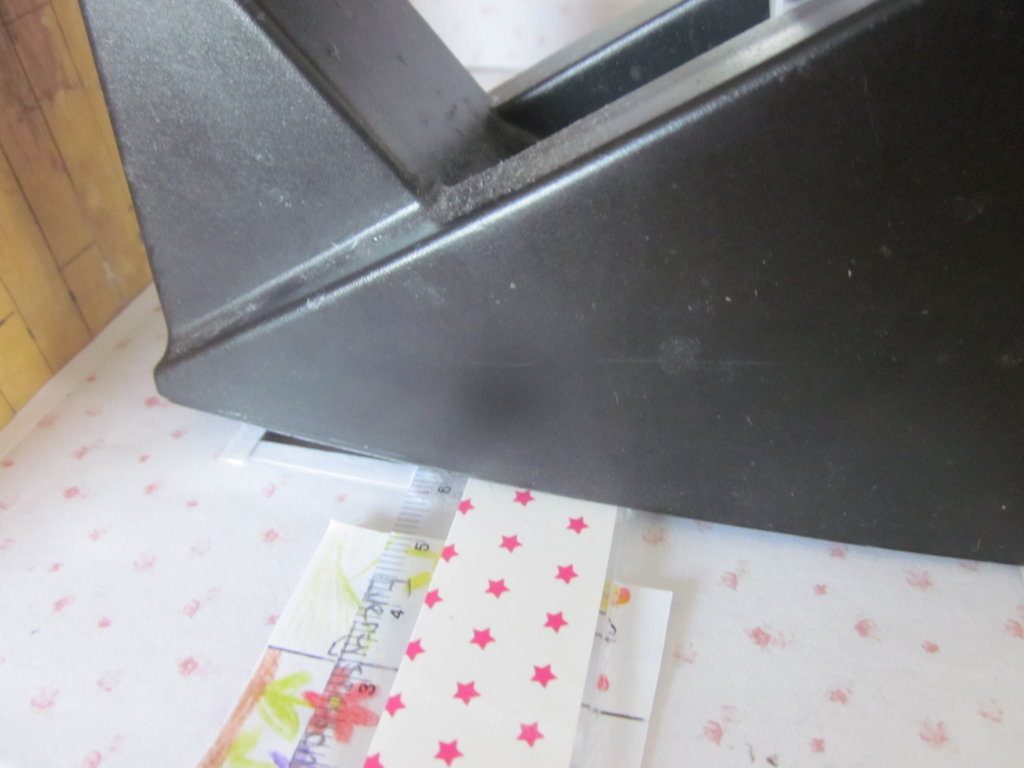
Put a ruler on it and then something heavy, this makes the curtain flat. Keep this on for about ten minutes.

IMG_1114 (FILEminimizer)

Done!


There you are! You can also decorate your curtain with bows or little flowers if you want to. As you can see this is in my dentist building which I really need to write a story about, hmmm, I might post it in this weekend or the next =) .  This is the first Quick Tutorial Thursday post and I hope that you liked it!

Have a great day,

Emily

200 Comments!

IMG_0777 (FILEminimizer)

This is amazing! I have reached two hundred comments with the two hundreth commenter being Cutata! On first blog I got 218 comments which I was really happy with but in a shorter amount of time I was able to get past the two hundred mark =)! I really love reciving, reading and replying comments as well as commenting and reading your blogposts if you are fortunate enough to have a blog of your own. What I love about reading your opinions is that it gives me inspiration and makes me want to post on my blog and put effort into my posts. I am so happy that I have started blogging about the sylvanians of Basswood Creek. I have also counted up all of the number of comments left by each person and will be announcing the top four commenters.

Of course the top commentor is… Me, myself and I with 52 comments! Well, apart from myself, here are the true top commenters.

In fourth place is…

sarah200 (FILEminimizer)

Sarah has an amazing blog called magic mayhem! You should check it out on the link bellow!

Magic Mayhem

In third place is…

nina200 (FILEminimizer)

Thank you Nina for all of your kind comments, Nina also has an amazing blog called At The Periwinkles

At The Periwinkles

In second place is…

Kyraja200 (FILEminimizer)

Kyraja has a wonderful blog called Aeternum Somnium,

Aeternum Somnium

In first place is…

cutata 200 (FILEminimizer)

Cutata is my top commenter and she writes a wonderful blog called My Sylvanian Paradise

My Sylvanian Paradise

Thank you every one else who commented on my blog =)

Emily


August 2016

IMG_1484 (FILEminimizer)

WOW! Only about five months till Christmas is here! This month I will do a very exciting thing. I will have Quick Tutorial Thursdays every thursday of this month as well as posting every weekend. It is a bit of a challenge but I already have most of the tutorials written up and some of the weekend posts so I should be good to go! At the moment I have 199 comments abd will do a very quick celebration post the day that I hit 200 comments which is very soon hopefully. I hope that you are all well and having a great week 🙂

Emily

The Ginger Cat Family (Review)

IMG_1474 (FILEminimizer)

So recently it was my birthday and three of my gifts were sylvanian families things. So as you can see, I got the ginger cat family which I have wanted for an awufully long time and finally got when my aunt purchased it on the online sylvanian families store in the uk and had it shipped over to where I live. I also got the ginger cat twins and standing baby. I was so extremly happy when I saw the family that I was screaming and hugging them, (sometimes you just have to do that, expecially with sylvanian families things).

IMG_1475 (FILEminimizer)

So here we have a close up photo of the males in the family, they have cupped hands which are more usefull but I think that flat hands look better. They are dressed in a pretty green and white strippy pattern and I am thinking of using white with green stripes for a project which I have got in mind…

IMG_1476 (FILEminimizer)

Here are the females. now, I am not at all a fan of the mothers dress. The little apron thingey sticks up strangely (It looks as if she is about to have a baby!) when I had removed the elastic when I took her out of the box. However, I had planned for this and already made a dress for her. The daughters dress is ok but I am going to change it once I get round to sewing which is not on top of my priority list at the moment.

IMG_1477 (FILEminimizer)

Then I unpacked the next parcle and found the standing baby. She is the cutest baby which I have ever seen. I have no idea what it is about her but I love her so so so much.

IMG_1478 (FILEminimizer)

These twins are also so adorable. I really like their original names which are Pickle (baby in yellow) and Sprout (baby in blue) and I have decided to keep them.

IMG_1479 (FILEminimizer)

Here is the whole family still in the boxes.

IMG_1481 (FILEminimizer)

So I then unpacked them and I was a little dissapointed to be honest with the actuall family (Mother, Father,big brother and big sister). Well, the tails. The tails are so, so, ugh. I will now tell you why. The father has a thin tail with a curve in it and is very flexible. The mother has a thicker tail which is completely straight and stiff, it is also longer than the fathers. The brother has a tail like his mother, straight and stiff. The sister however is the person I am most dissapointed with. Her tail is curvy, very flexible, has a dent in it and to top it all off, it is SHORTER that the brothers by several milimeters though they are the same height. Can you see why I am so dissapointed? The consistentcy is really lacking in these figures. Also the mothers and sons markings are darker that the sisters and fathers and are also hard not smooth like the rest of the unmarked fur.

IMG_1483 (FILEminimizer)

Anyway, here is the mother in her new dress which I made and am going to do a tutorial for. The other sister will also eventually get a dress like this except all of the blue bits will be pink so pink ribbon, pink flowers etc.


Hello! I hope you like this post. I am still a bit unsure what to name the middle children, any suggestions?

Emily