Hello there! I recently had a good look at my bakery and saw some things that did not quite satisfy me, like the uneven, mishaped, looking terrible clay basket I made when I first got my bakery. I decided that I needed to make a new basket. I have already made a basket a year ago but forgot to take photos.
——————————————————
You will need:
– String ( the colour of baket or random)
– Any form of clear drying glue which does not dry too quickly (PVA is good)
-A bottle cap or similar ( a bit smaller than you want your basket to be)
-Glad wrap
-Acrylic paint (If the colour of your basket is not what you would like it to be)
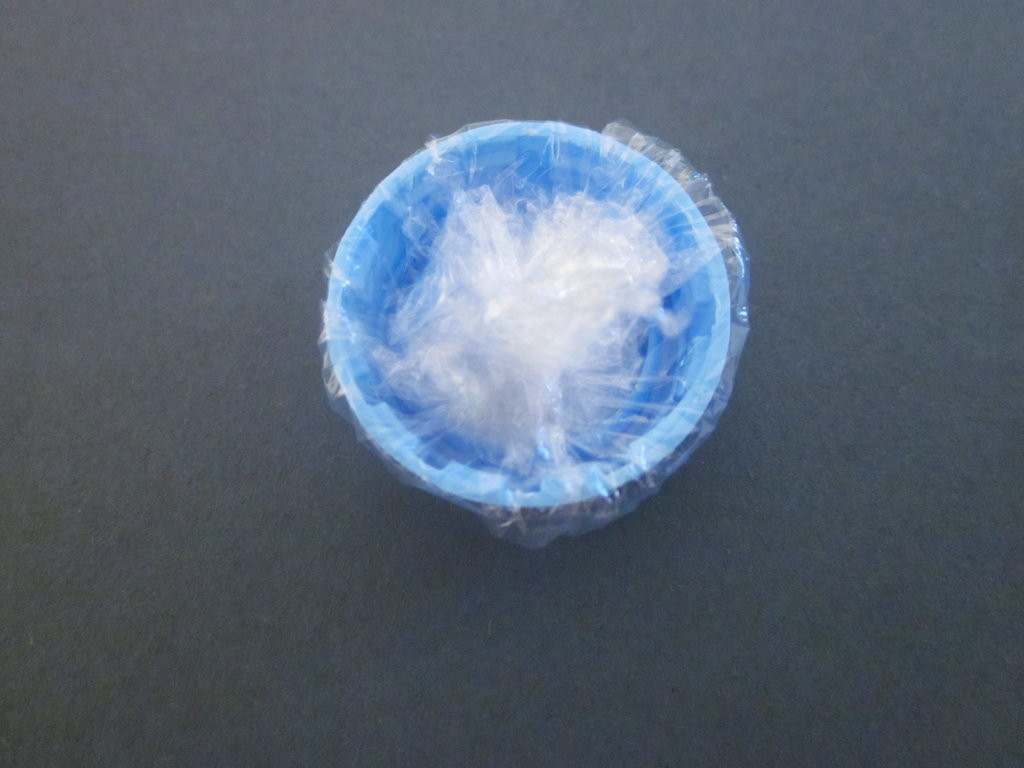
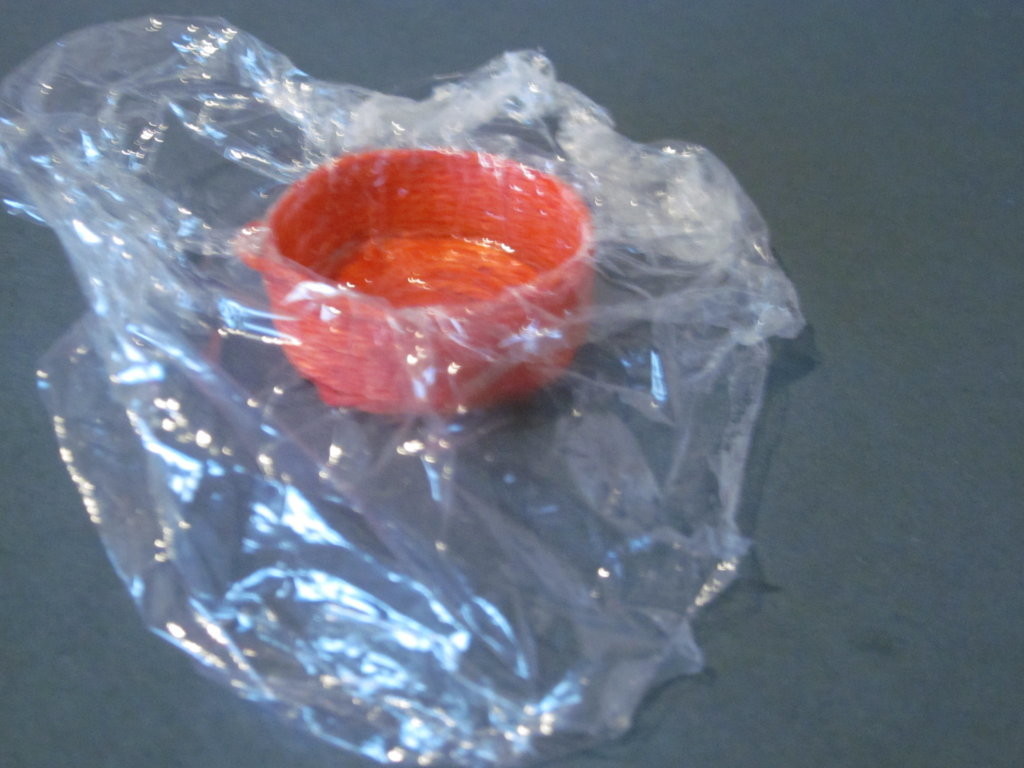
- Cover your bottle cap thingey with glad wrap.
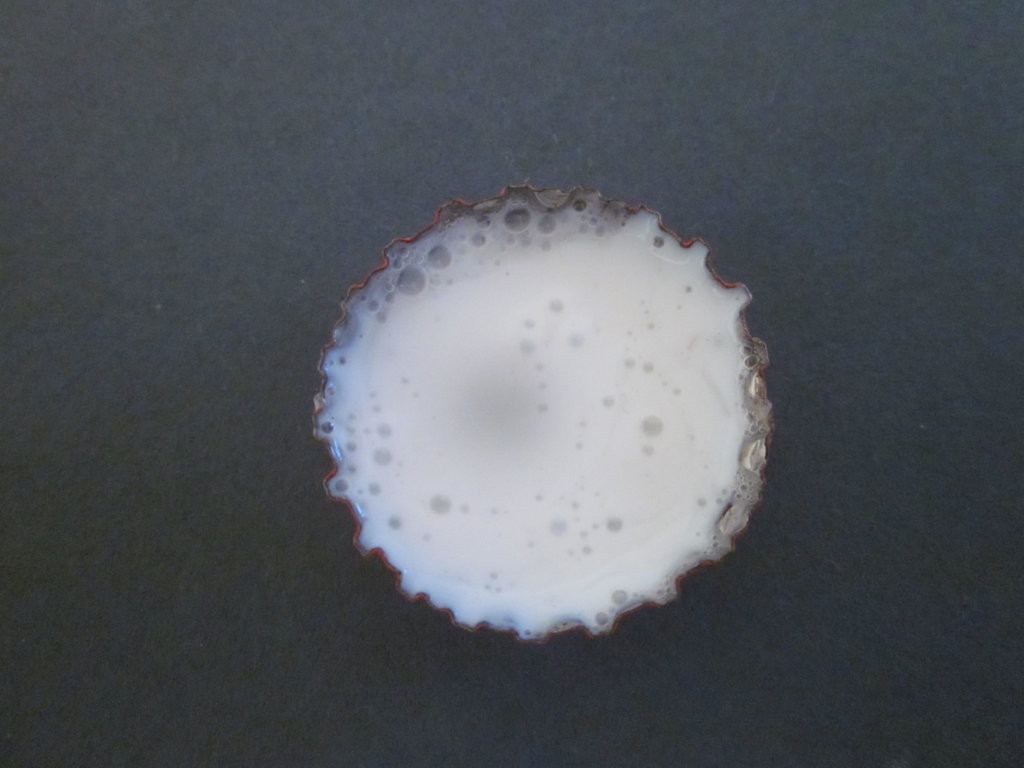
2. Mix your glue with a little bit of water if it is goey
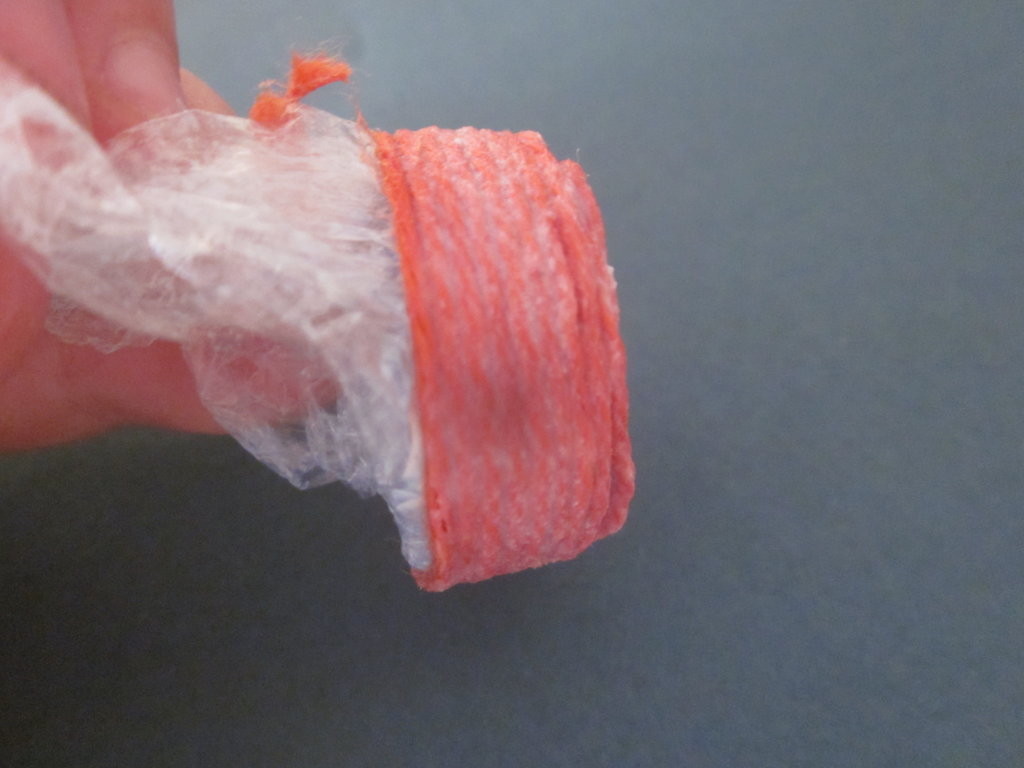
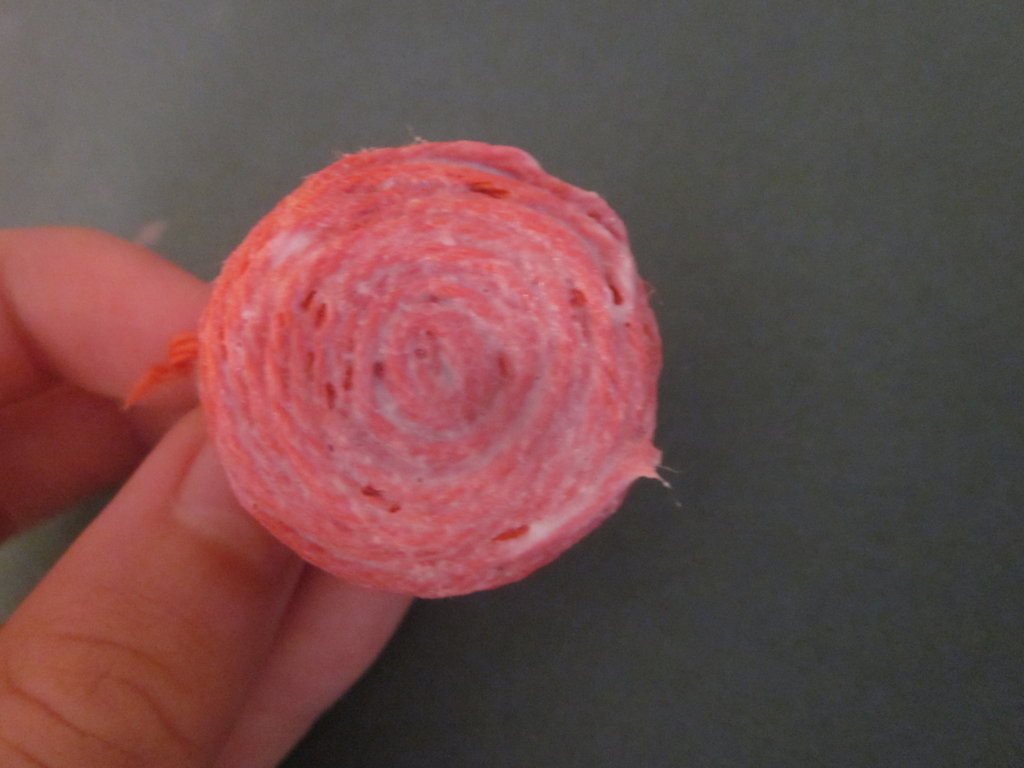
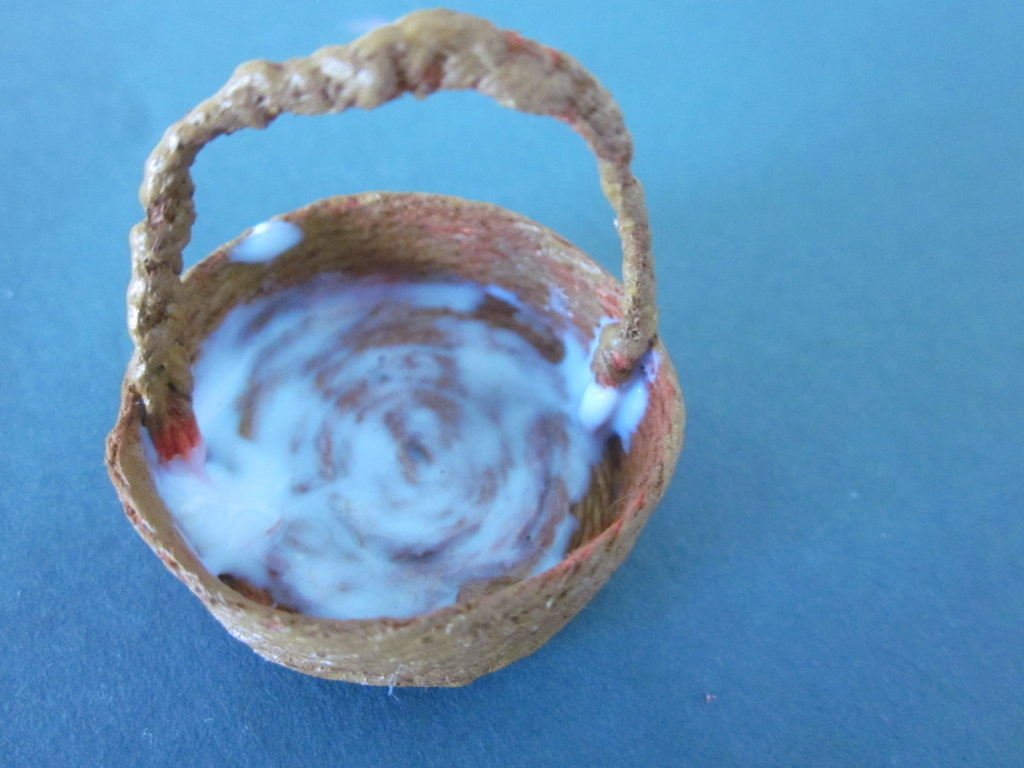
3. Using your fingers, put some glue on your string and wrap it around your bottle cap.
NOTE: this is very sticky and if you want you can wear gloves but really, the glue will come off.
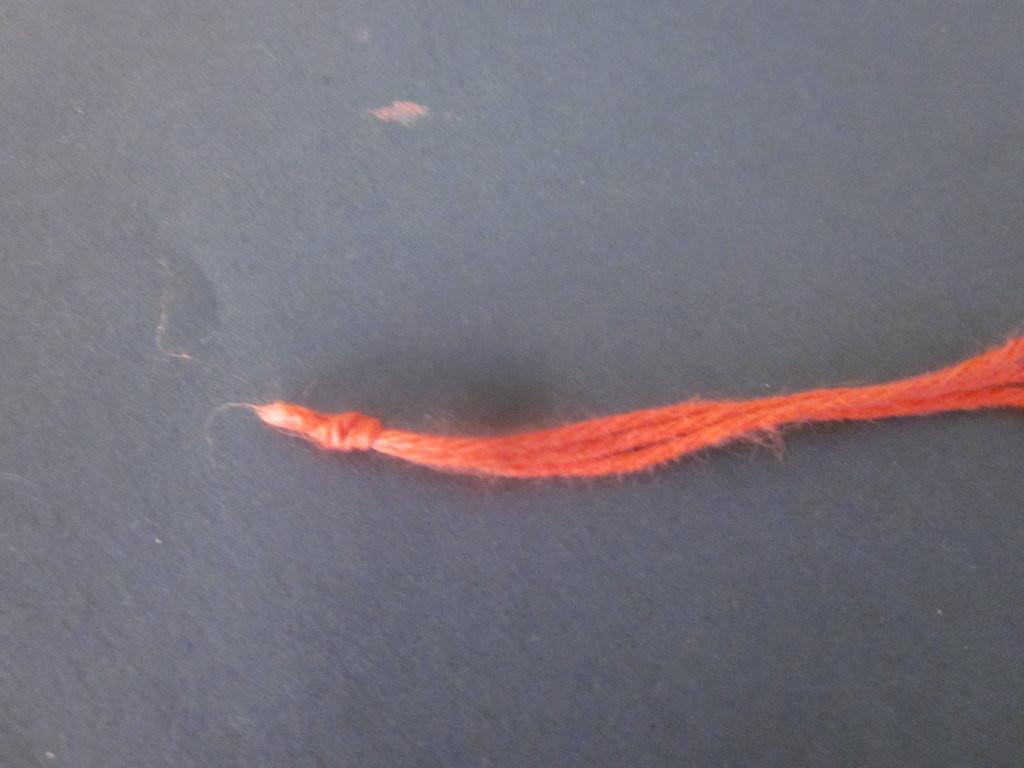
4. While that is drying a little bit, DO NOT let it dry completely. Take three pieces of string and knot them at one end.
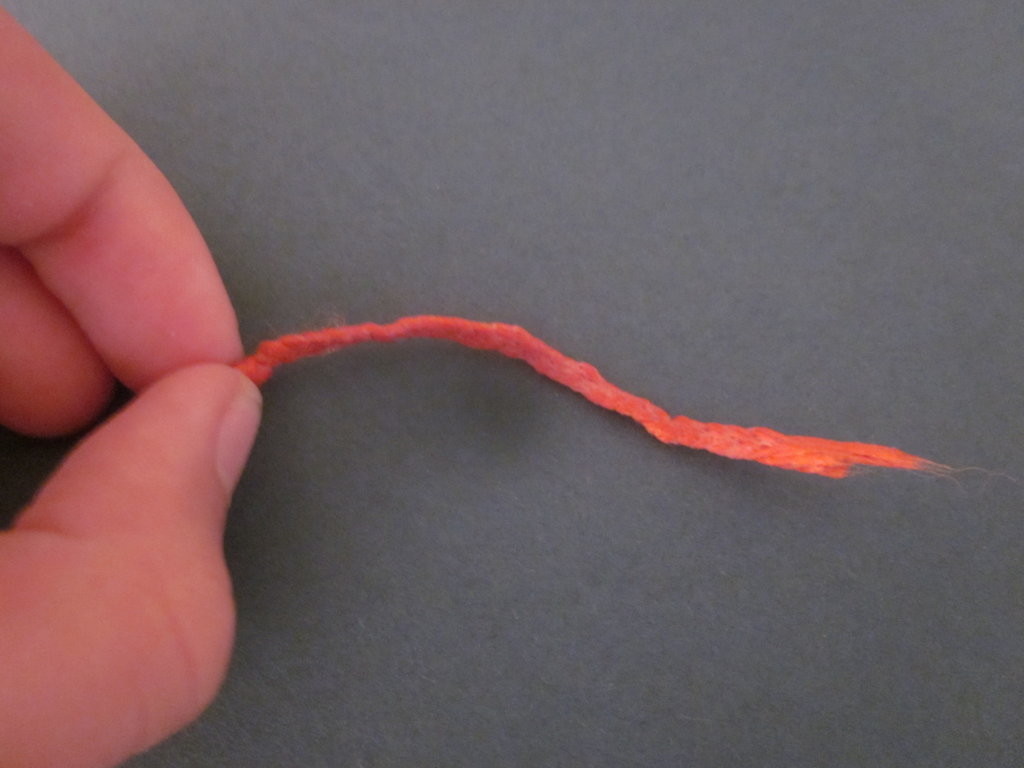
5. Plait these strings and cover with glue, set aside to dry, this will be the handle for later.
6. Now put more glue on another piece of string and make the bottom of your basket, you needed the sides to be wet so that they glue together. I am doing all of this on the bottle cap.
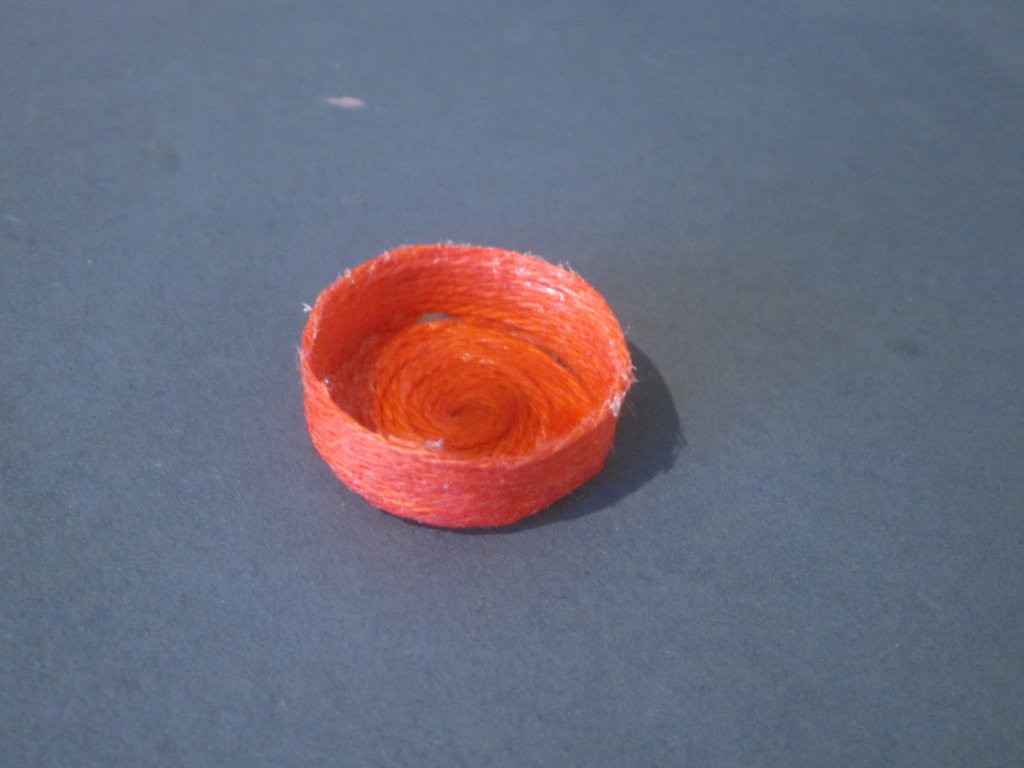
7. Wait till overnight and then slowly pull out your bottle cap.
8. Now you can trim the top to make it look good, if you are not happy with your colour you can paint the thing and the handle.
9. Glue your handle on your basket and also put more glue on the bottom for this will make it stronger.
——————————————————————————————————–
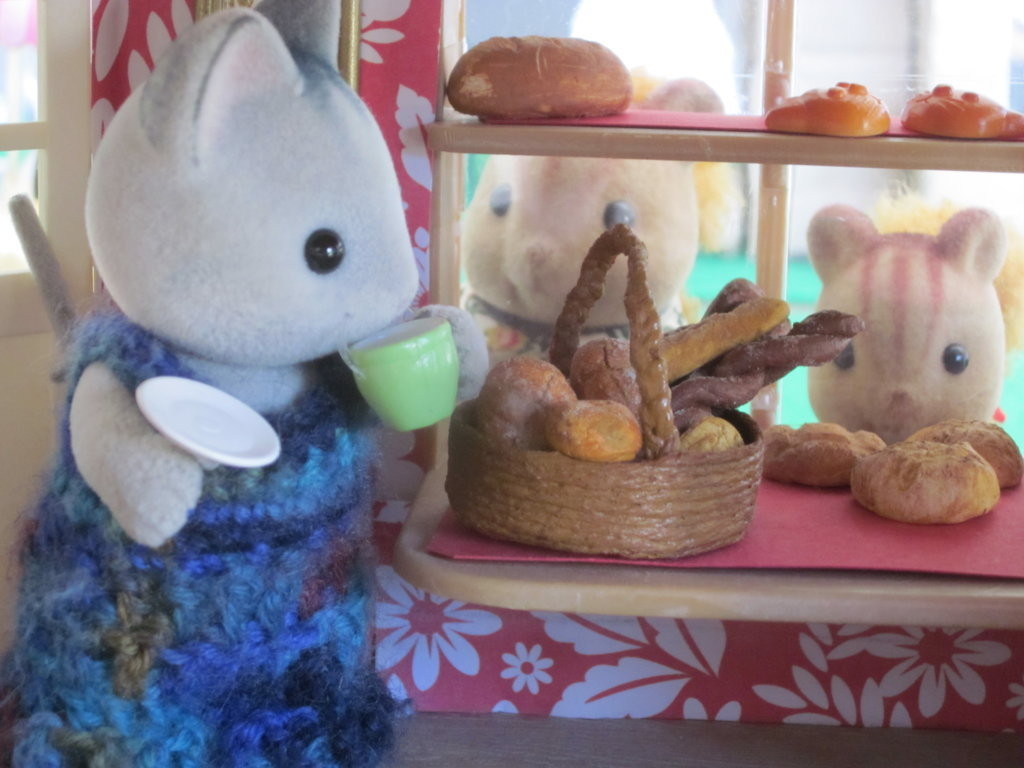
I popped into the bakery this morning to see the basket and it looks really good. You may find the sides of your basket a bit soft for a while but in about two months it will be hard but not break hard. If you have any questions about my tutorial, please make a comment of it aswell as if you have your own blog that I should check out=)
Emily
P.S Am I doing ok with my promise about posting every week end?
That is an amazing idea!!!! Love it!
Thank you kyraja!
Emily
Hello Emily,
Thanks for sharing this tutorial.
The end result looks great! Very rustic and with a realistic colouring too!! :))
Have a good week,
Nina
Thank you, I is a good tutorial for those who either are not good at basket weaving or do not have the materials.
Emily
Hiya, Emily! Sorry I’m terrible at commenting!
Well, I thought your basket idea was absolutely genius!!
It’s a lot easier than weaving, and it looks great! Nice job! 😉
Thank you mimi for your comment, it’s alright, I am terrible at commenting as well 😀
Emily
You´re very good at crafts. Your basket looks fantastic!! Thank you very much for the tutorial!
*blush* thank you Cutata! I really like my basket too 🙂
Emily