Hello! Today I am doing a quick and easy lace curtain tutorial. I do not know if you could describe this as a curtain but that is the closest match that I could think of. With your lace and ribbon, I bought them from a variety store and for 6m I paid $4.60 for the lace and 80c for 5m of the thin ribbon.
You will need:
-Thin ribbon
-Lace
-Scissors
-Clear drying glue (PVA is good)
-Needle
-Thread (white)
-A ruler
-Something heavy

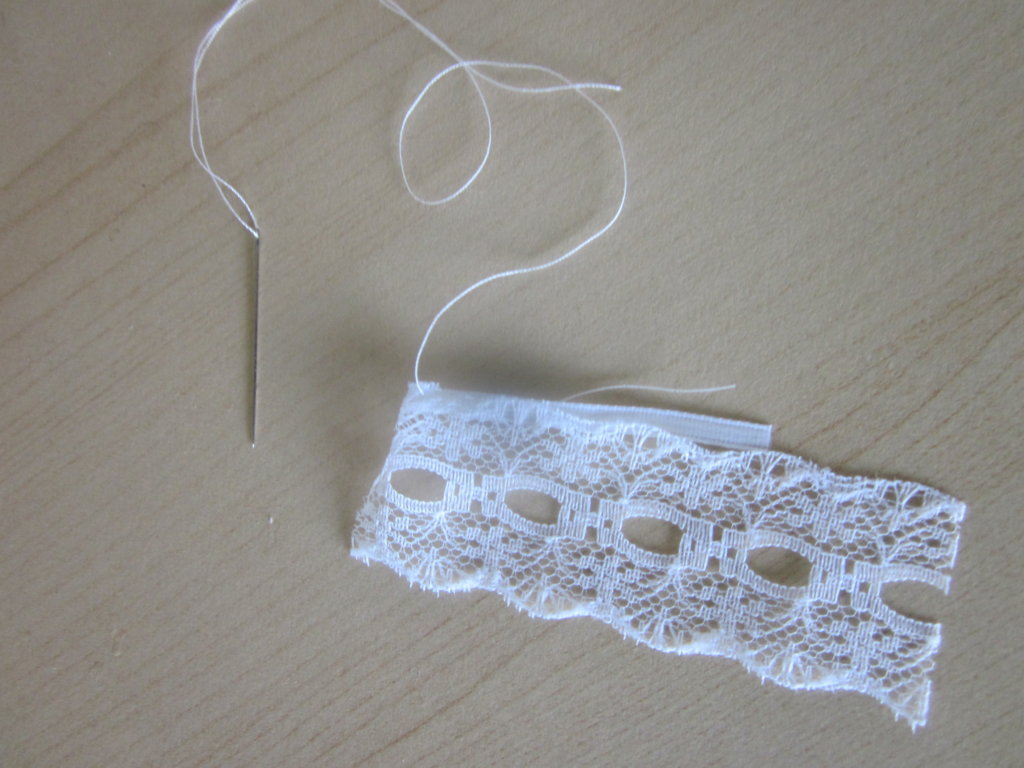
So first of all you cut some of the ribbon the length of your window or window frame, it depends really how long you want the curtain to be.

Next cut a bit of lace a bit bigger than your ribbon.

Since I do not like the end loop bits, I cut them off.
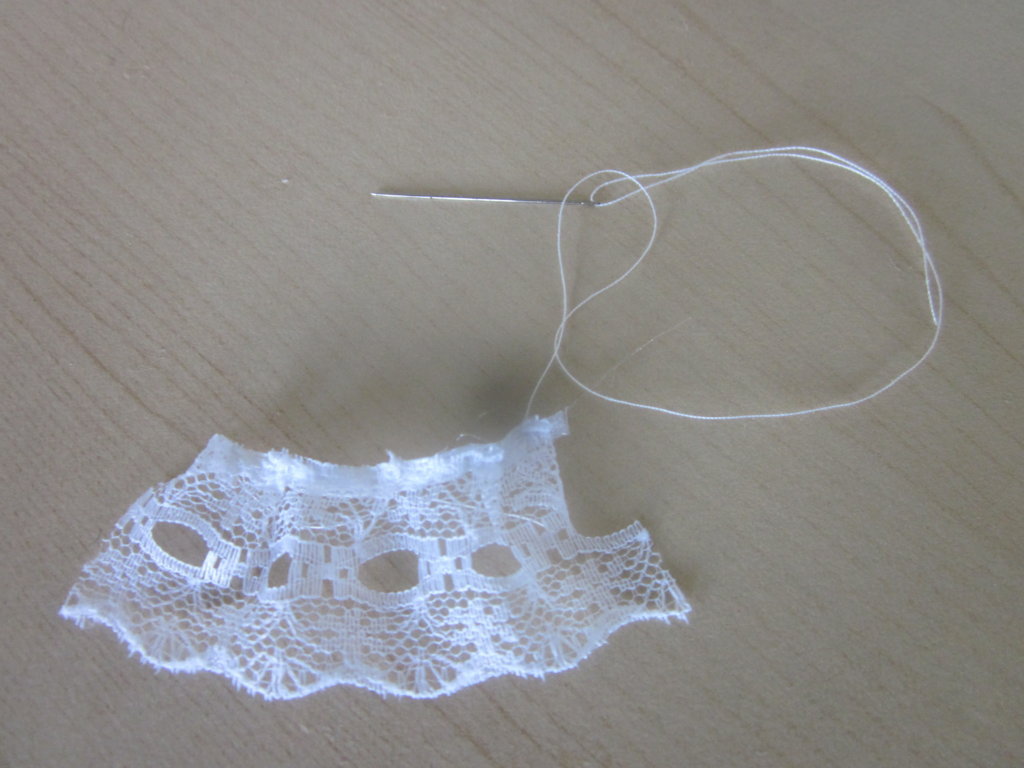
Fold the edge over and sew it firmly on the ribbon, this is for me the hardest bit.

Now, I do not know how to describe this part but you like pinch the lace

fold it over and sew it on like this.
Fold over the edge and sew together when you have reached the end.

Cut a bit of ribbon about two centimeters longer than your curtain
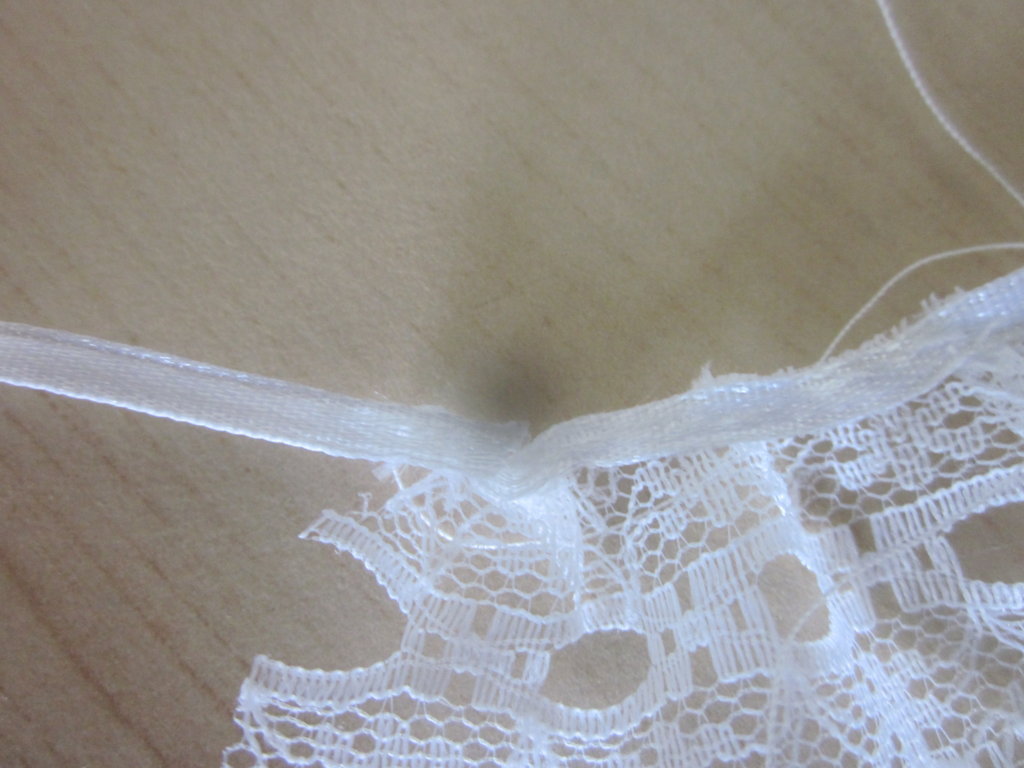
Sew about one centimeter of it onto the ribbon side

So when you fold it over, it covers the lace side and ribbon is now on both sides.
Sew it together and knot the end of the thread off.

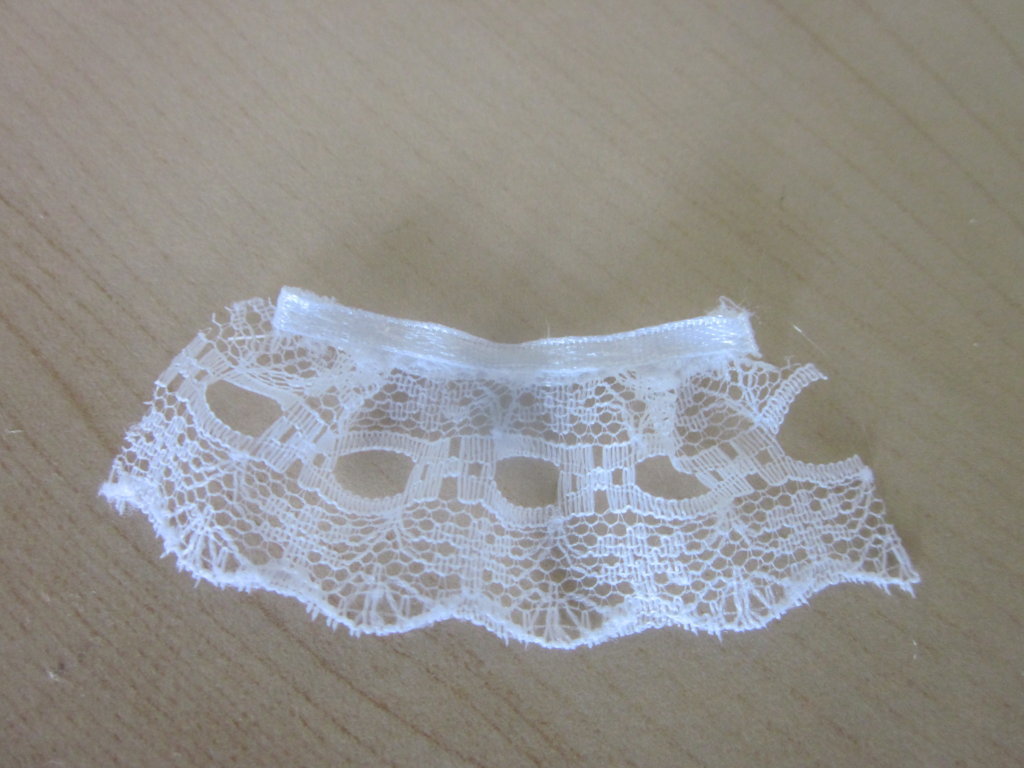
Since the ends were a bit wonkey, give them a trim so that they are straight.

On the place were you want your curtain, spread a bit of clear drying glue,

Place the curtain on,
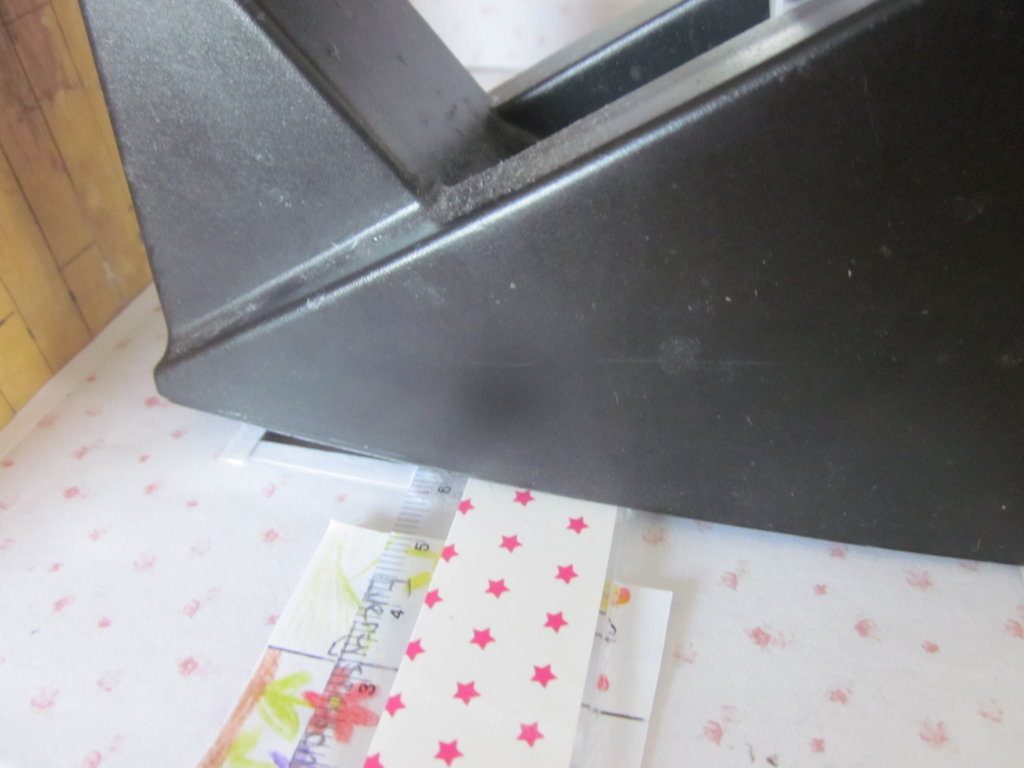
Put a ruler on it and then something heavy, this makes the curtain flat. Keep this on for about ten minutes.

Done!
There you are! You can also decorate your curtain with bows or little flowers if you want to. As you can see this is in my dentist building which I really need to write a story about, hmmm, I might post it in this weekend or the next =) . This is the first Quick Tutorial Thursday post and I hope that you liked it!
Have a great day,
Emily
Lovely curtains, Emily! Good job! Lace curtains are a cute touch. Thank you very much for your tutorial. Thanks for the hint of putting something heavy once the curtains are finished.
As for I can see, your dentist building is going to look very welcoming.I love the wallpaper you chose and now with the curtains on that wall looks really well.(the poster is really cute, did you make it yourself?)
I made this dentist room quite a while back and I think that it looks nice. I found that if you did not put someting heavy on the curtains they would just lift off and bend. Also with glueing, it prevents fraying and from becomeing un done, If you wanted the curtains to be only tempoary, still put a bit of glue at the back and once it is dry, blue tack it onto your wall ?
Emily
Beautiful- It’s amazing how much difference lace curtains can make. I hope you have fun adding all of the other details to your room 🙂
I have made a tutorial of a dentist chair which I will post soon if I can find the photos that I took of it =)
Emi´ly