Hollies adventure to the Redwoods Forest!

IMG_1371 (FILEminimizer)

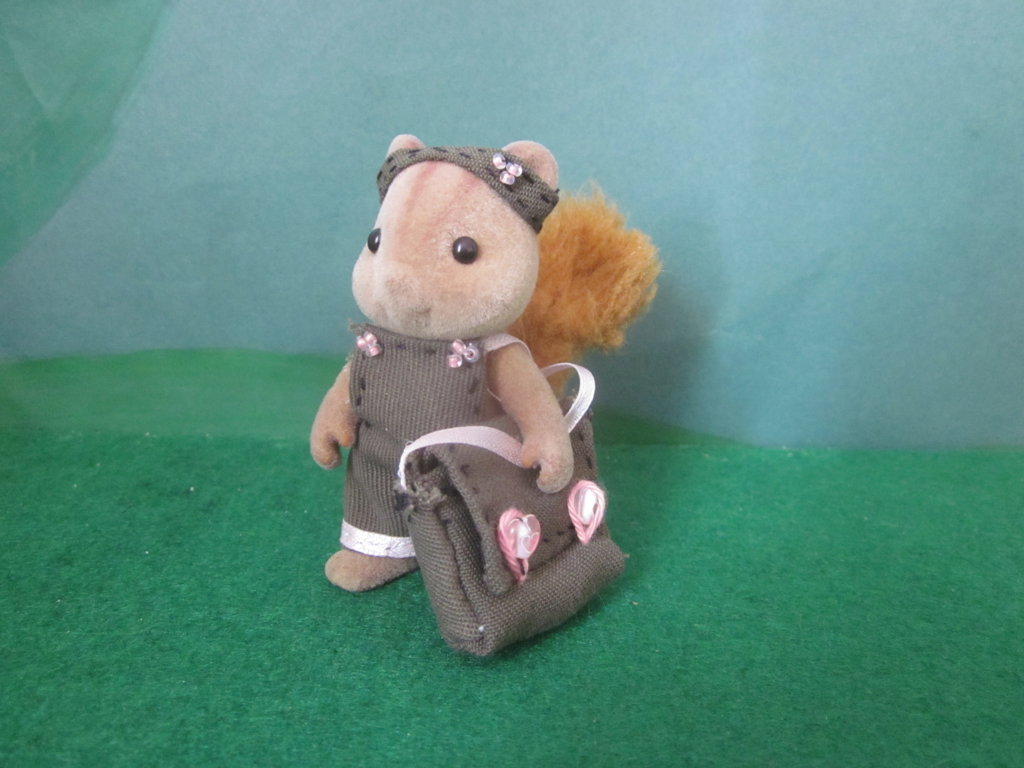
Hollie and I had a lot of fun at the Redwood Forest!

IMG_1372 (FILEminimizer)

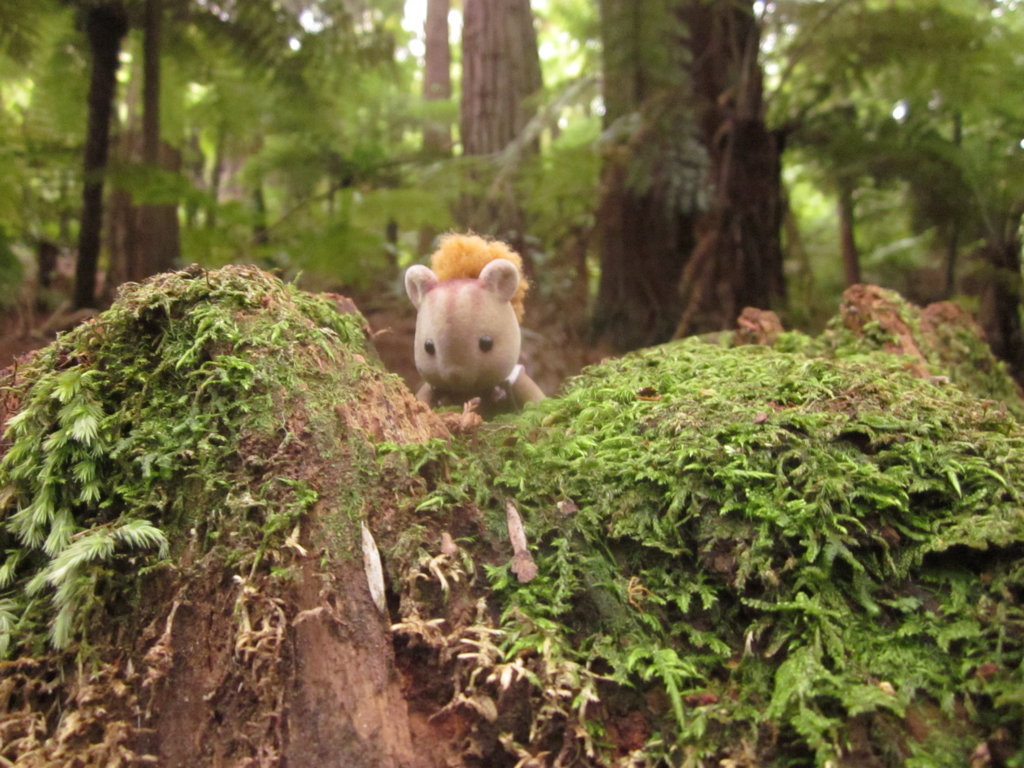
Hollie found a very nice mossy tree stump,

IMG_1373 (FILEminimizer)

She was very lucky to have her rope so that she could clib up the tree safely!

IMG_1374 (FILEminimizer)

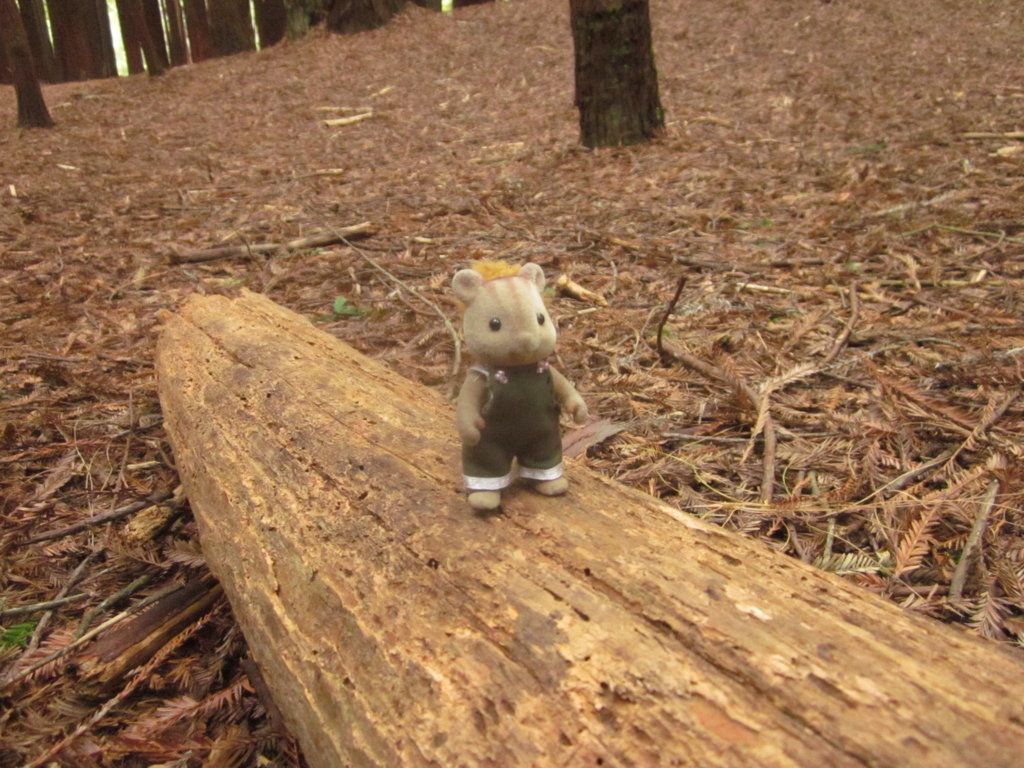
Another nice log to walk on,

IMG_1375 (FILEminimizer)

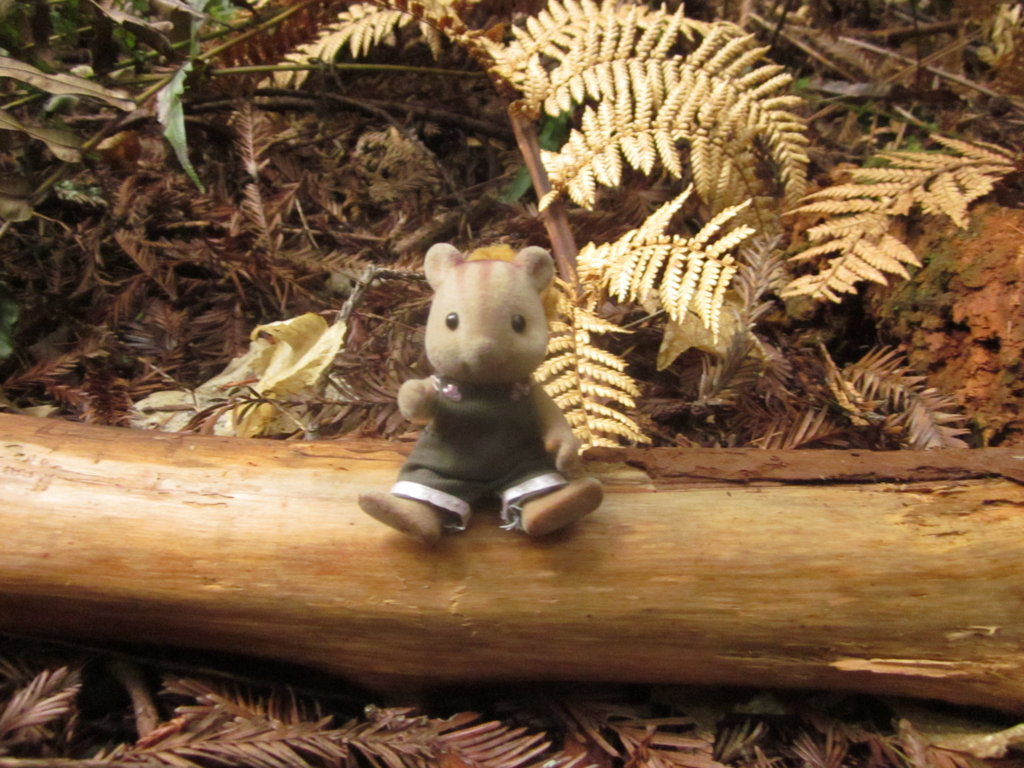
But walking is very exhausting so she had to rest infront of  a pile of dead fern leaves,

IMG_1377 (FILEminimizer)

Here she is walking at the side of the track so that people can pass her without stepping on her!

IMG_1379 (FILEminimizer)

This was another tree that she climbed and insisted that I took a photo,

IMG_1380 (FILEminimizer)

I held Hollie up so that she could see the usual crystal clear stream which at the moment had a layer of dirt on it, Hollie was very dissapointed,

IMG_1382 (FILEminimizer)

It was becoming a lot more difficult for Hollie to push through the foilage and clamber over tree roots and uneven ground,

IMG_1383 (FILEminimizer)

Here is another mossy tree stump,

IMG_1384 (FILEminimizer)

Hollie really wanted to explore the rest of this tree log but I said no because we had to complete the track in under one and a half hour,

IMG_1388 (FILEminimizer)

IMG_1389 (FILEminimizer)

Finally we had reached the summit of the hill and she could look out at the view, unfortunatly, it was getting cloudy.


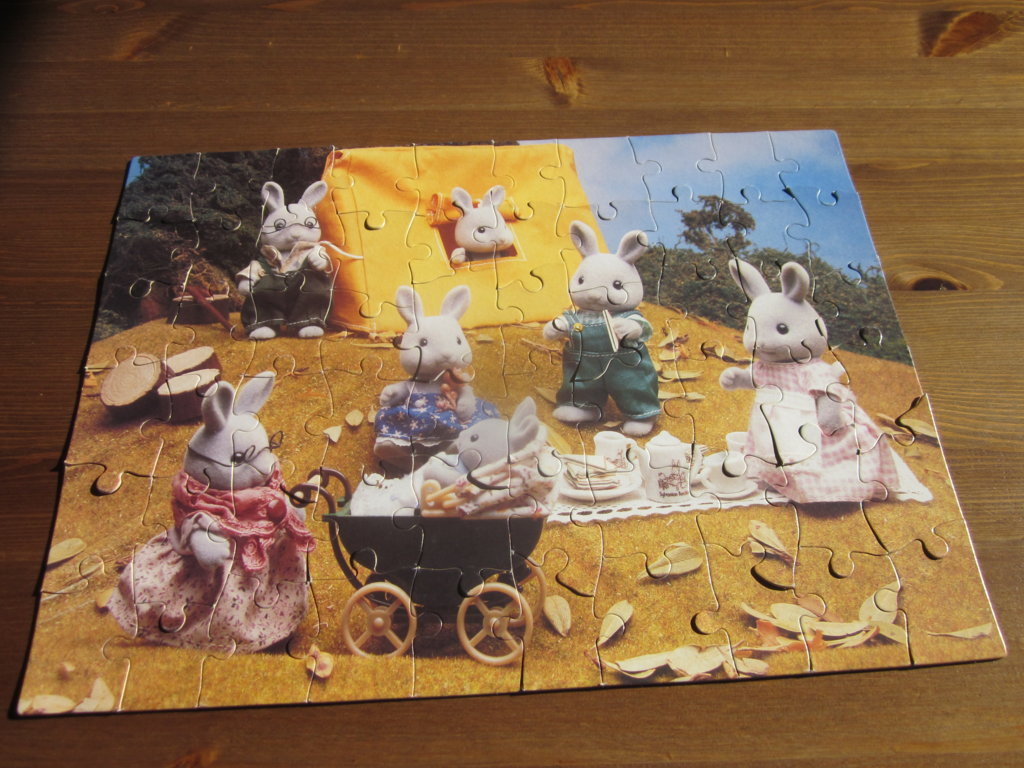
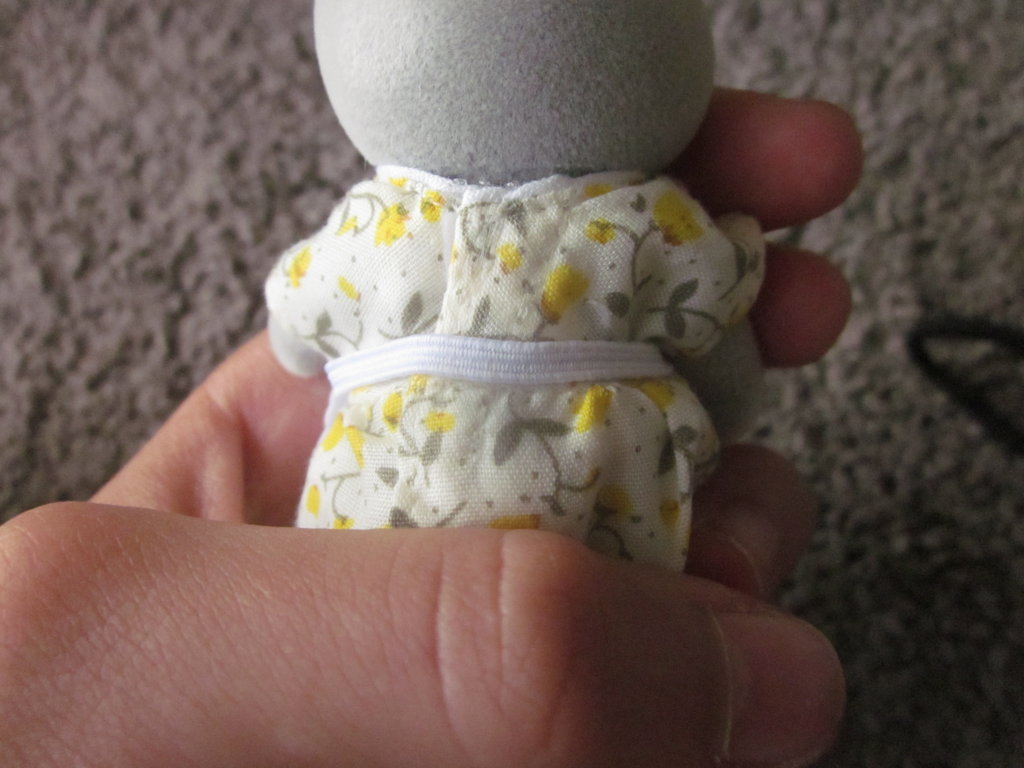
Just a quick post today, I also purchased some UK collectors club magazines (13!) for 15 dollars and had to pick them up so thats why we had to hurridly to the track, I did already have these magazines last week because that was when all of this occured but I decided not to do ANOTHER review after all, I have done two this month so the magazine post will have to wait. I also collected some nice moss which looks like the craft moss that you can purchase at craft stores. It was just lying around on the ground because it had fallen down from trees and it is currrently drying in the garage, I will be able to make some more greenery for my village, !YAY!

IMG_1398

Sadly, the school holidays are over and I have school tomorrow =( =(. On a more happy note, it is my birthday in the first week of school and I am so excited!

Emily

Dungarees Tutorial

Hello Everyone! I have been sewing quite a lot lately and decided to do a tutorial on how I made dungaree thingys for Hollie Acorn for when she goes like hiking or walking in places such as forests.

You will need:

  • Time (I used up quite a lot)
  • Sewing needle
  • Sewing Thread (I used black and white)
  • Fabric
  • Decorating things for example ribbons and beads

IMG_1358 (FILEminimizer)

So this is the fabric I chose and though it frayes very easily, I decided to give it a go anyway. Along with that, I used a pink ribbon.

IMG_1360 (FILEminimizer)

First of all, draw yourself a little trouser template such as the one above, remember to allow a seam allowance anywere that the spilt in the middle!

IMG_1361 (FILEminimizer)

Cut that template out of fabric and sew the top and bottom extra flap over, do not sew over the sides or the split at the bottom!

IMG_1362 (FILEminimizer)

Now you have to draw the front side, trace your paper template onto the fabric but leave the top seam allowance off.

IMG_1363 (FILEminimizer)

You will need a bit of a seam allowance when that box thing ends, hem the edges, do not do the sides of pants or split at the bottom (This is really inportant)

IMG_1364 (FILEminimizer)

Now you should have two pieces looking like this:

IMG_1365 (FILEminimizer)

Place your two sewn pits so that the good side is touching your figure and the bad side is facing outwards, sew the sides together but allow a bit of room for your figure to move.

IMG_1366 (FILEminimizer)

You need to remember that you have the bottom still to sew as well as the other side of the pants!

IMG_1367 (FILEminimizer)

Once you have done that, sew the bottom split, try to keep as close to the edge as you can since it makes the trouser leg holes bigger (mine were a bit small)

IMG_1368 (FILEminimizer)

So now your figure should look something like this, now you can decorate and add straps to your outfit.

IMG_1404 (FILEminimizer)

I added pink ribbon to the trousers and used it as the straps. I also created a bag and headband, I can do a tutorial on how I did the bag if you want.

IMG_1410 (FILEminimizer)

IMG_1408 (FILEminimizer)

IMG_1407 (FILEminimizer)

Do you like it?


Don’t worry Cutata and Nina! I have not forgotten about that rain coat tutorial that I promised you back at the start of June! It is coming before September ends hopefully, just because of what I am doing next month, you will all be sick of tutorials =) It is my birthday in around two weeks and I am SO excited since I am getting the complete Ginger Cat family (I had to pay some of it though). Next Weekend I will probably post about Hollies adventure to the Redwood Forest.

Emily

My Two New Puzzles! 1987 Babblebrooks Camping and 1987 Evergreen Wedding Review

IMG_1309 (FILEminimizer)

Hello! I have been eagerly waiting for this parcle to come and guess what, it came on Monday!

IMG_1310 (FILEminimizer)

So here we have the two puzzles. The puzzle boxes are in ok conditions. Unfrortunatly, someone DREW on the Evergreen Wedding box. There was writing on the original sylvanian families label saying that two pieces were missing and the two places where they were missing had an X marked on in. And yes, it did come missing two pieces though the seller only said one.

IMG_1311 (FILEminimizer)

Nevertheless, here is the camping puzzle, I was a bit suprised to see that they were not regular puzzle pieces (which I prefer) but oddly shaped curved pieces. Can you see the backside of one looking like an h?

IMG_1313 (FILEminimizer)

Anyway, I completed the puzzle and I still like it, even though it has those curved pieces.

IMG_1312 (FILEminimizer)

So this is the other puzzle,  odd shaped pieces as well and the box and pieces were in worse condition than the other puzzle.

IMG_1314 (FILEminimizer)

So here it is finished and you can clearly see the missing pieces so I decided with a little help from my Dad, to make the missing two pieces by scanning in the cover of the box and using photoshop to edit out the X’s. Can you see that they have used Father Chester Thistlethorn (grey mouse)  twice?!

IMG_1317 (FILEminimizer)

Ah yes, there we have just started on one of the X’s and we are also getting rid of that white crease in the picture.

IMG_1318 (FILEminimizer)

So now I have made the replacement piece and am cutting out the picture to go on the top, I must say that the colours were not the exact same but I expected that.

IMG_1319 (FILEminimizer)

Here we have the picture that shows how the puzzle is now, with its two replacement pieces.

IMG_1316 (FILEminimizer)

I also noticed that the pieces were a bit wavy on both puzzles, I will have to press them flat.


Hello!

What do you think? I personally love these puzzles even though they are not perfect but… Also, toyworld were having a 40% off sale and since we saw it on the evening of the last day, I had a look on the online shop and guess what? Probably 9/10 items were not avalibe online or were out of stock =(, so therefore, I was not able to buy the family that I wanted to buy , double =( =(

Emily

The Cottontail Rabbits Review

Hello! Here is my post on the Cottontail rabbits. I love this family, their faces are so cute, gosh, I have so many favourites now! I purchased these quite a while ago but I was too busy posting other stories to post this.

IMG_0765 (FILEminimizer)

So here they are! Brother Peter, Father Aaron, Mother Sorrel and Sister Willow. Sorrels nickname is Flopsy while Willows is Mopsy, Aarons middle name is Benjamin while Peter is Peter Rabbit. They are named after some Beatrix Potter characters, See: Flopsy, Mobsy, Peter and Cottontail. Oh, and cousin Benjamin.

IMG_0767 (FILEminimizer)

So first of all there is the collection catalouge, I already have at least three of these with this picture on it (I collect them, one day I will do a blogpost on all of my collection of sylvanian stuff)

IMG_0768 (FILEminimizer)

And here they are, aren’t they cute?

IMG_0769 (FILEminimizer)

The tails are much fluffier than my other rabbits but they are a firm fluffy not a puffy fluffy.

IMG_0771 (FILEminimizer)

I was a bit dissapointed to see that Mother Sorrels apron was kept on with elastic instead of the usual ribbon, I want to replace the elastic soon, it does not look that good, what do you think?

IMG_0772 (FILEminimizer)

The figures are also taller, like many of the new releases/figures and have the open hands.

IMG_0773 (FILEminimizer)

The Cottontails are very happy to live in Basswood Creek. I think that I will never undress Willow since her bow is so perfect! What do you think? I am so excited for my puzzles to finally arrive, next weeks post will probably be another review on them… Since I have been posting mainly stories, I will do (quick)  Tutorial Thursday every Thursday of next month!!! (August)

Have a nice week,

Emily