Today’s post is a tutorial as I feel like I haven’t done one in ages! At least, it feels like it. The candy cane tutorial is quite similar to a candy tutorial I did last year but is a bit different at the end.
You will need:
Knife
Modeling clay of at least 2 different colours
Baking paper
Clear nail polish

On the baking paper, roll the clay into two balls, one of each colour and of equal size.

Flatten the balls into two discs.

Cut up the discs into quarters. In theory, you could cut them up as much as you want as long as both discs are cut up into the equal amount of pieces.

Rearrange the fragments so that they form two discs again with alternating colours.

Turn the disk on it’s side and roll in into a long ‘worm’.
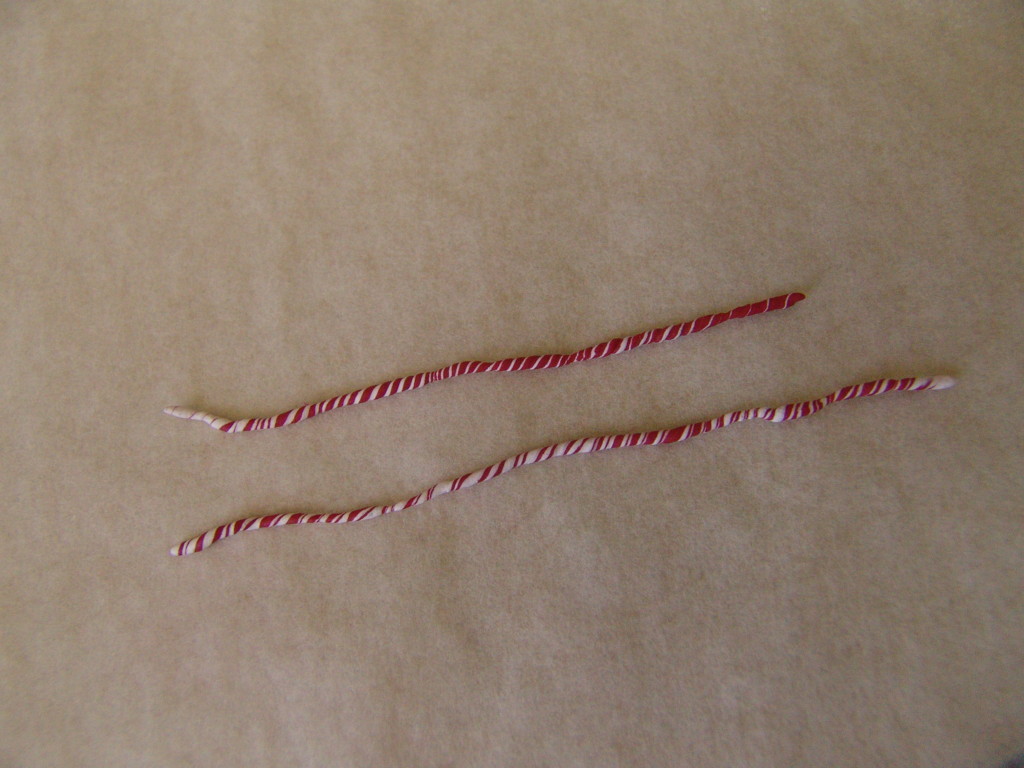
Twist the long ‘worm’ to give it a candy cane like pattern.
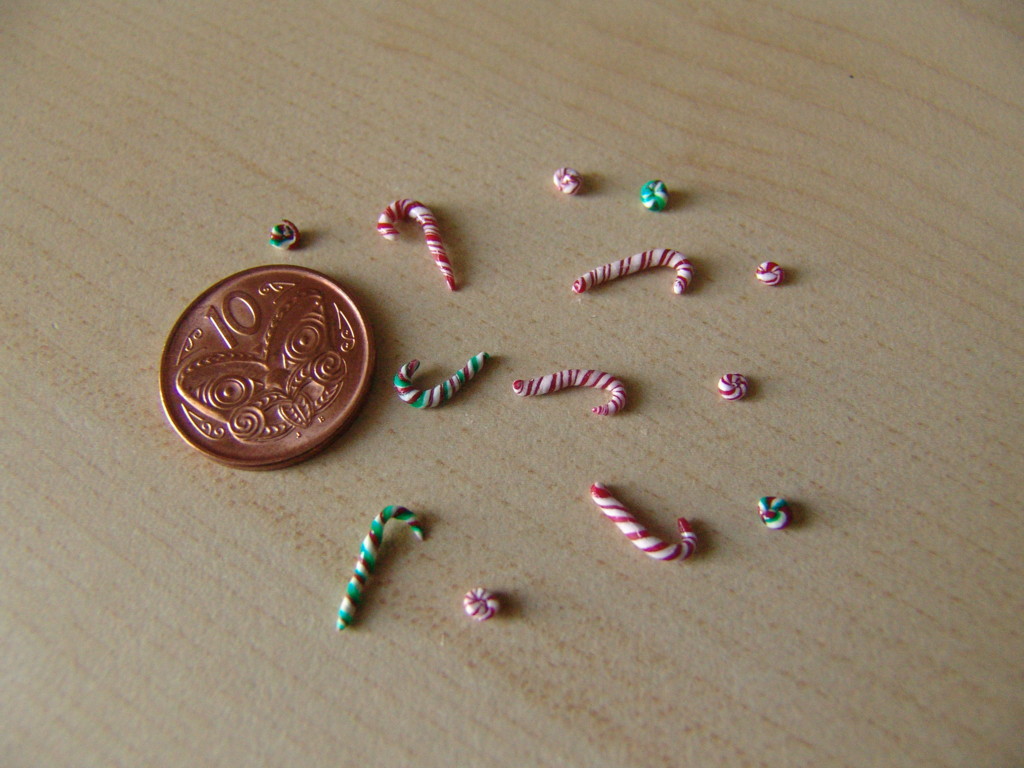
Bend into the candy cane shape or into a little piece of candy. Coat with nail polish as soon as your clay is dry.
- You can also try doing candy canes with three different colours like red, white and green.
I hope you liked the tutorial! I feel like I haven’t really been getting into the Christmas spirit this year but this was a very fun little project. I have a bunch of tutorials to post which are more winter related than Christmas so I will post them probably i the new year. Hopefully I will take some photos for a story in the upcoming days so I will have that sorted.
Thank you everyone who had ideas for the newspaper name. I really like two of them and the name of Dandelion Creek’s newspaper will be announced soon!
Have a wonderful 3rd advent,
Emily
Hi Emily!
That´s a very good tutorial. Perfect for this time of the year! It seems so easy and the final result is fantastic. I tried to make a candy cane once and I just mixed red and white fimo so it didn´t come out well. Now I see I have to cut , divide and put together the two pieces of fimo before rolling them. It´s good to know.The touch of the clear nail polish gives them the perfect look.
The tiny sweets look great too.
Thank you very much for this sweet and easy tutorial!
Have a wonderful third advent you too!
Thank you Cutata! I am glad I thought of using clear nail polish as it looks so much better and more candy like with it.
Hello Emily,
I did not know about this version of cutting the clay into quarters before twisting the “worms”. I thought you just made two or three different coloured worms and then twisted them together. I will keep this in mind when I make candies for the Periwinkles’ bakery.
Unfortunately, I have been very busy the past few days, but maybe I can make some miniatures on the weekend. Still would like to make those gingerbread cookies, even if Christmas is over – it’ll come around again. 🙂
Nina
I think you could probably make different coloured ‘worms’ and then twist them together. For some reason, that never crossed my mind though why it didn’t I really don’t know. I get the feeling of being busy! I am quite busy myself and haven’t spent as much time making a Christmas thing in my village, days just seem to pass in a blur! I really should prepare something though so I hope that I will squeeze that in sometime, maybe on Saturday or Sunday. I don’t know… I hope the weekend is like a breath of fresh air for you after your busy week!